Walnut Cutting Board With Inlay

Had some 28mm thick walnut counter top cutoffs that i could reuse for an end grain cutting board.
I started by cutting some 60mm wide strips on the table saw, and glued these up into an end grain block.

Then it was left to dry in the clamps overnight

Nest step was to scrape off the glue, and get it flat. As I do not own a drum sander, I figured an old paint scraper would remove the bulk of the glue, and I could make use of the CNC to flatten it.
This worked out great. First I flattened one side, and flipped it over to make the 2 sides parallel.
The bit I used was a relative small one as my large cnc does not have a fully trued up spindle to the cutting surface.
I made 50% stepover passes withan 8mm bit.
It came out looking like this:

Final thickness ended up at approx 55mm.
Then I sanded it down before I cut the pockets for the inlay.
I thought that a beef cutting chart could make for a cool look. On the inlay wood I wnet with ash for good contrast. Hard maple is hard to get your hands on where I live.
Pocket was cut with a 30 degree v cutter


Then the opposing plug was cut from the end grain ash glue up.

Plenty of glue in the pocket and on the plug, and into the clamps for another 24 hours.


Many cut the majority of the excess plug away by cutting in the slot with the bandsaw. As my cutting depth exceeds the cut capacity of my small bandsaw, I decided to chick it up in my cnc and surface the top of the plug. I left approx 0.5 mm for sanding.

While watching Drew Fisher over on Fisher Shops channel he showed how he made a recess cutout for a plate on the backside of the cutting board. This makes it extremely easy to just slide the freshly cut parts onto a plate.
So thats what I did as well.

Then it was tinme for finish sanding. I went through the grist of 80 -120-180-220. and it got silky smooth.


Thenn I raissed the grain by spraying some water on the board and wiped it down. Left to dry for some hours, and then another round with 220 grit.
Then it was time for a bath in the oil. I use rapeseed oil as this tend not not get harsh as some oliveoils do.

Top coat is regular beeswax/mineral oil finish.

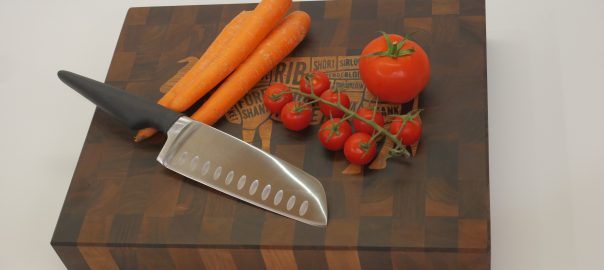
Here are some images of the final product.