Building a 100W LED video light
Building the 100W LED Video Light
I wanted to see if I could make a LED video light to use when shooting YouTube videos, and ended up with this.
This is not a step by step instructions to build follow, but you can get some ideas for your building your own.
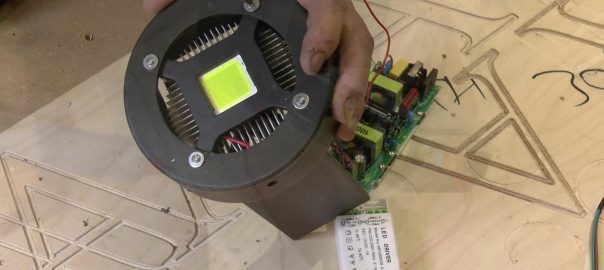
The first thing i did was purchase the led and driver.
I soon realized that i would need a heat sink with a cooling fan, as my first attempt at putting power to the LED without caused it to release some of its smoke (first lesson learned for not doing my homework)
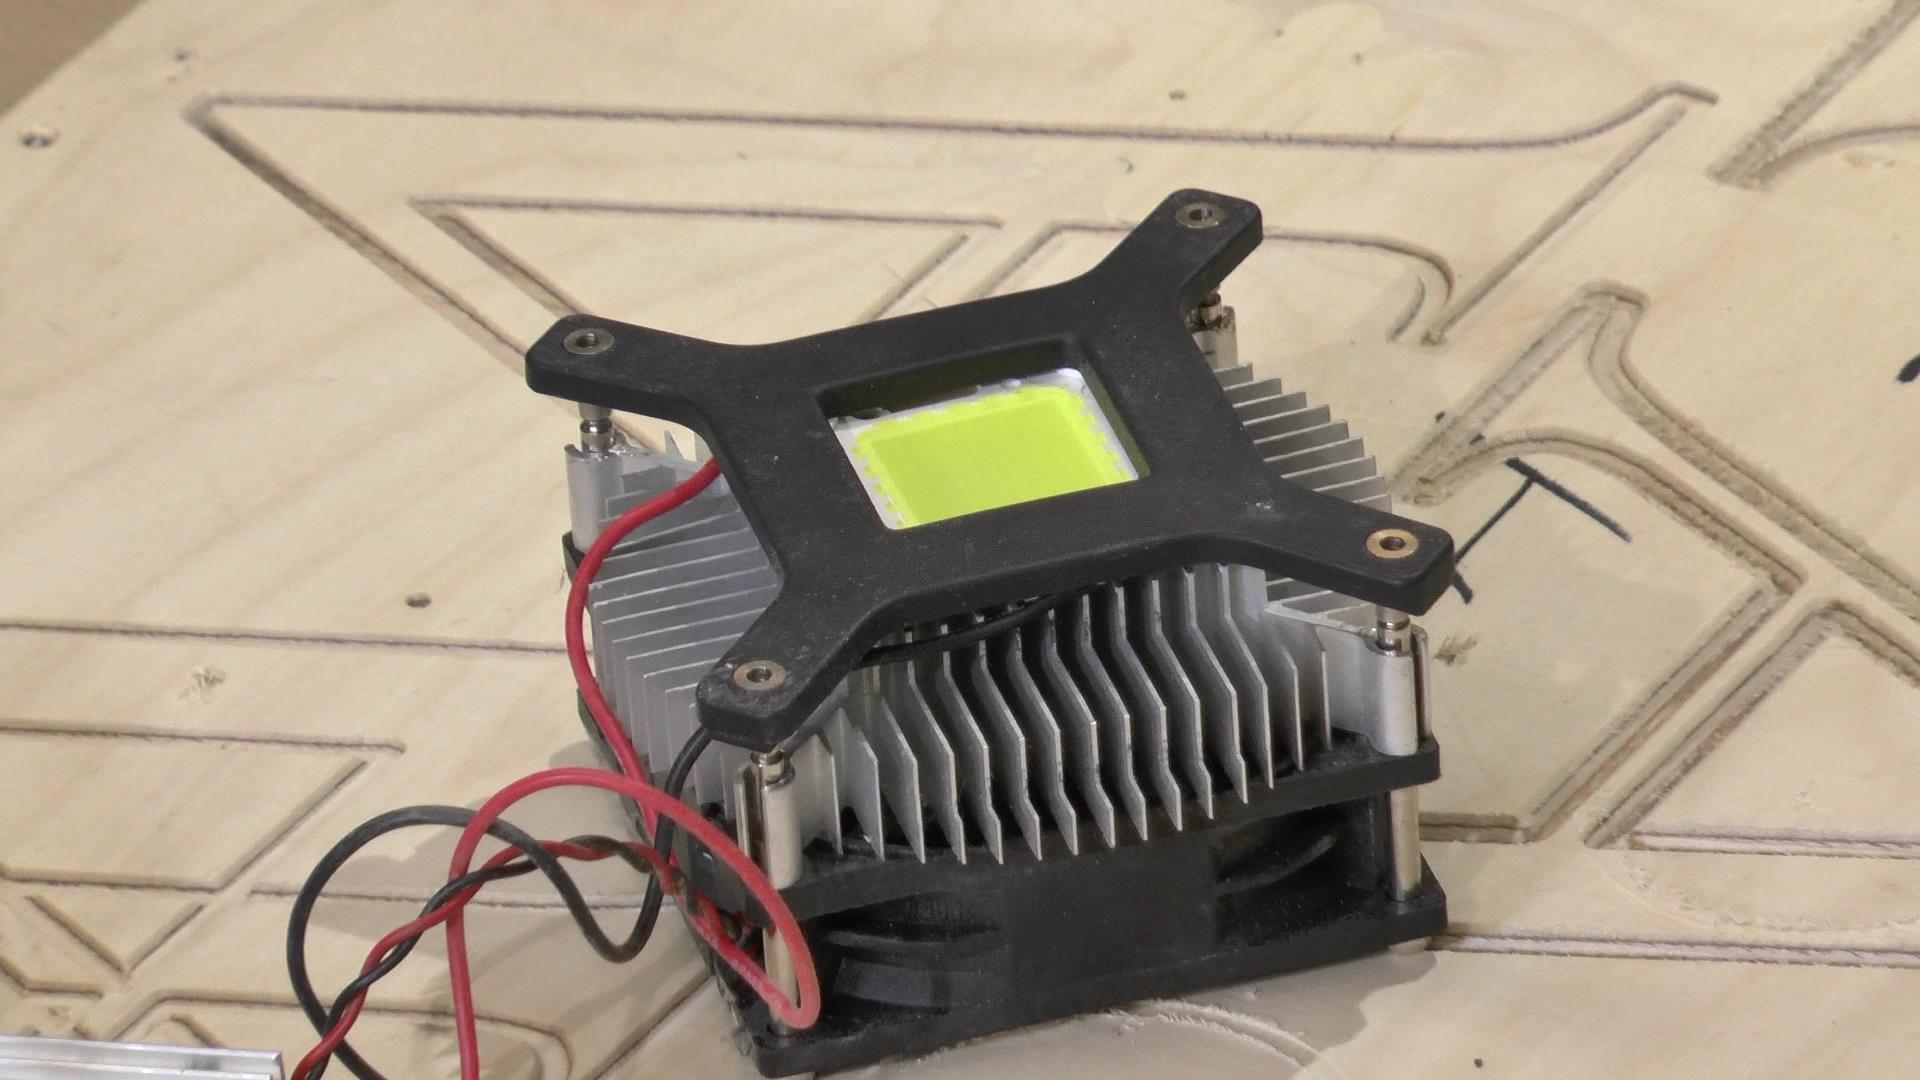
I got the need heat sink of ebay also and ended up with what you see in the image below.
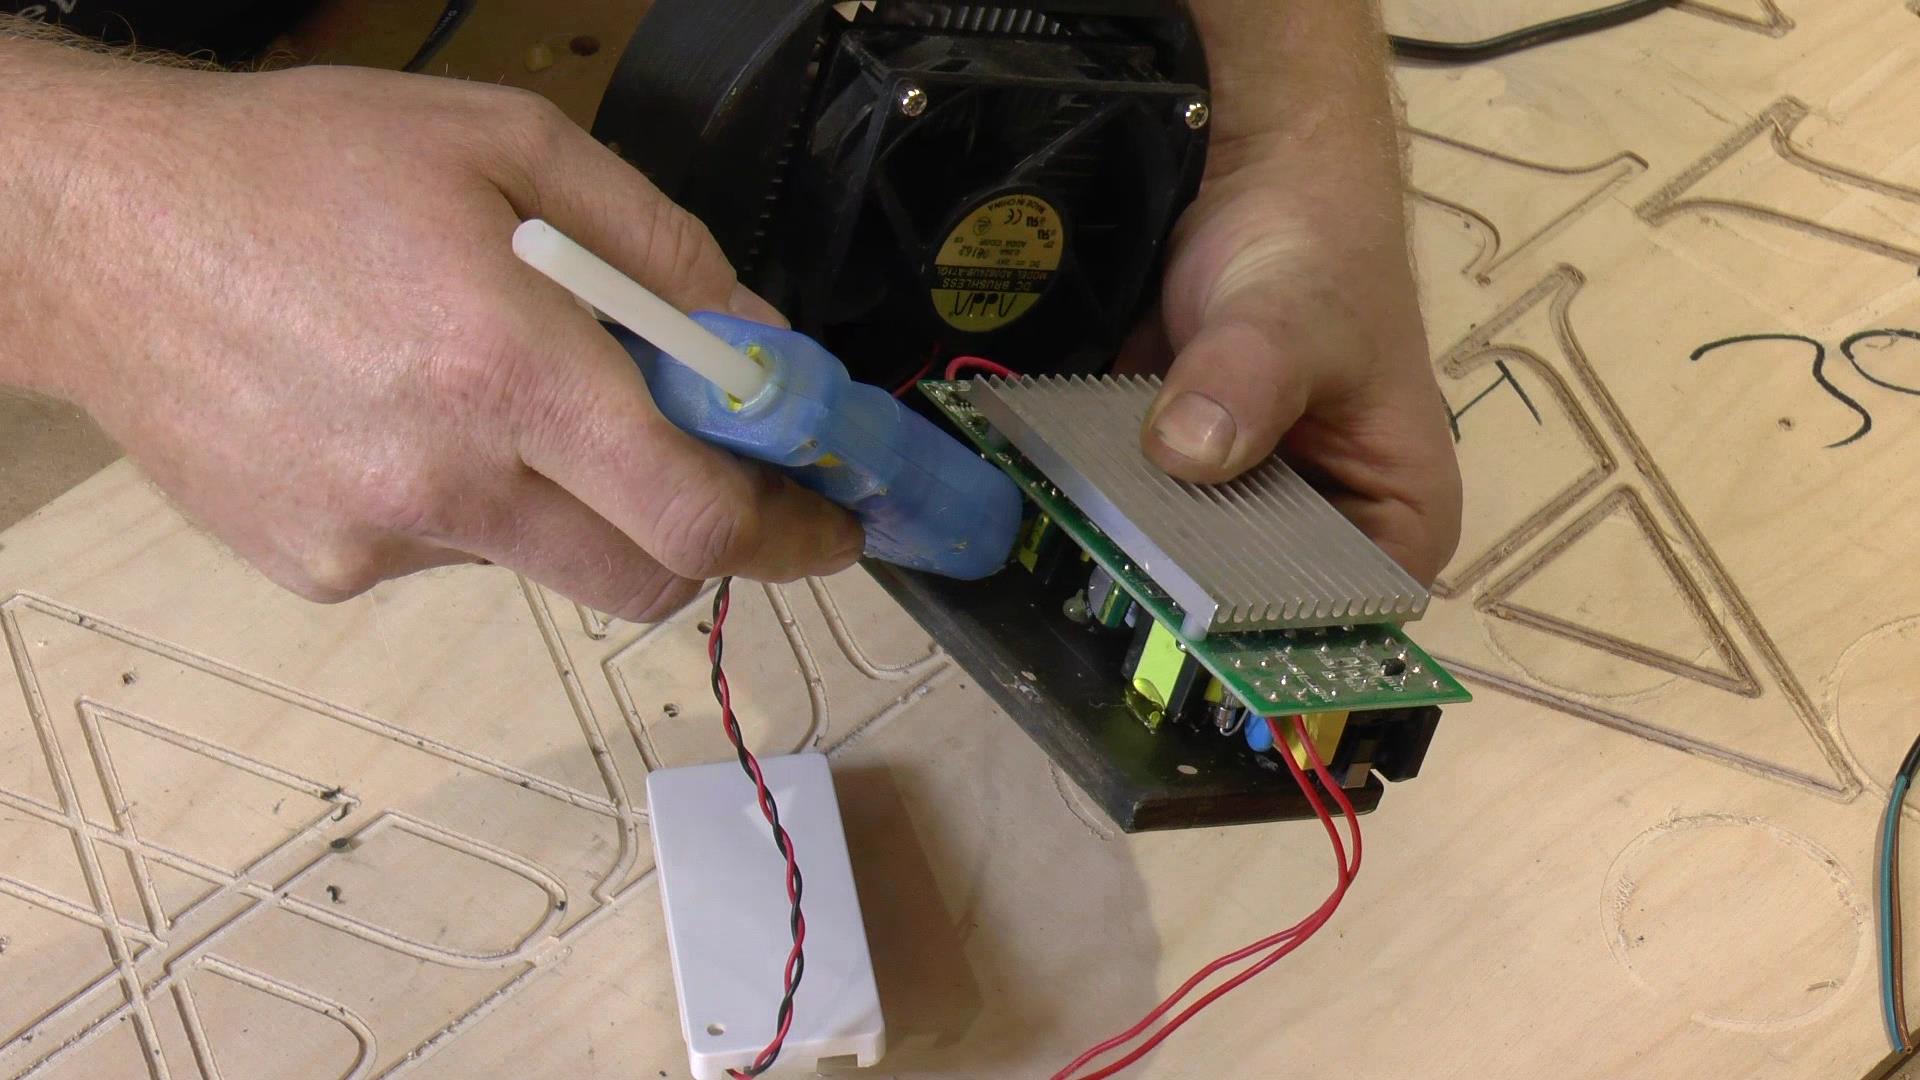
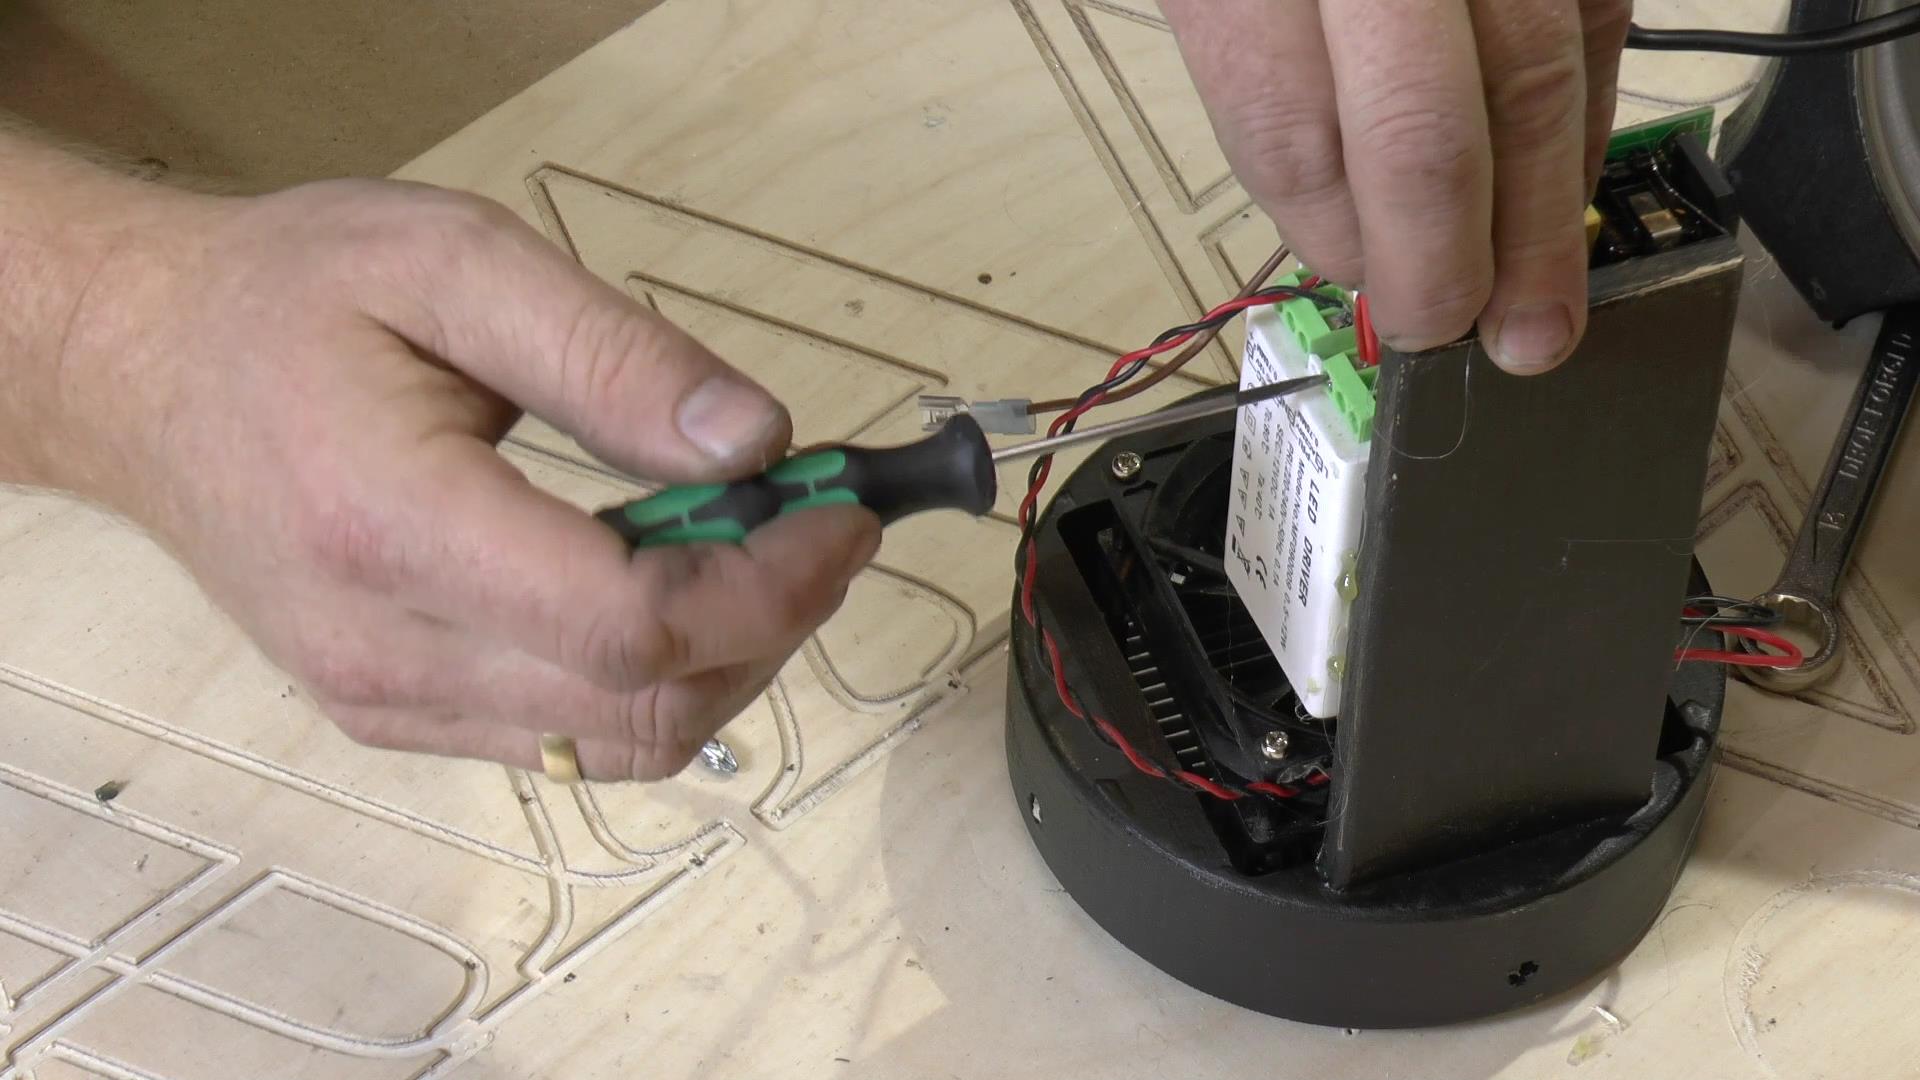
I also needed a 12vdc power supply for the fan , as the LED runs of 36VDC, and in this case I used an LED driver for some LED strips I had laying around
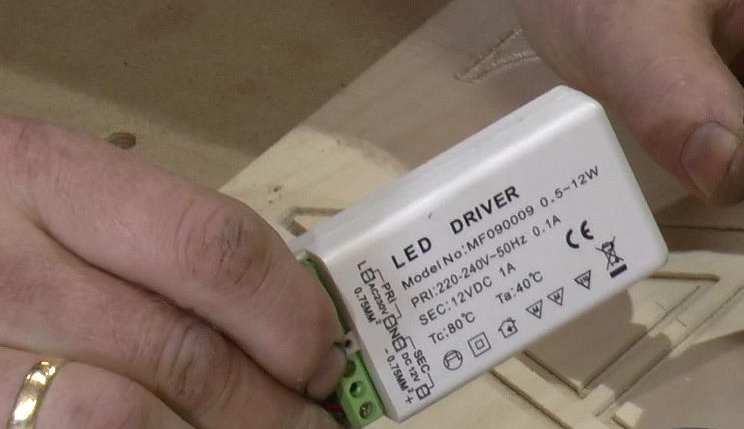
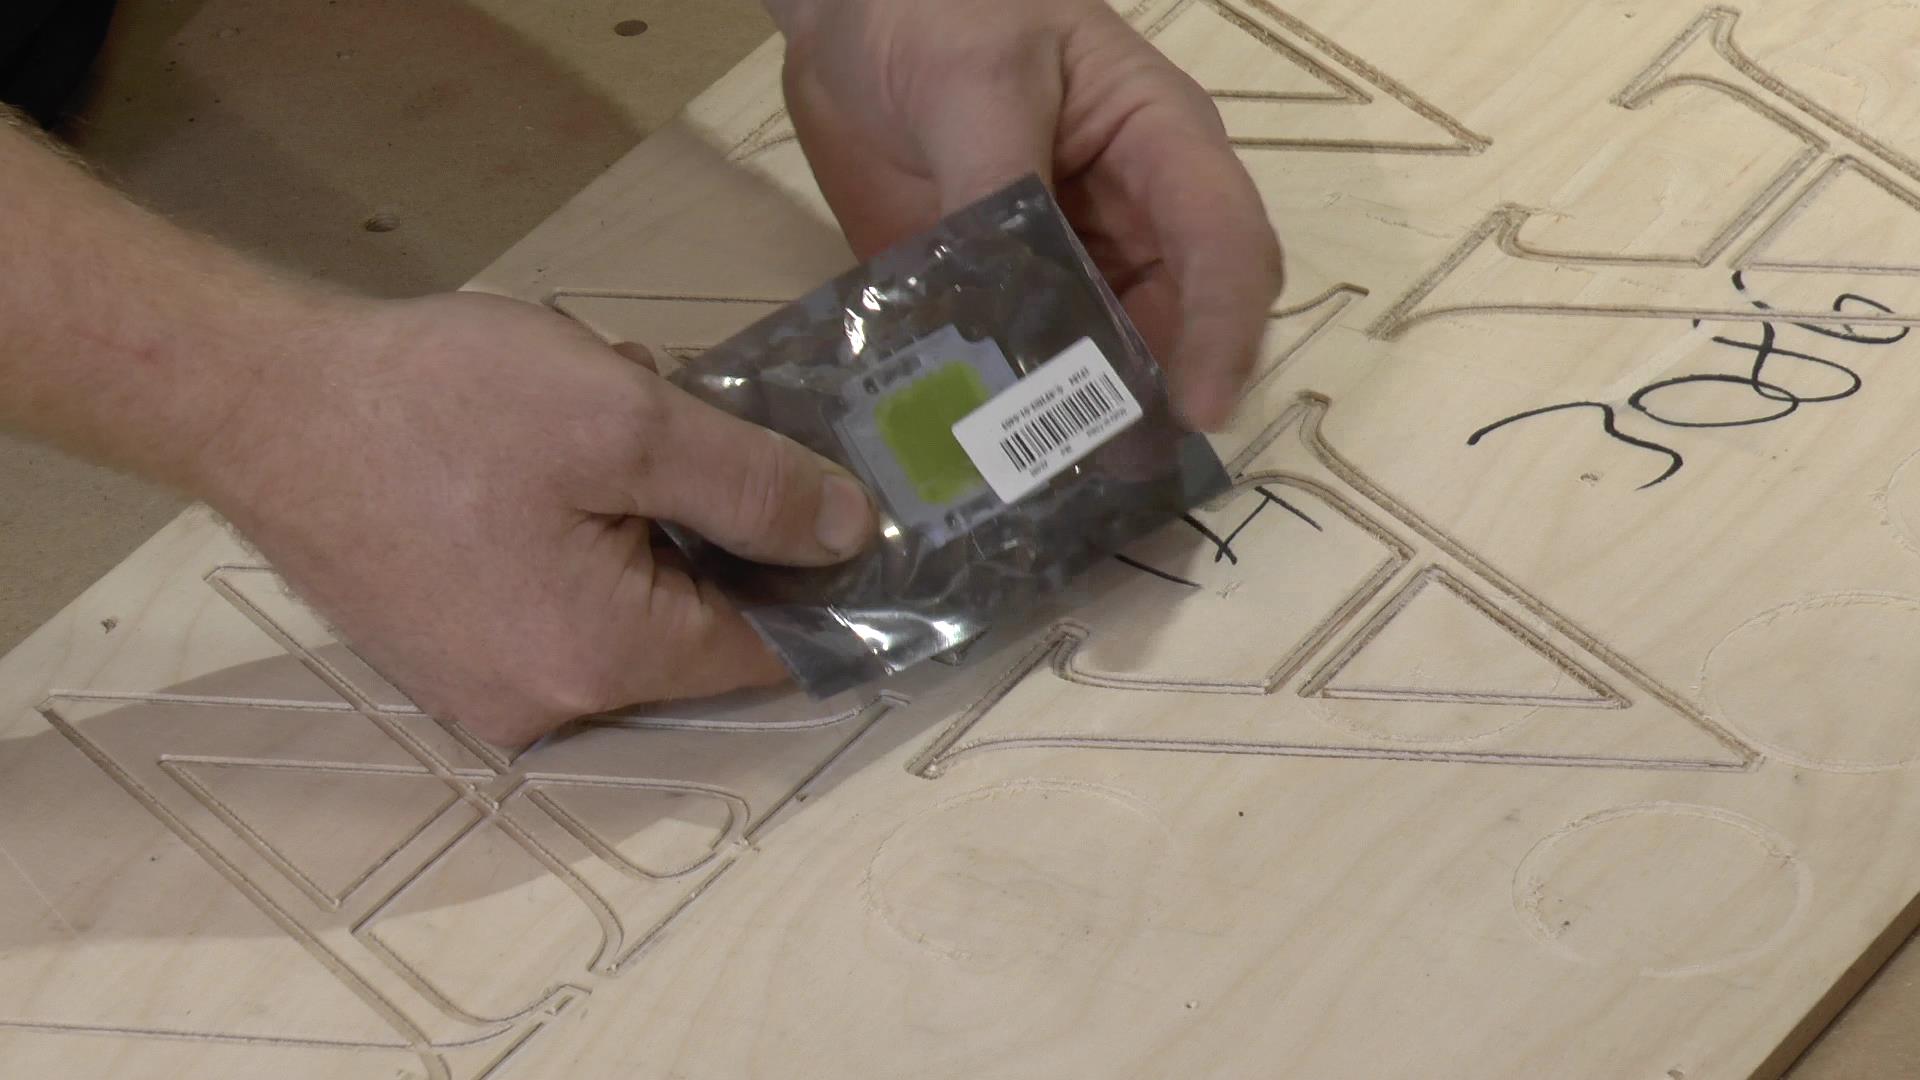
Here is a closeup of the 36VDC LED driver
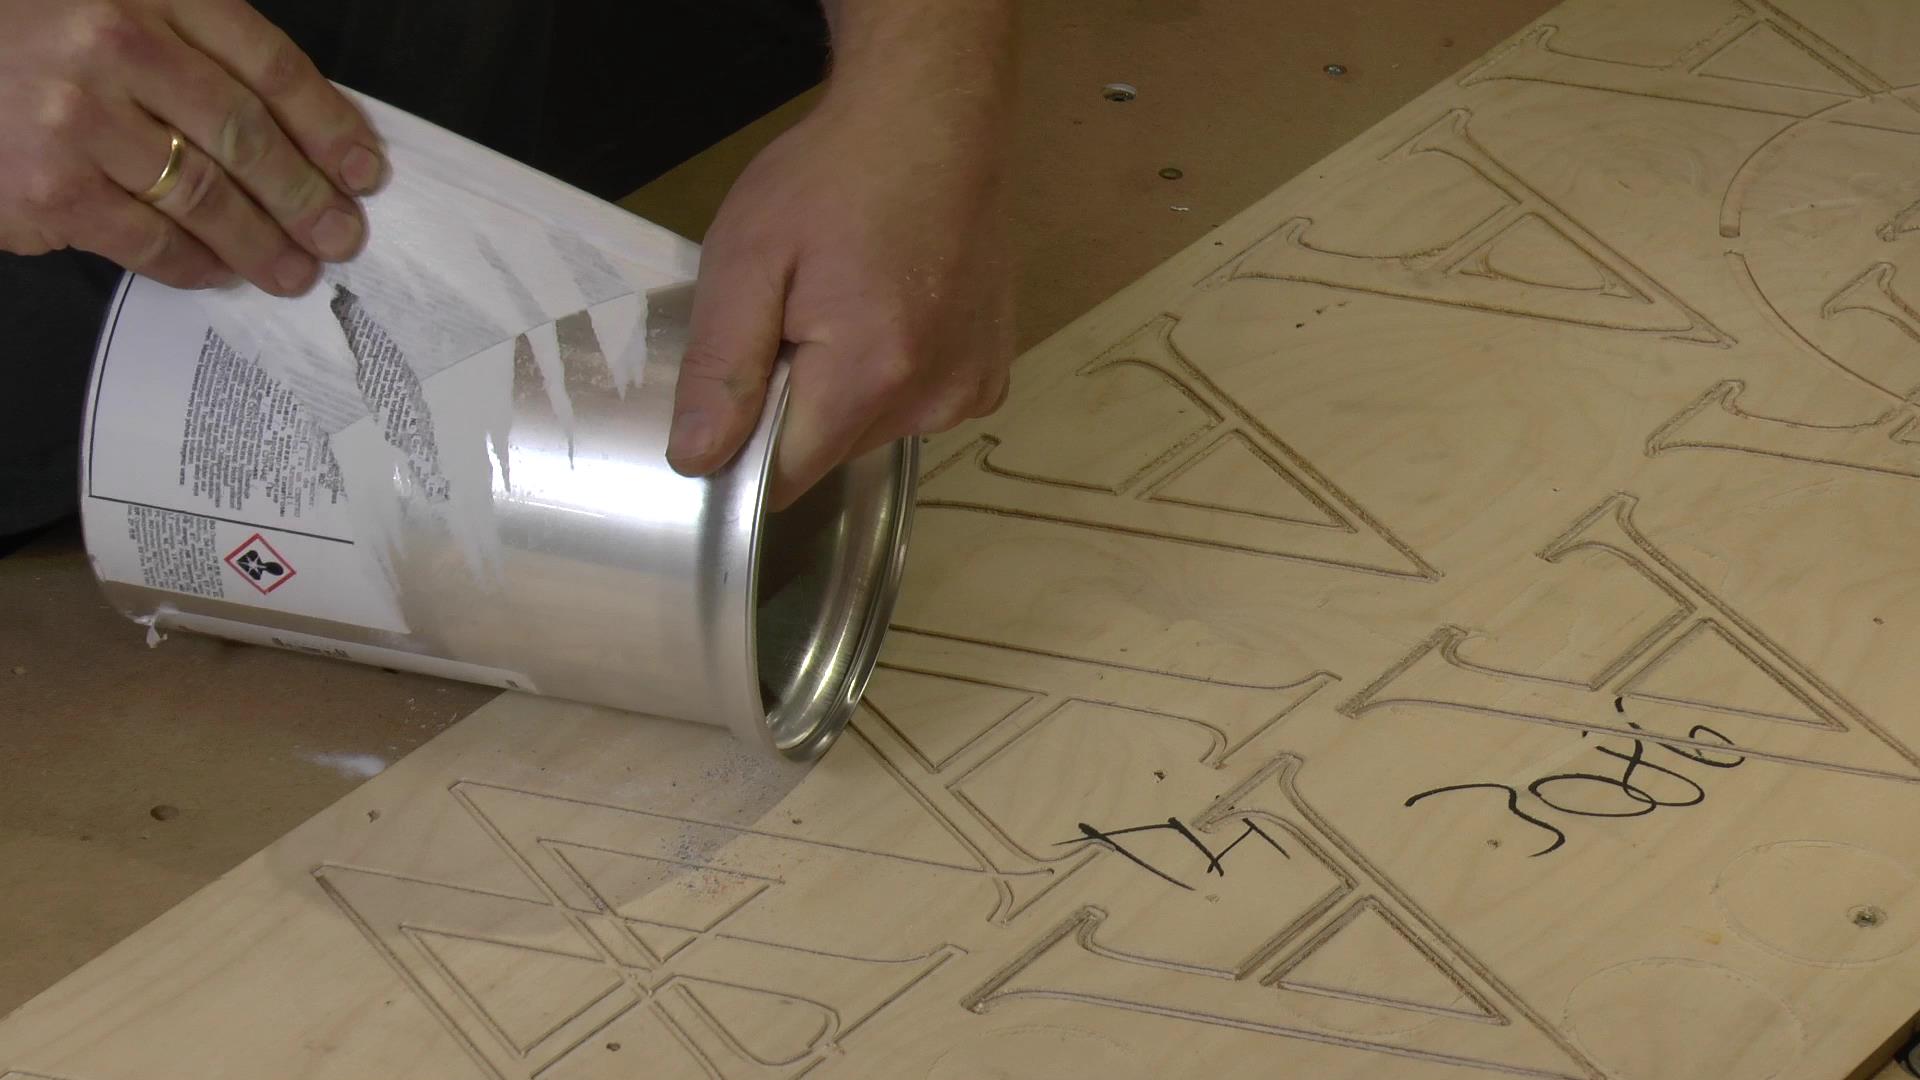
First step was to find a suitable canister/housing for the internals, and these 3 guys was laying in the trash screaming for my attention one day at work.
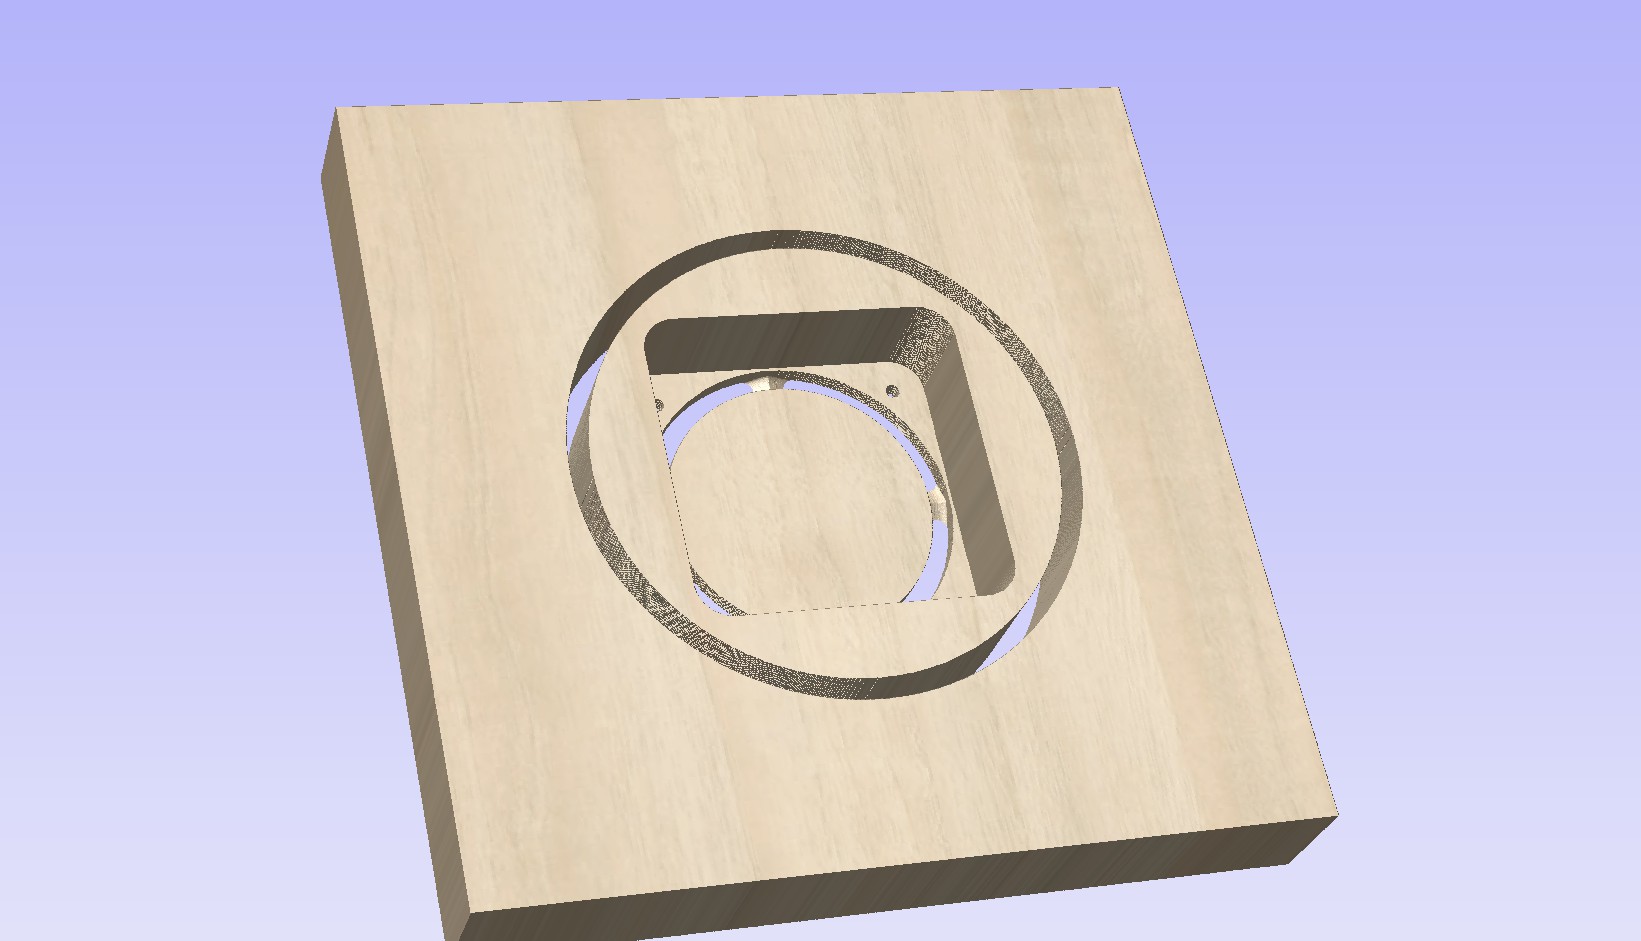
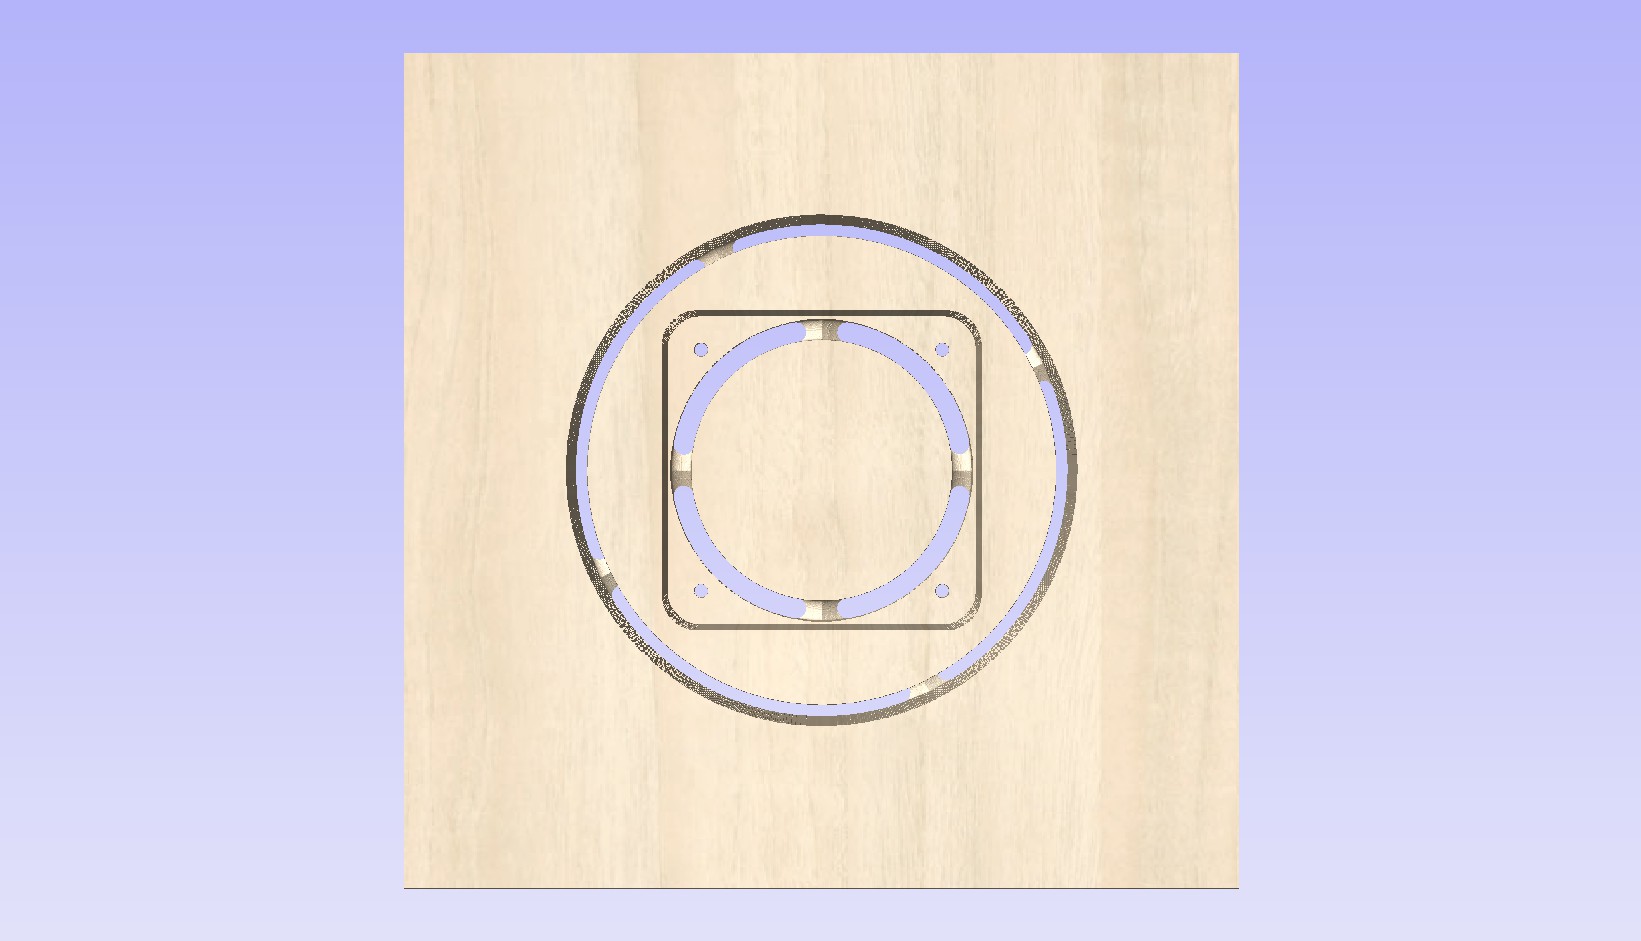
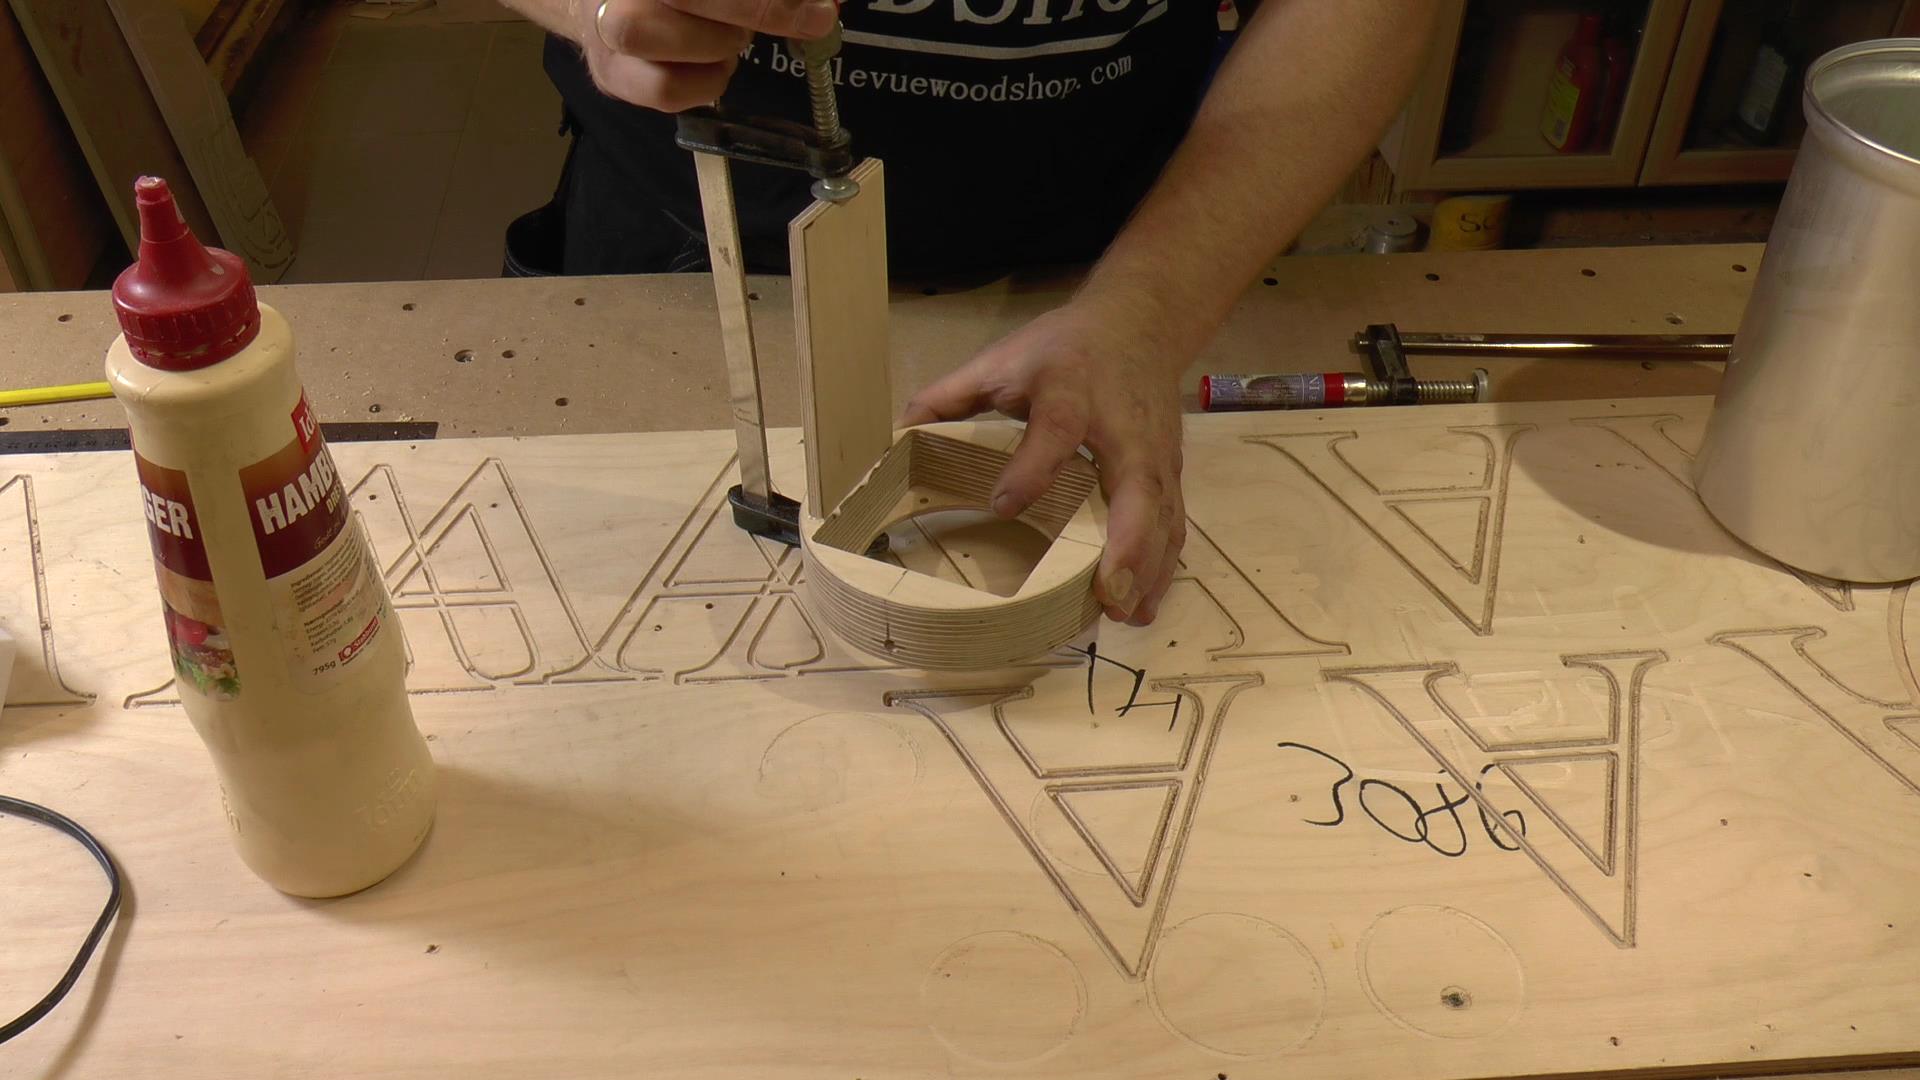
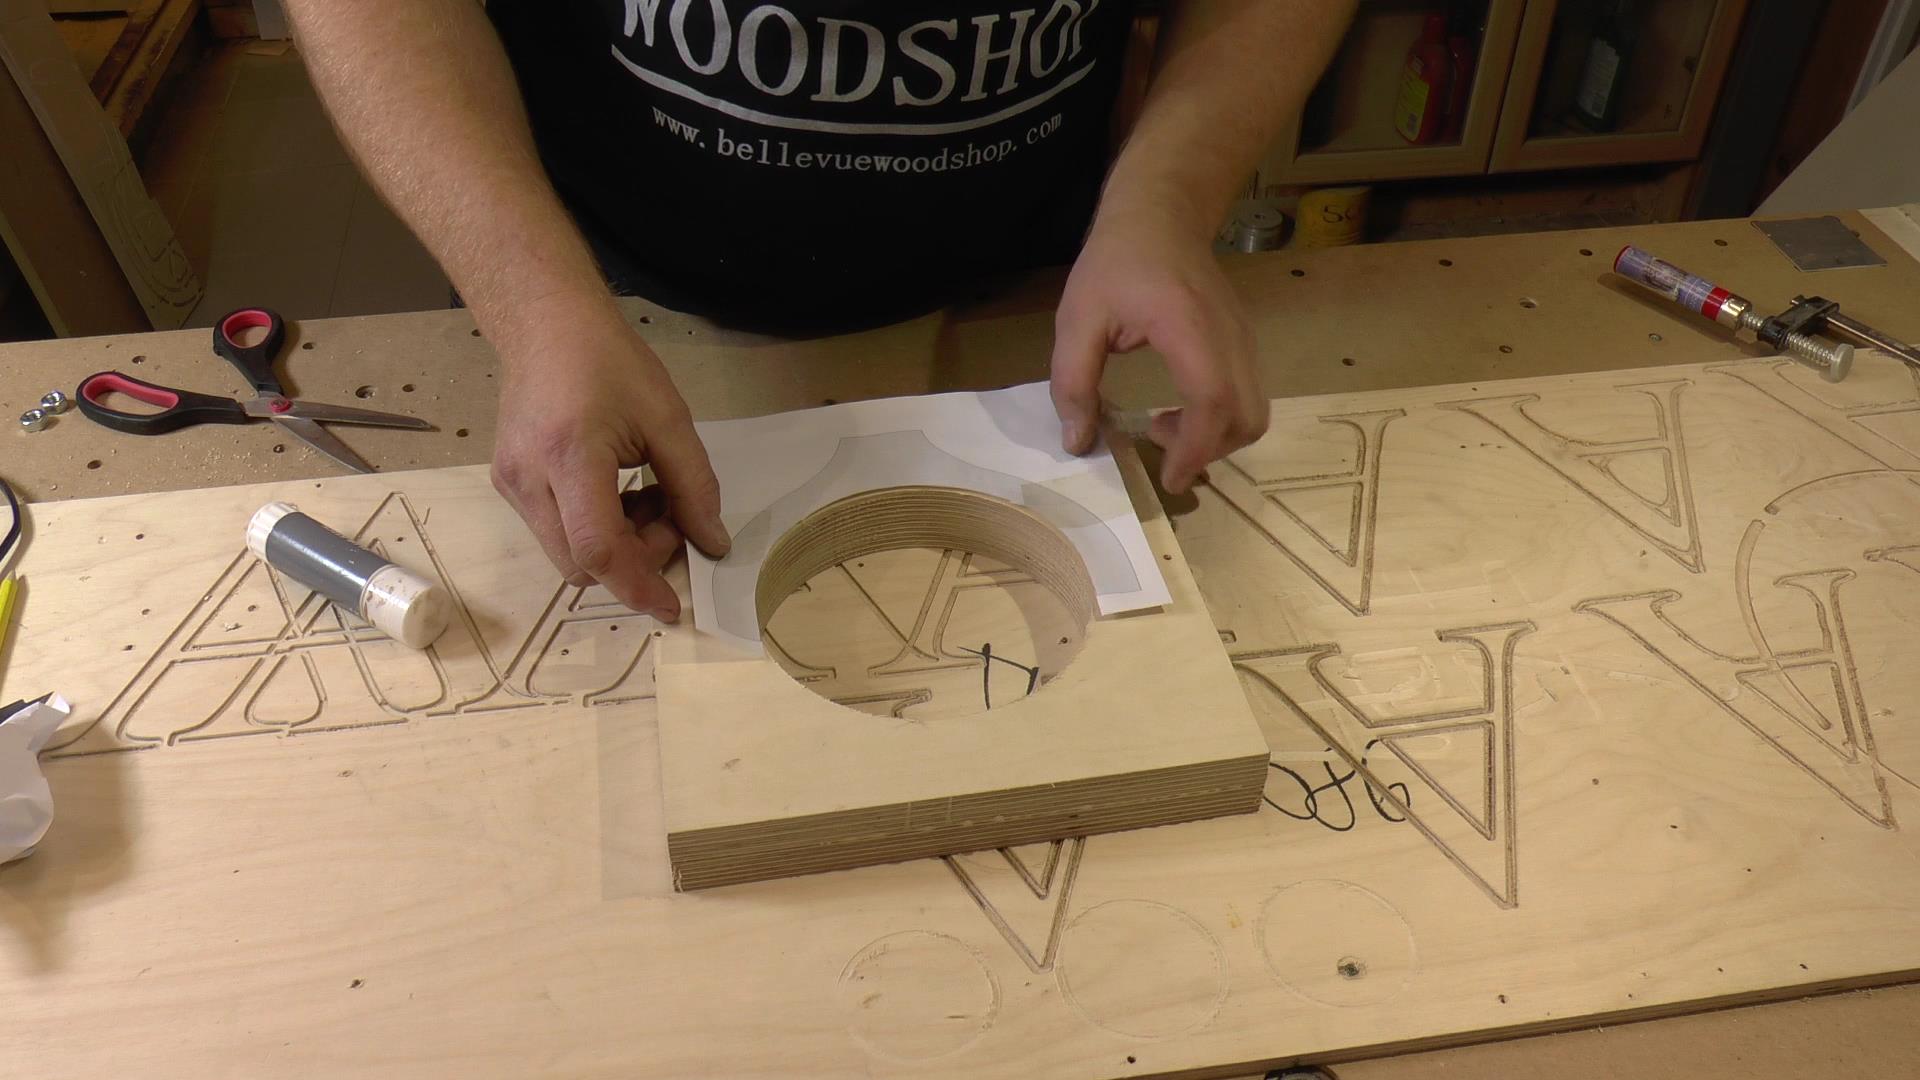
To hold the support rods for the reflector, I needed to fabricate some sort of attachment for these, and figured I could make the attachment for the LED itself in the same operation.
I made these previews of the part that I drew up, to visualize what the part was going to look like
Then it was off to the homemade cnc to cut the part.
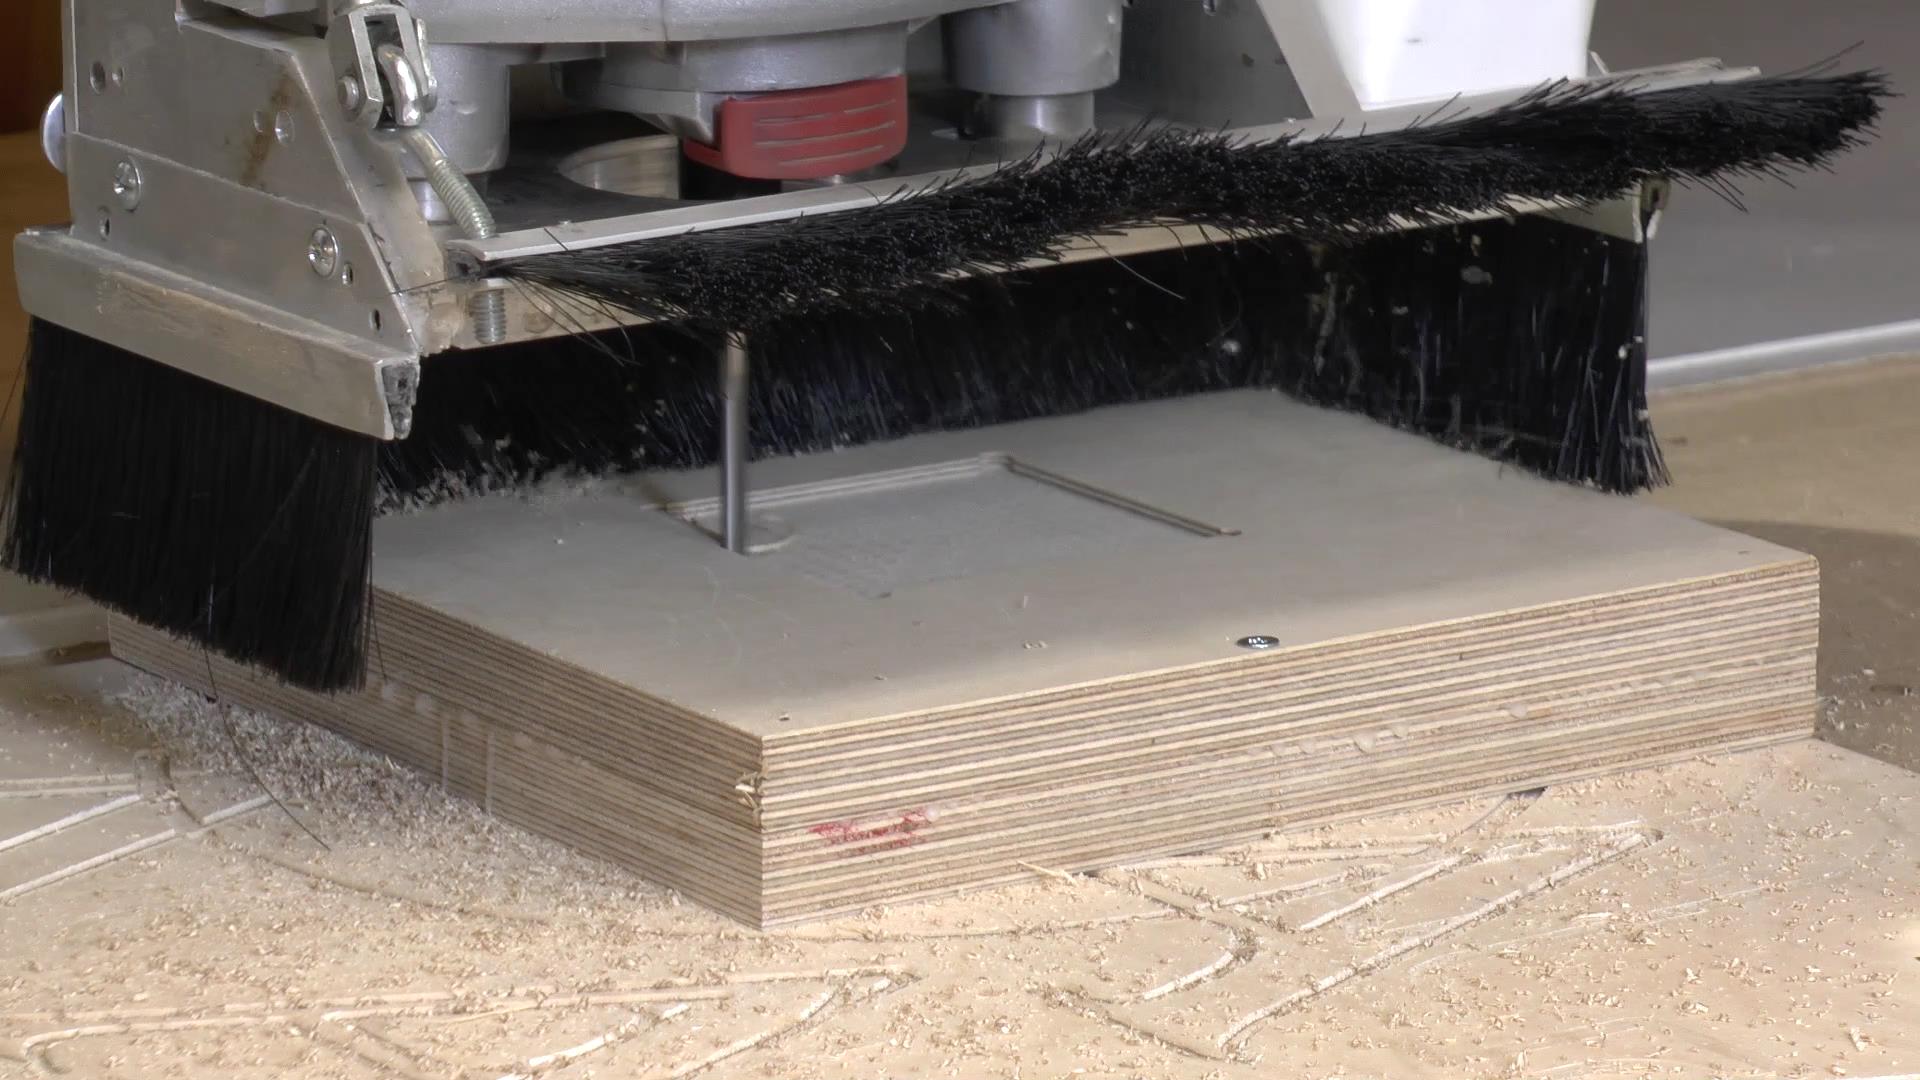
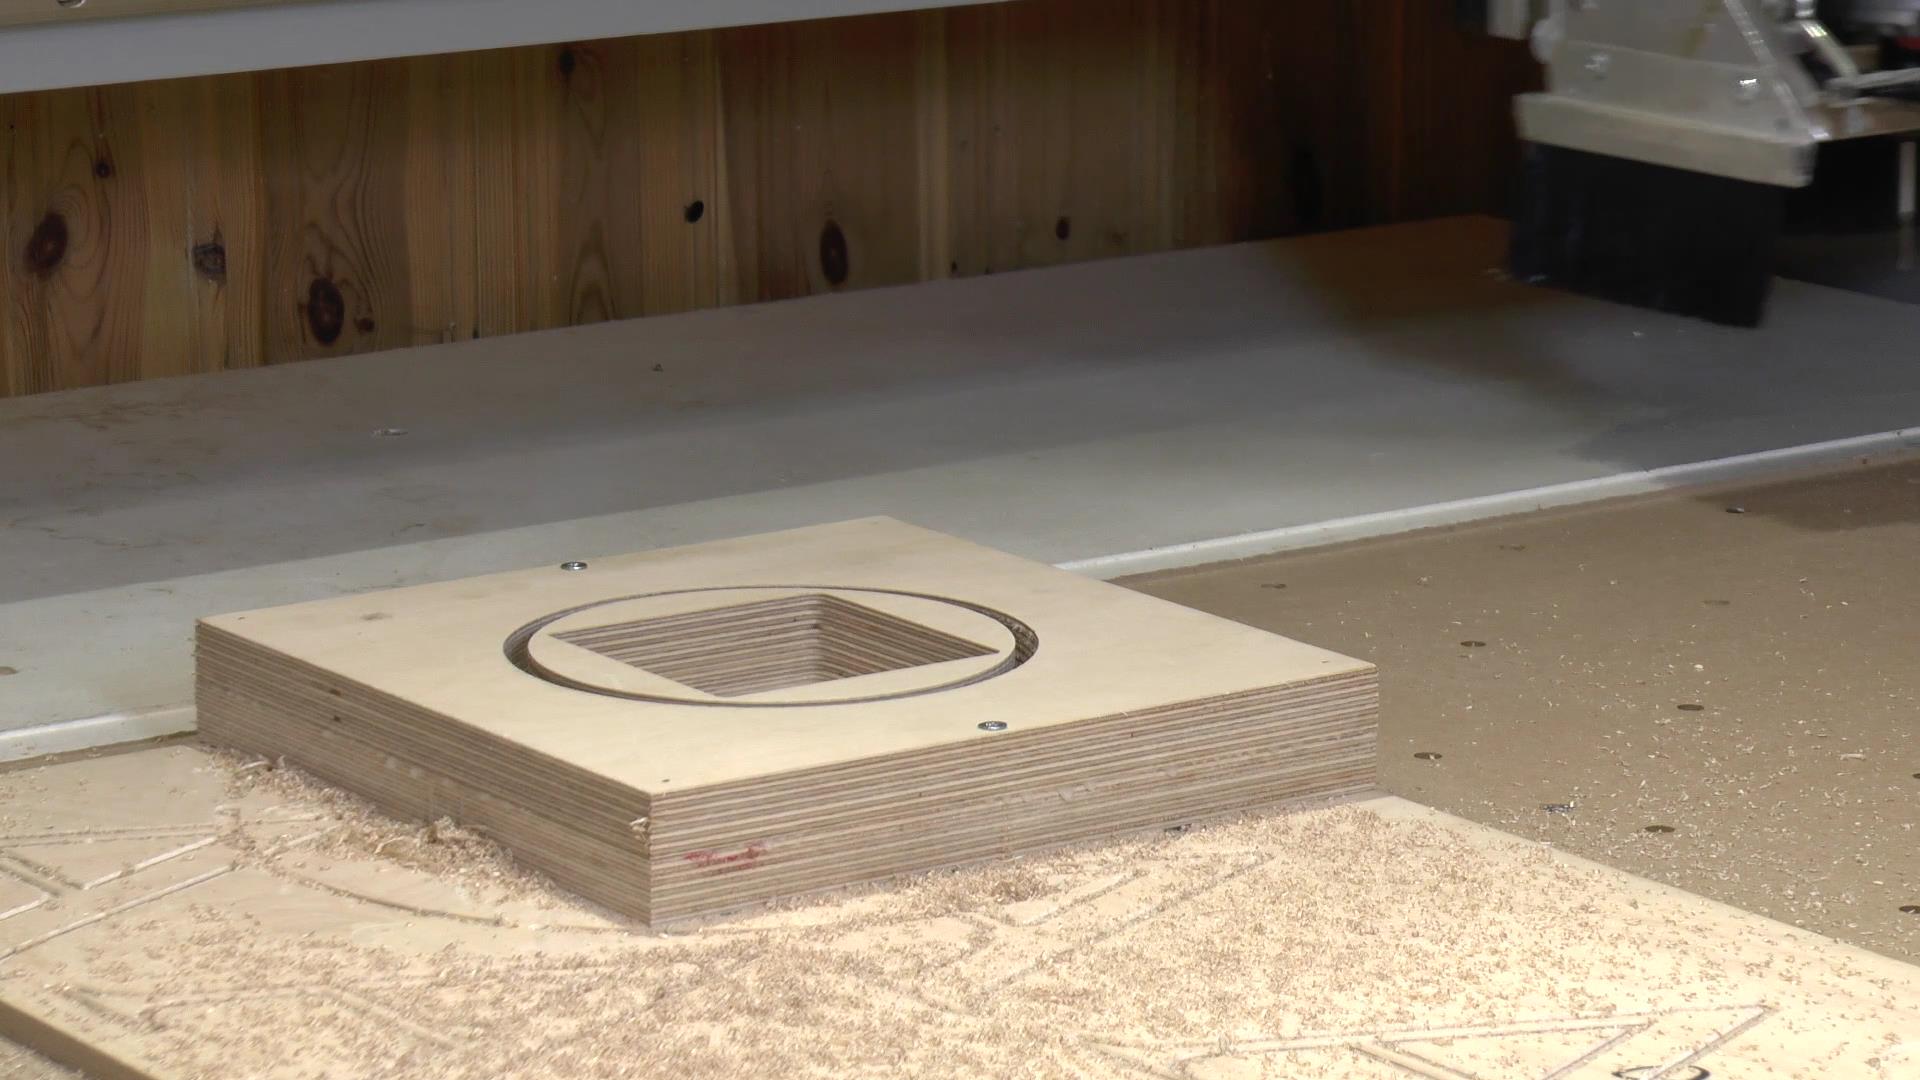
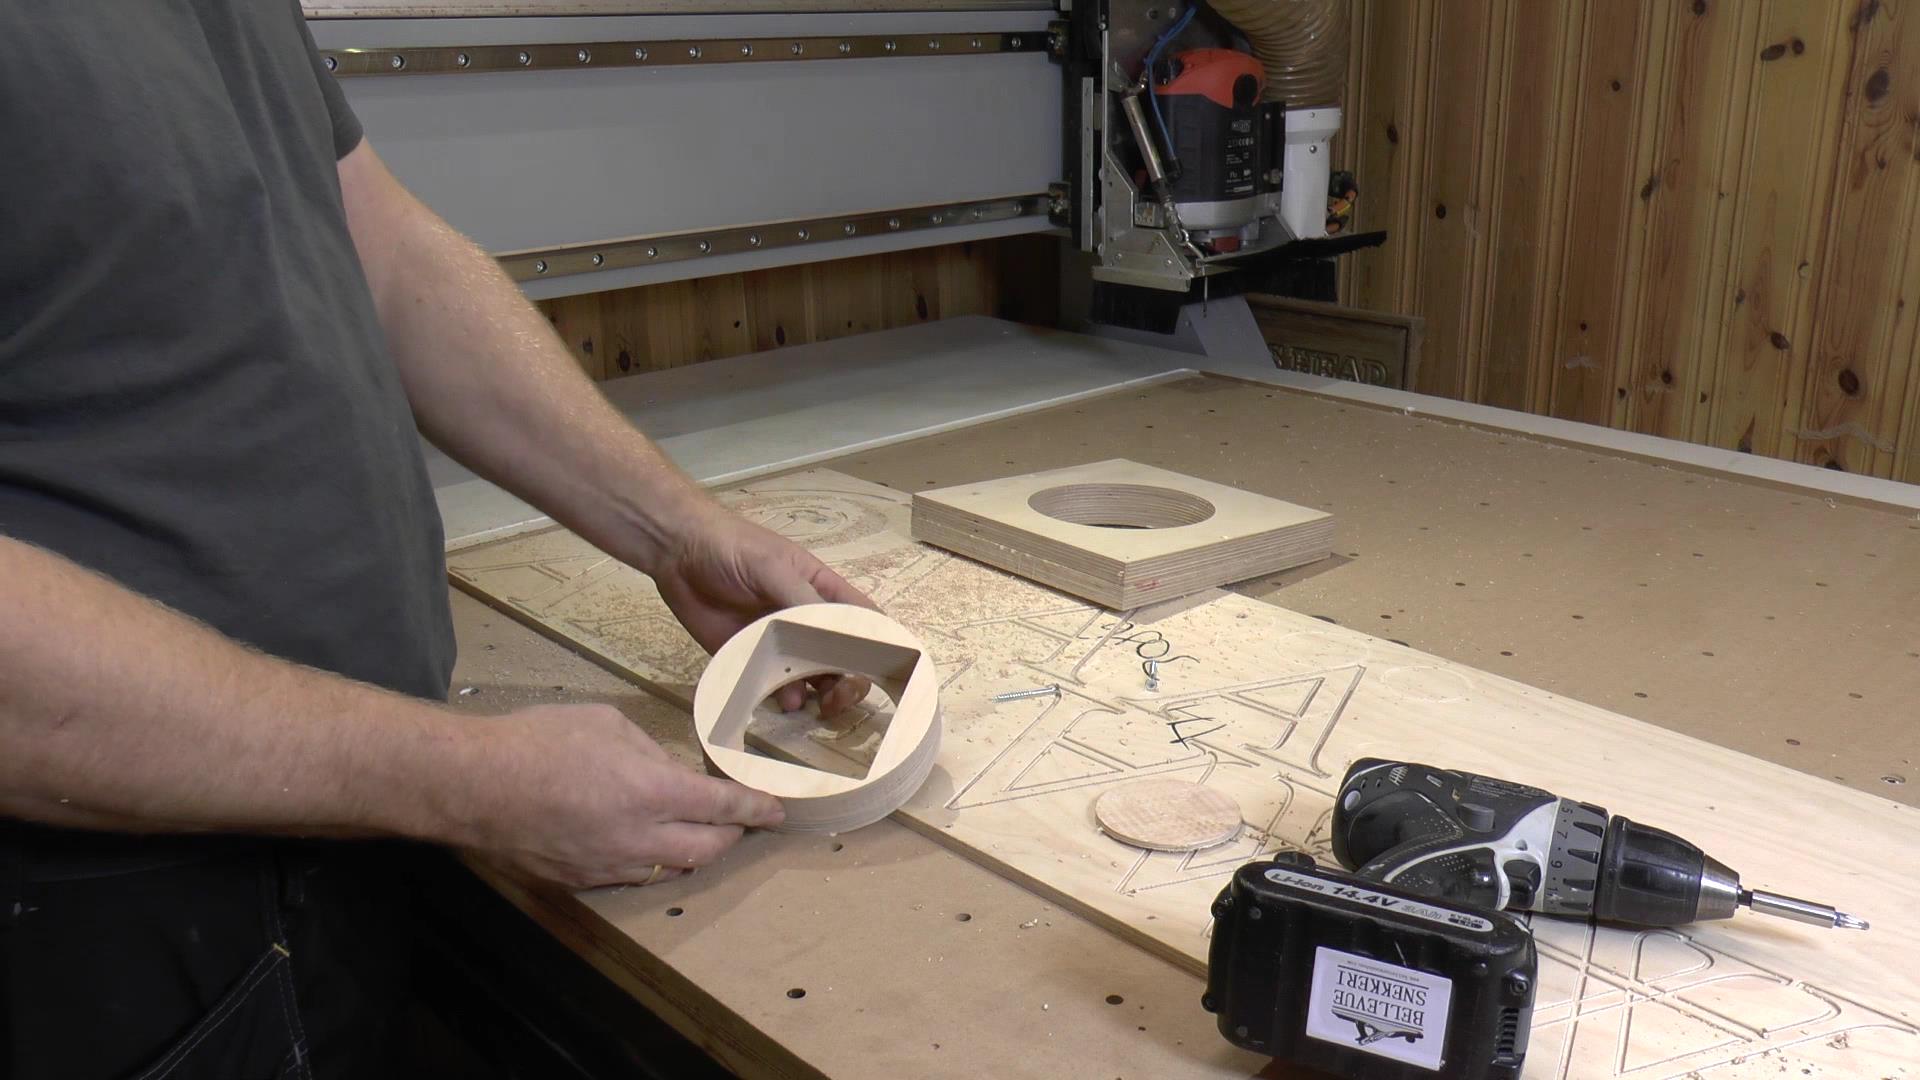
The part came out great, and i rounded over the edges and sanded it.
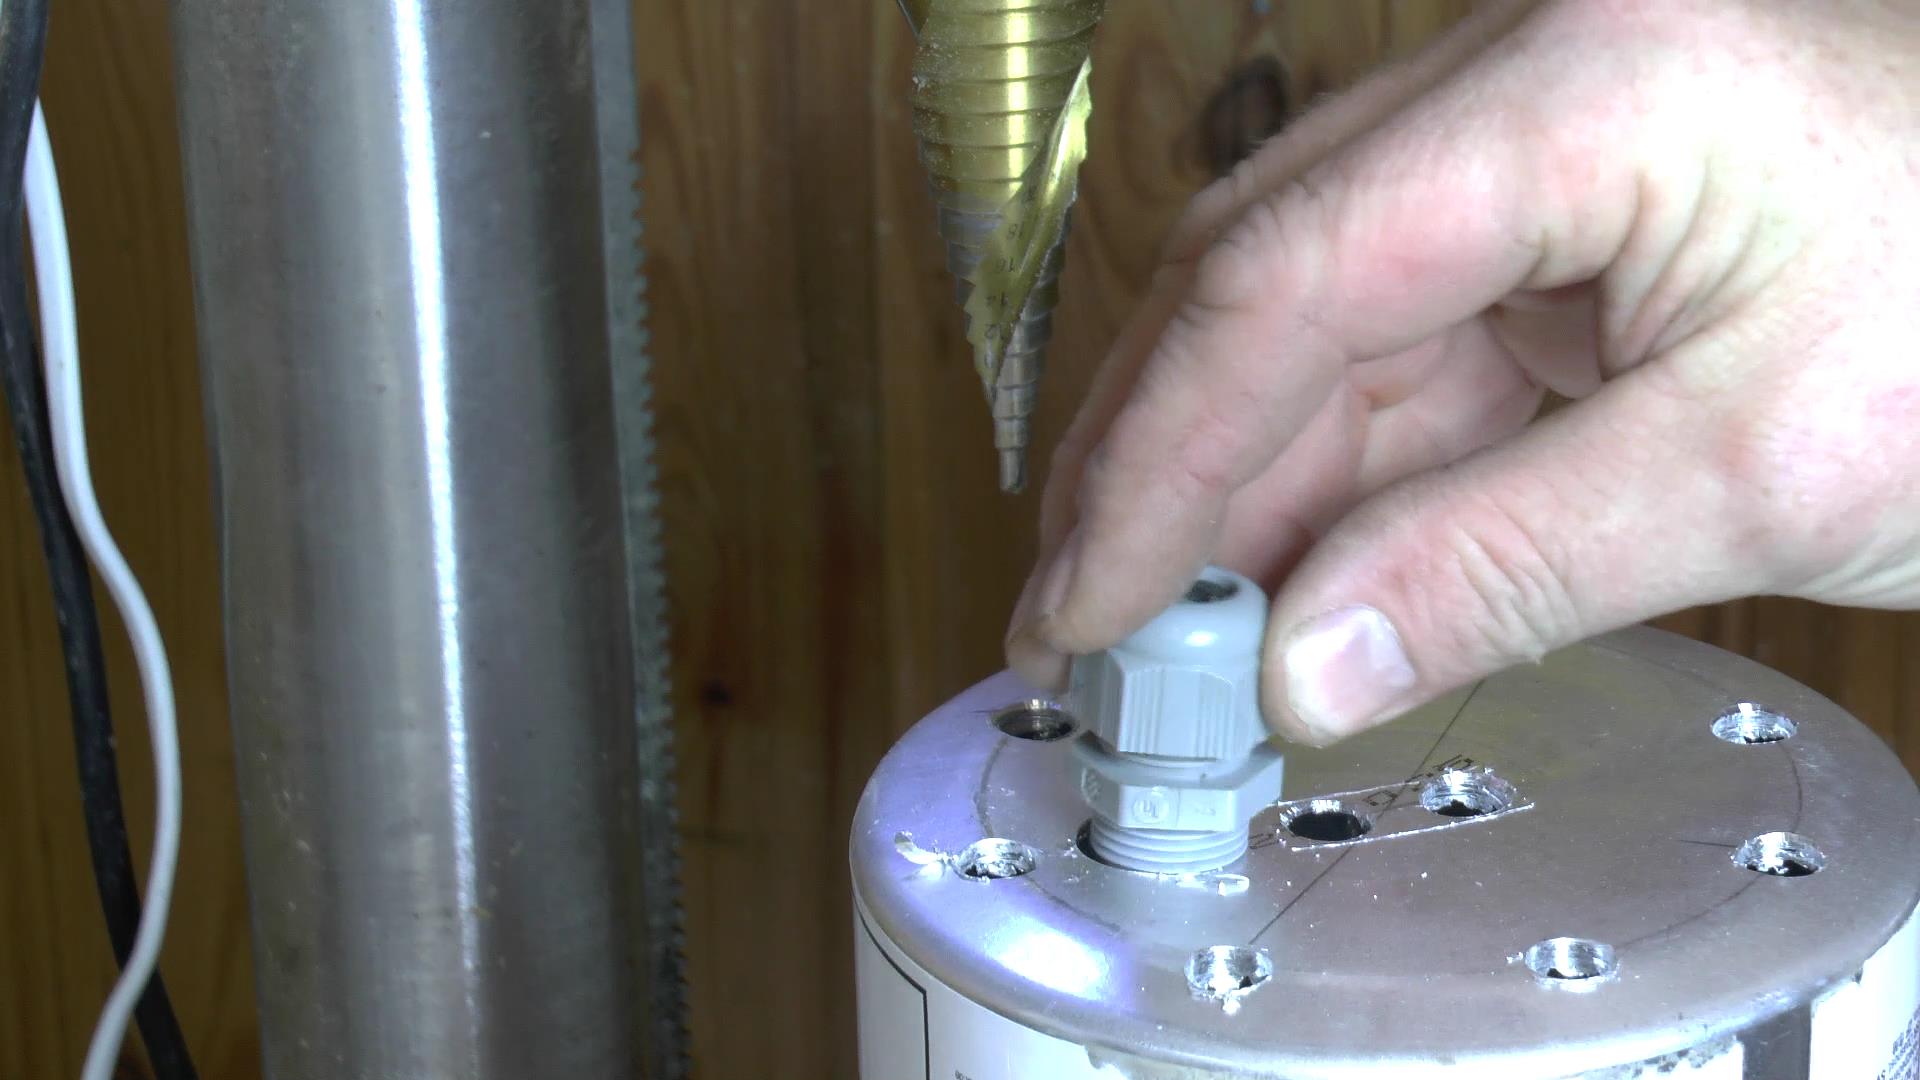
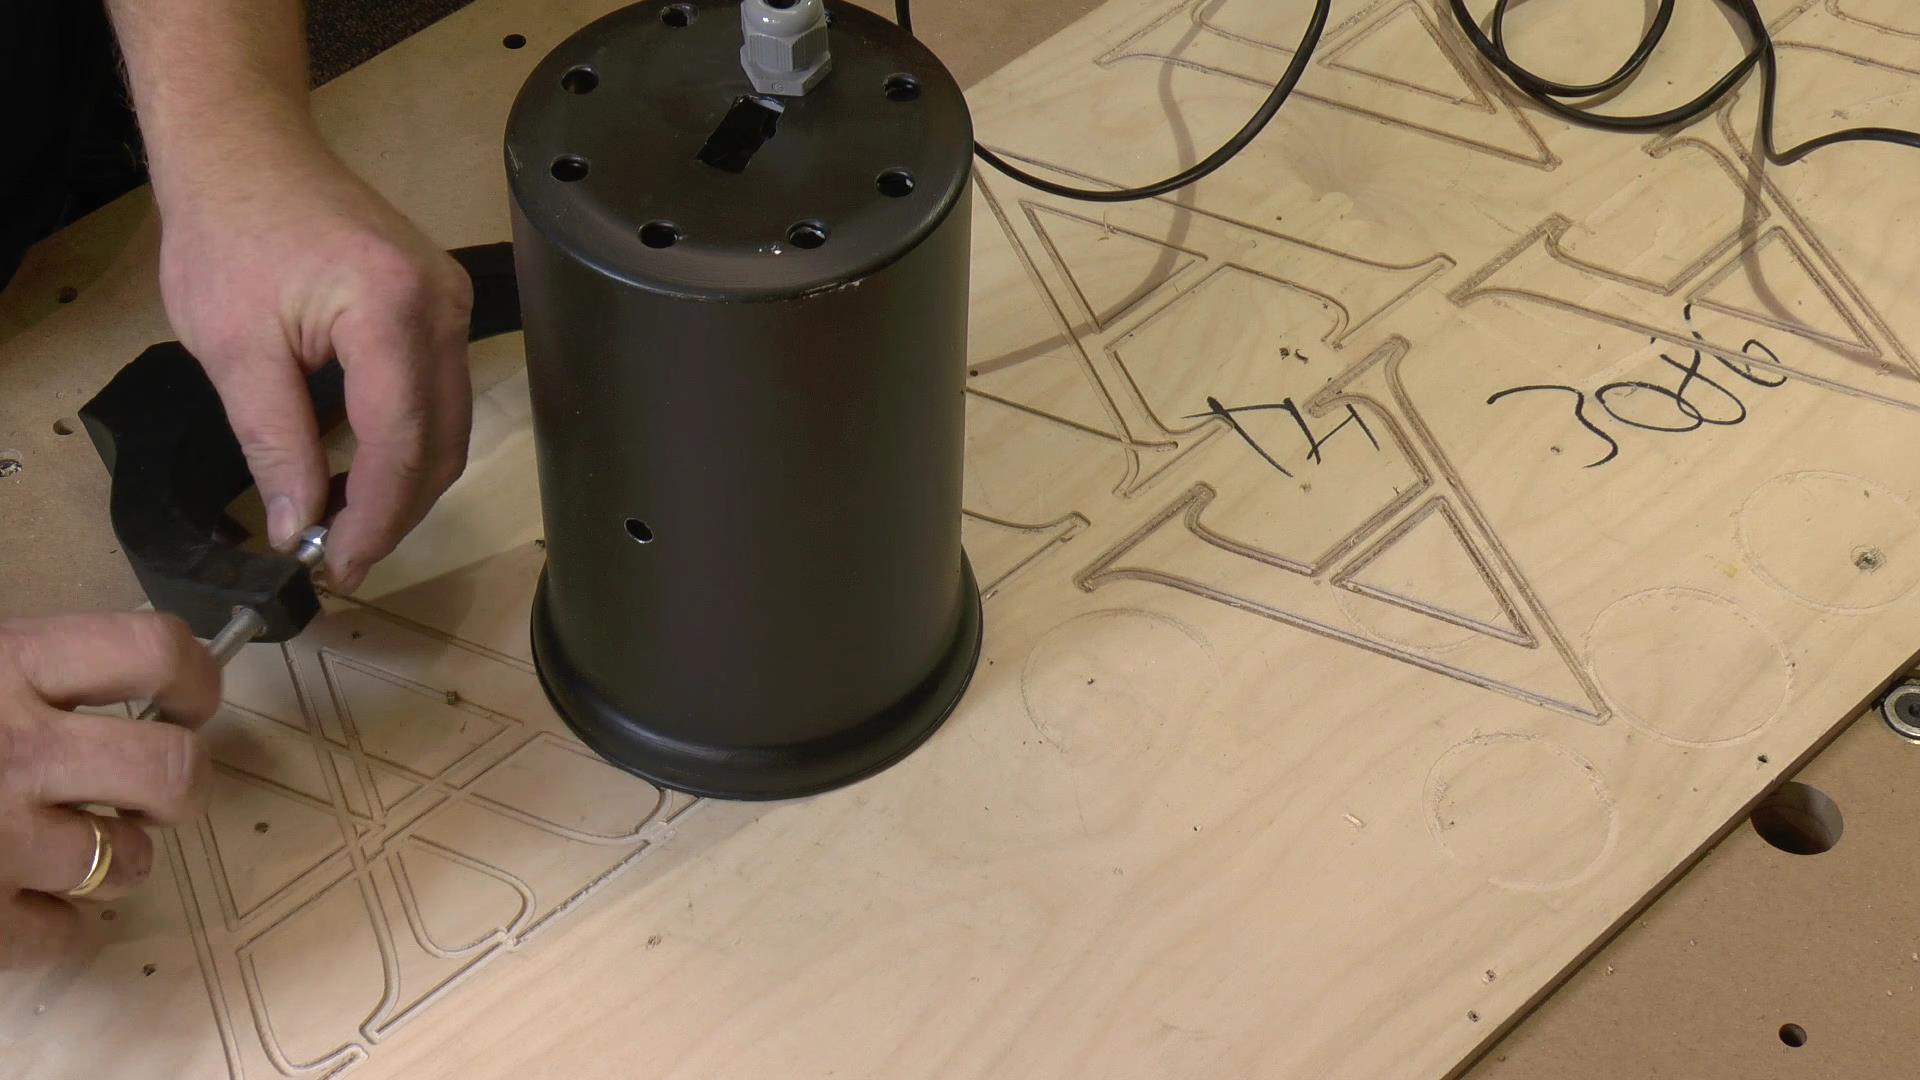
The canister needed some prep work, and I drilled holes in the back for both ventilation and for the switch, along with the power cable attachment.

I removed most of the label by peeling it of, and the remains was released by putting it under hot water in the sink.

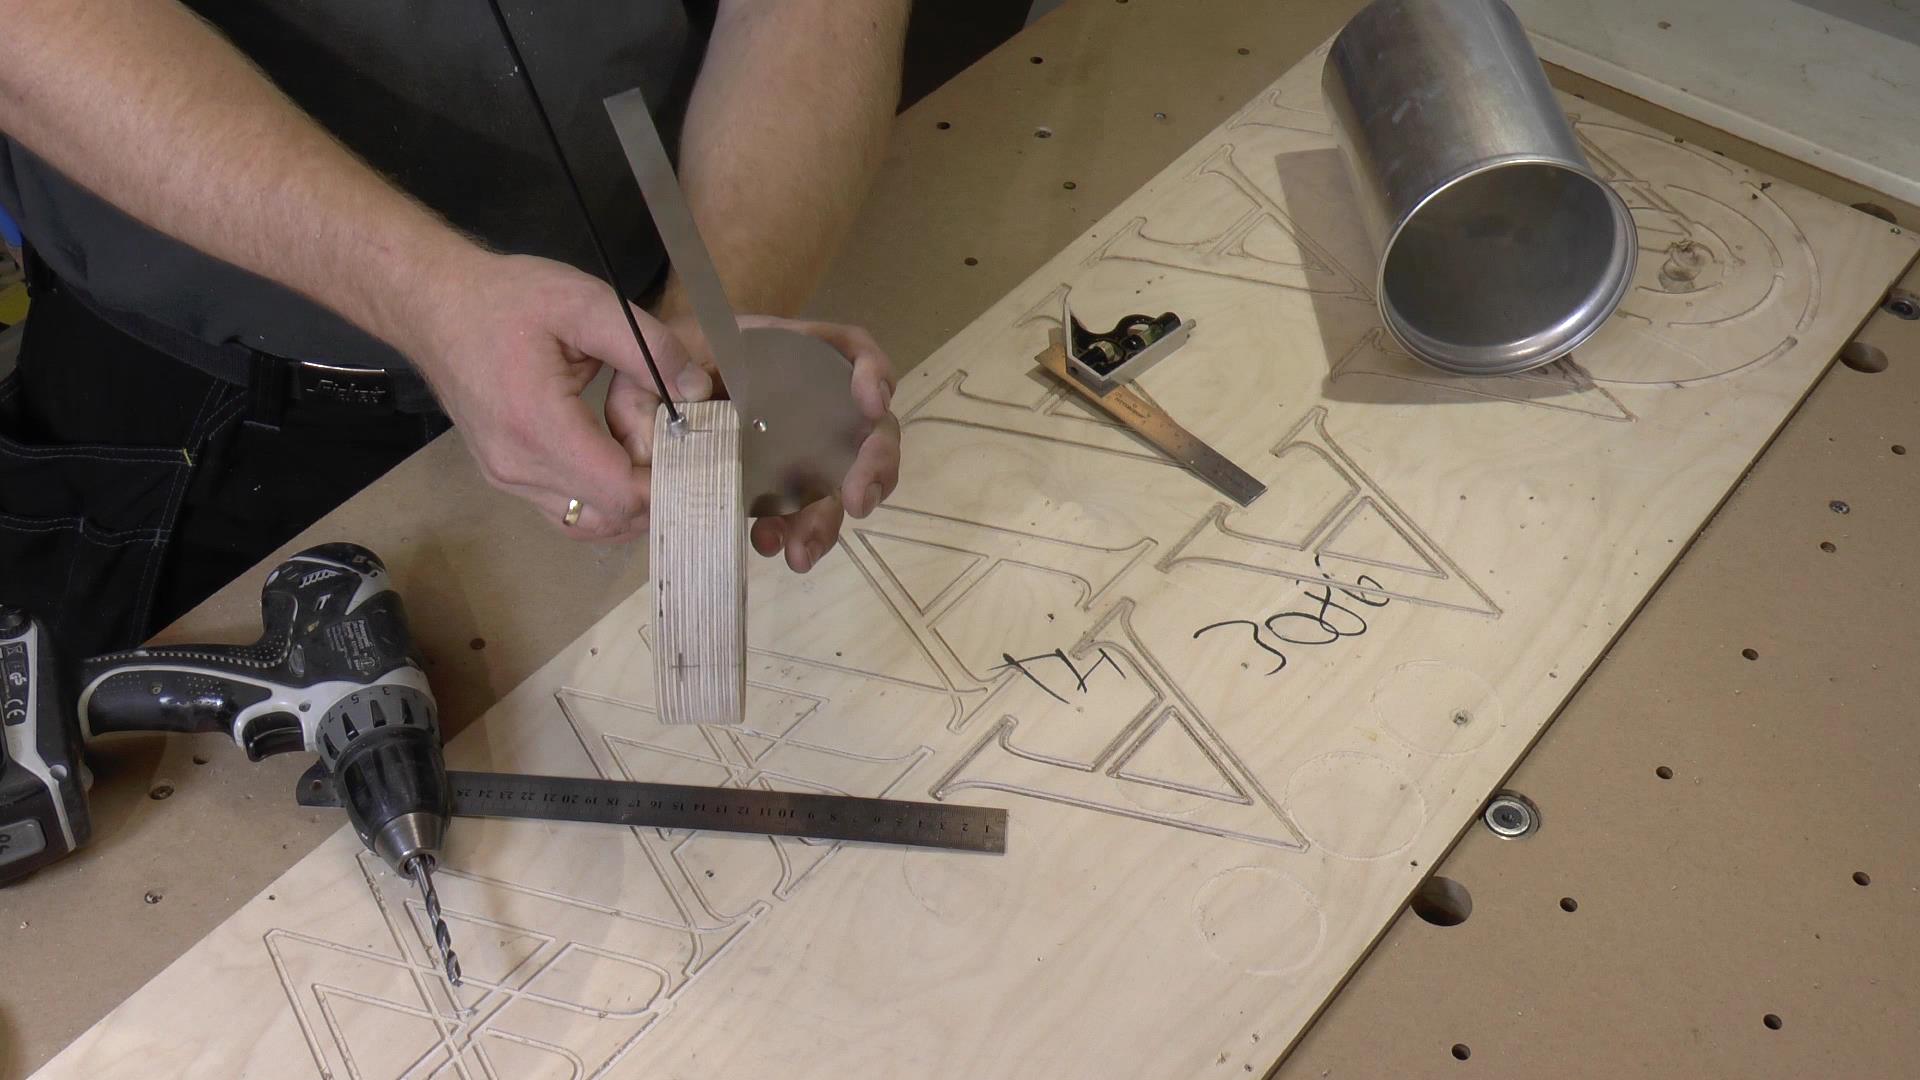
In preparing the led/rod holder, the holes for the rods had to be drilled at a 20 degree angle.
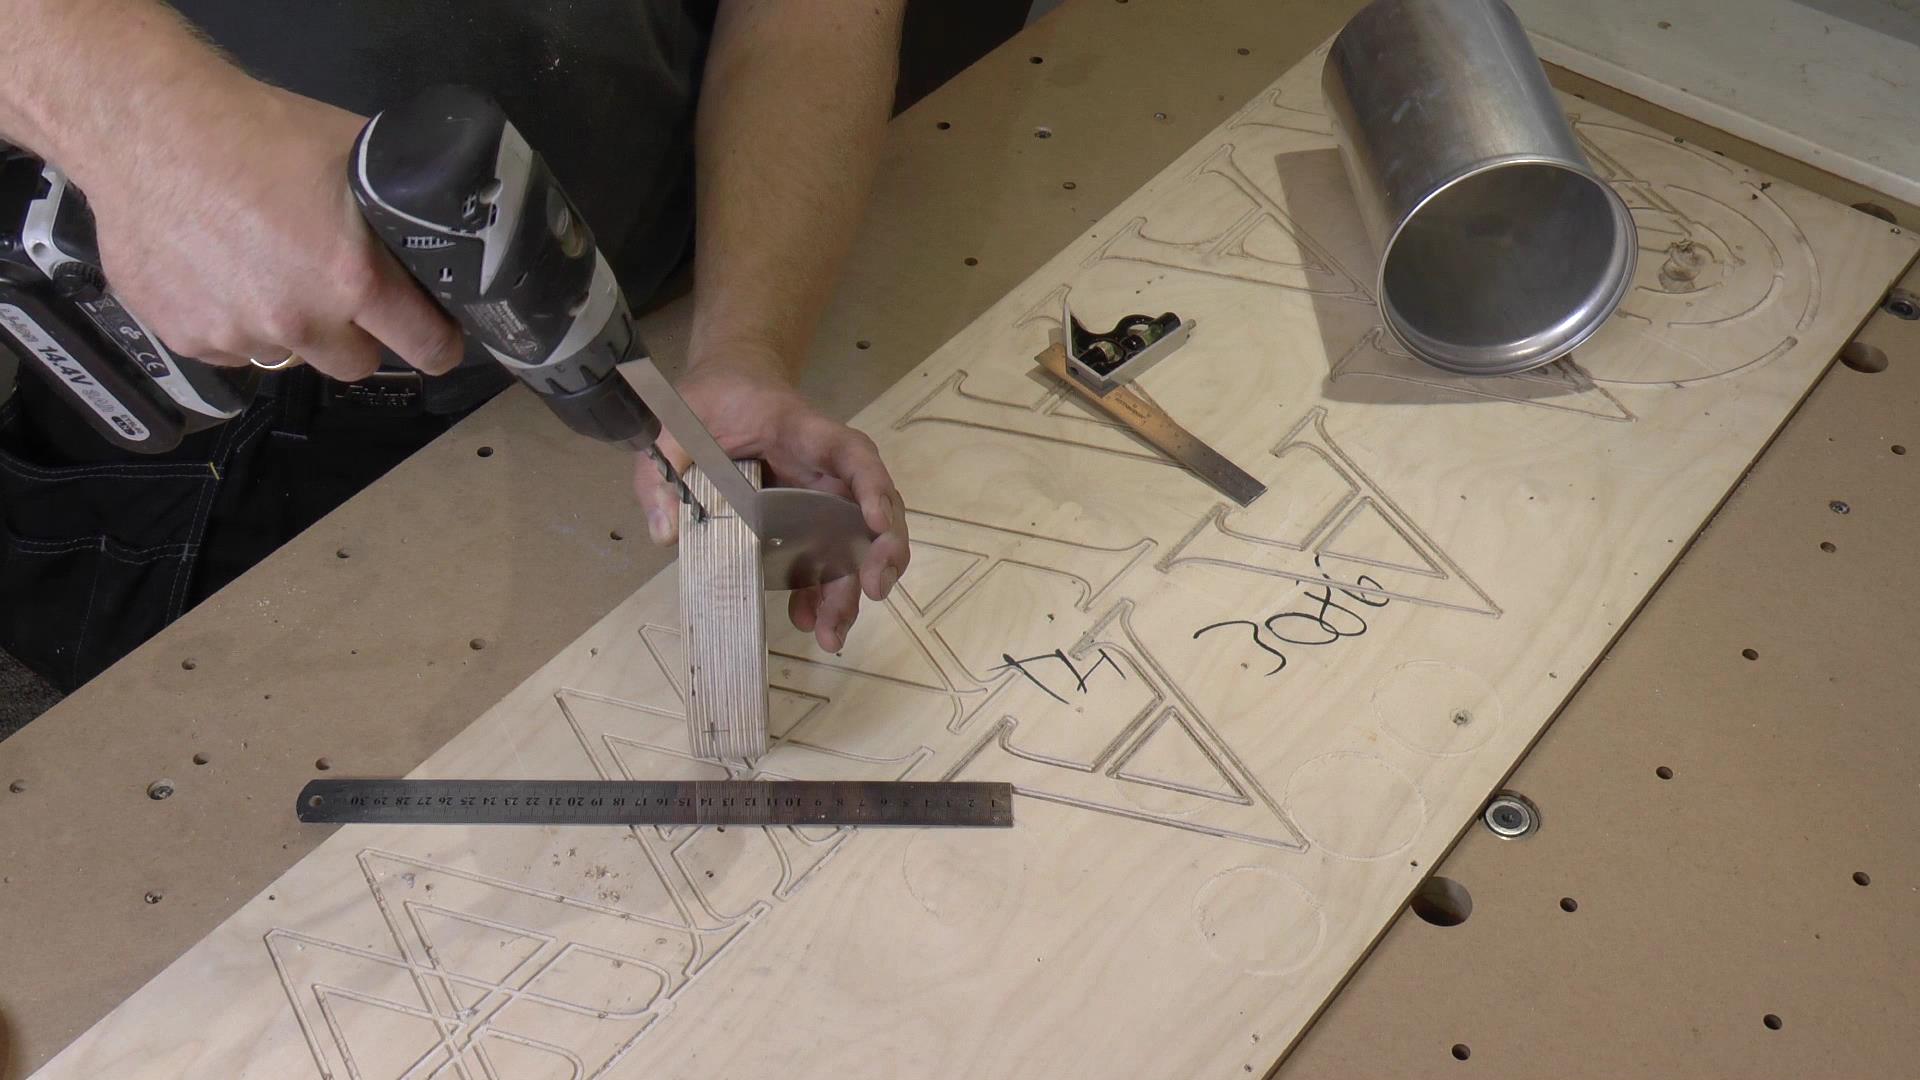
I found the angle by simply placing an angle finder next to the drill bit
The support for the electronics are glued in place
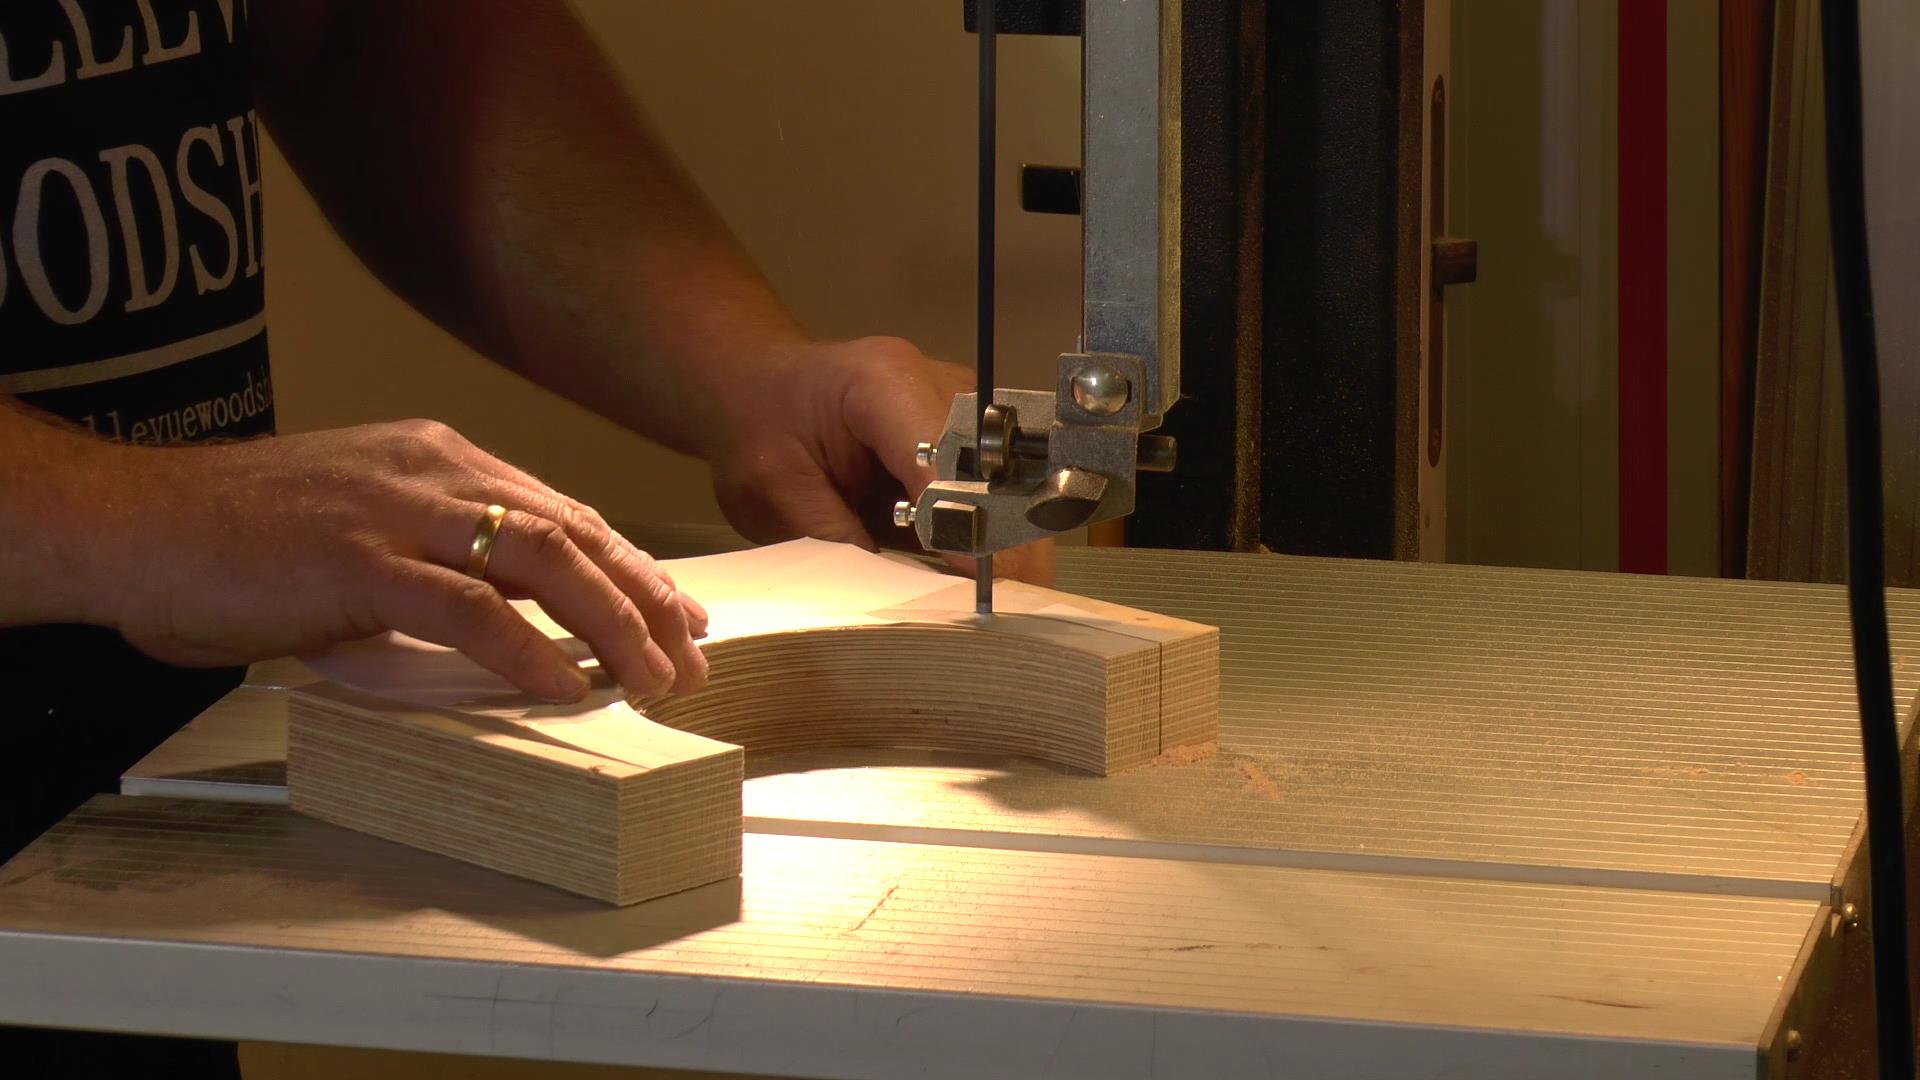
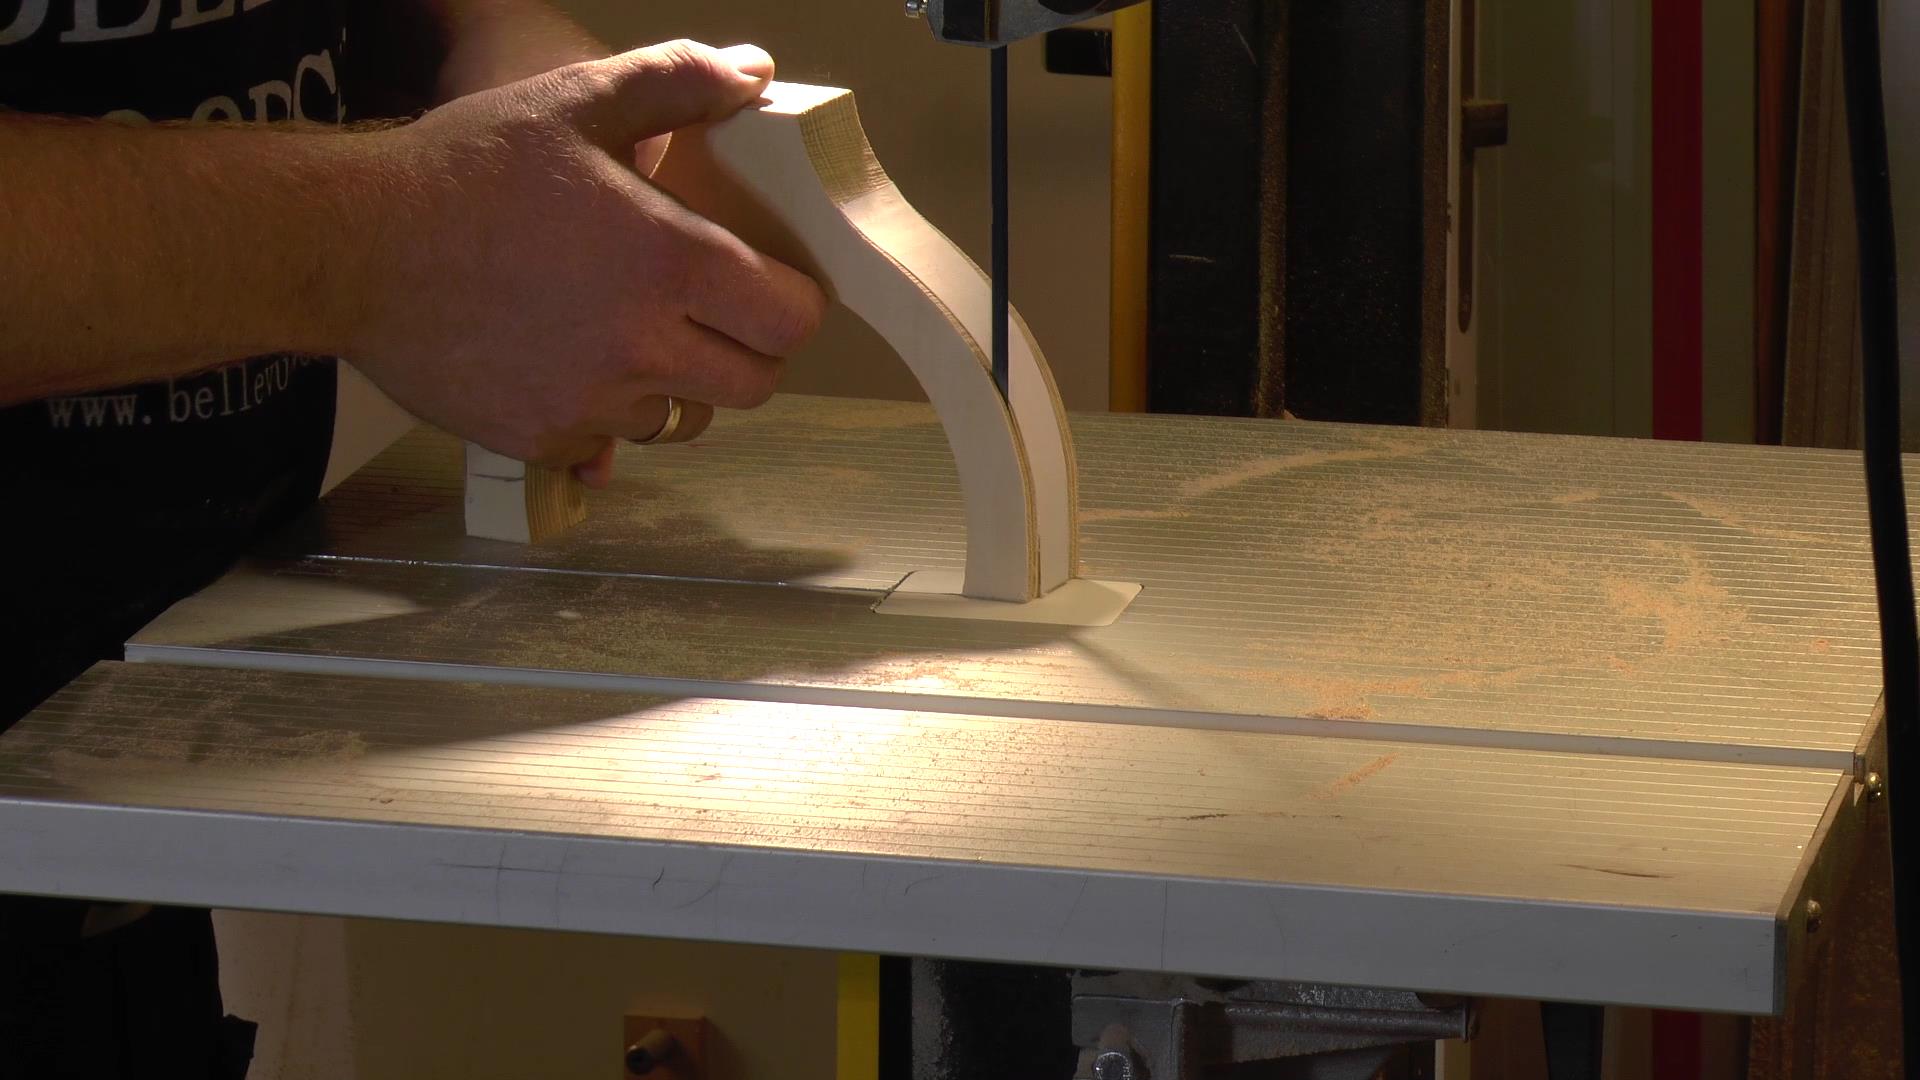
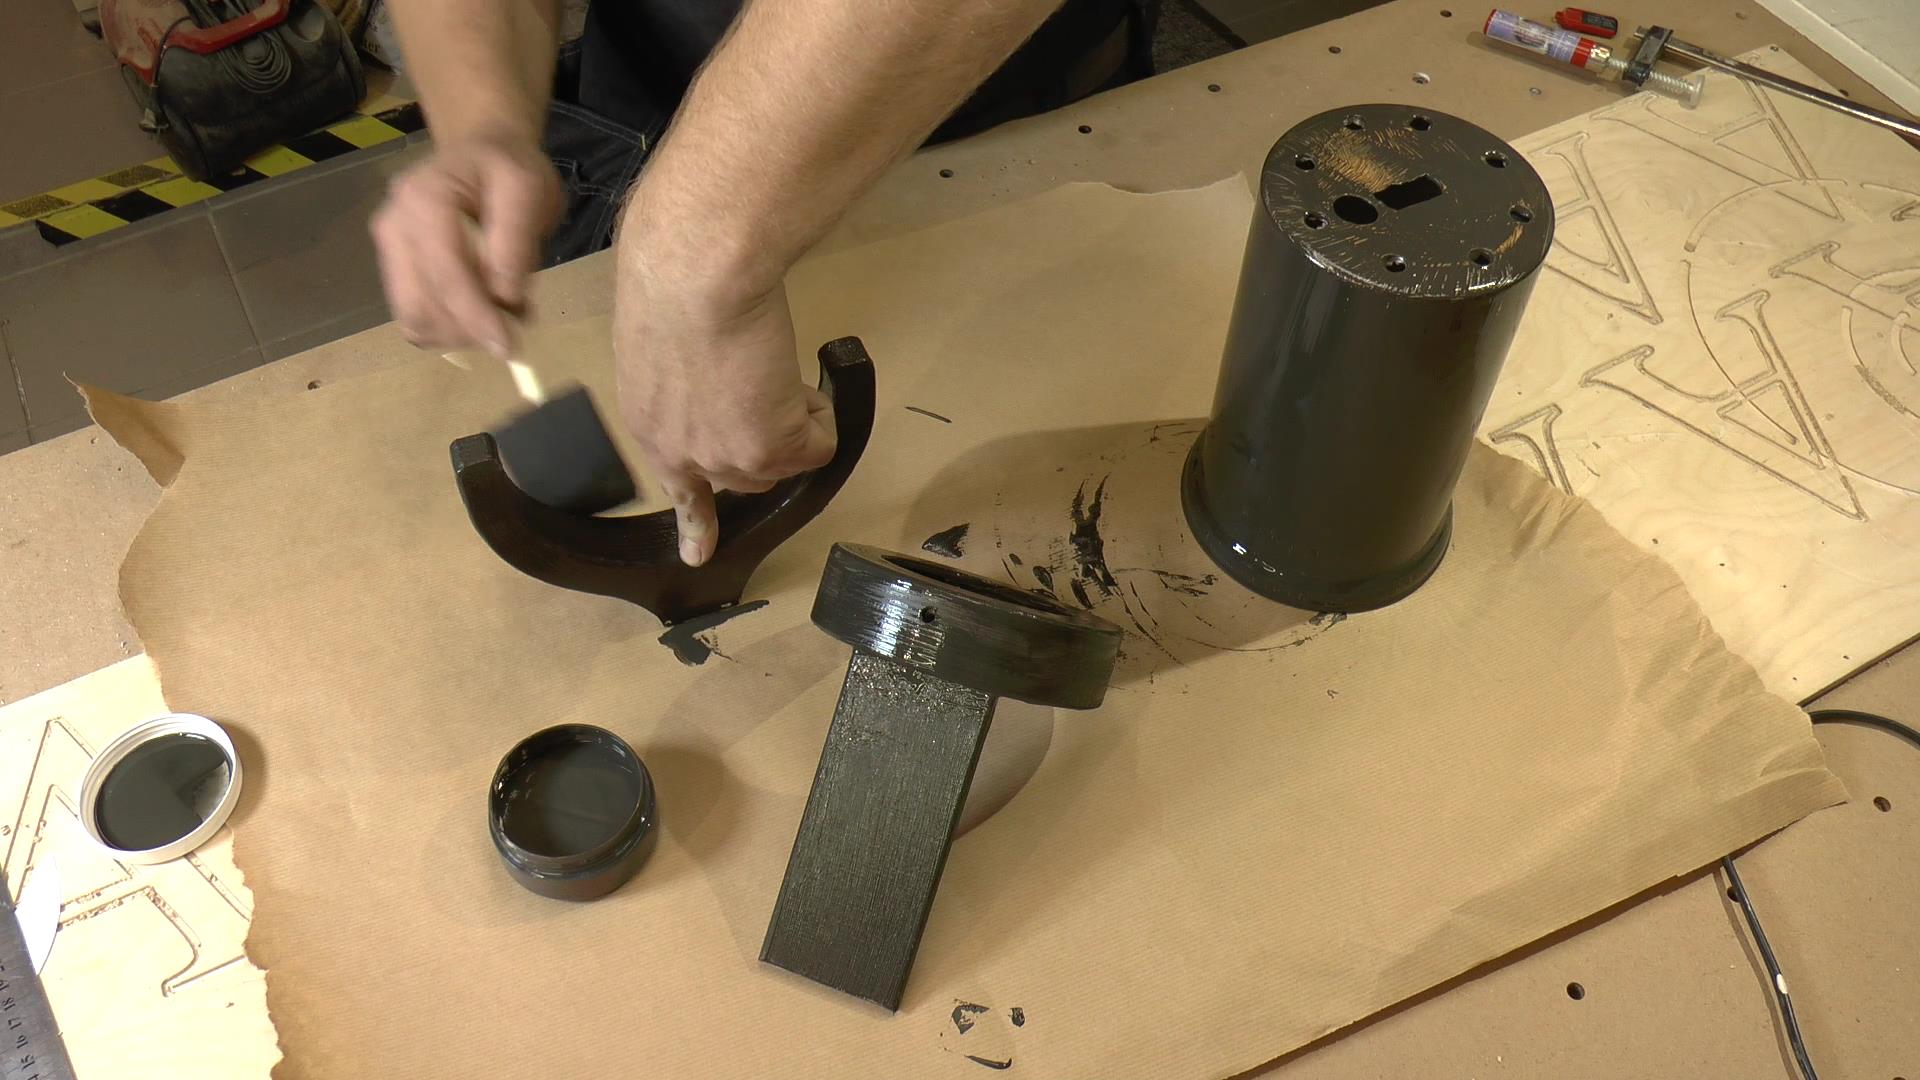
To attach the canister to the stand, I needed to make a “fork”, and drew something in sketchup, and printed it out. It was glued to the waste from cutting the led/rod holder, which btw was a lamination of 2pc of 18mm baltic birch plywood.
The fork was cut out on the band saw and edge treated.
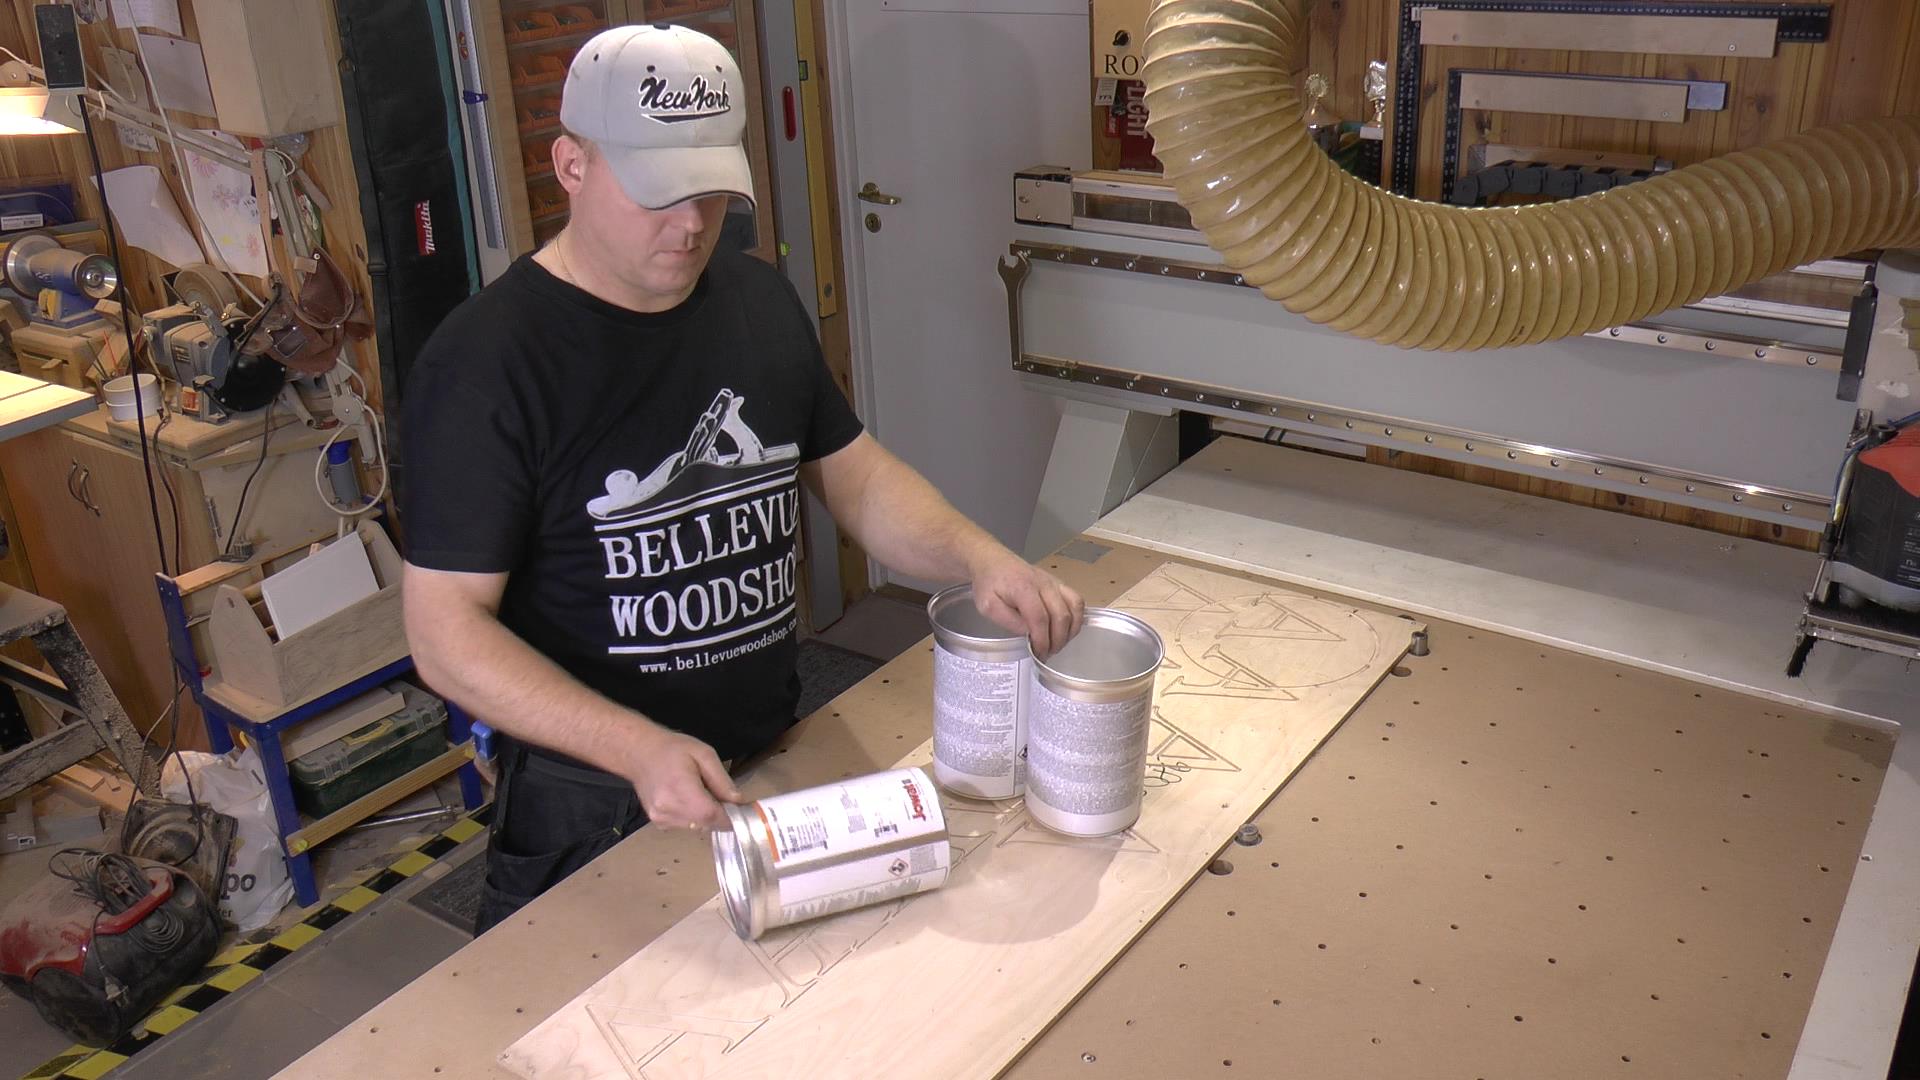
All the parts was given 2 coats of flat black paint.
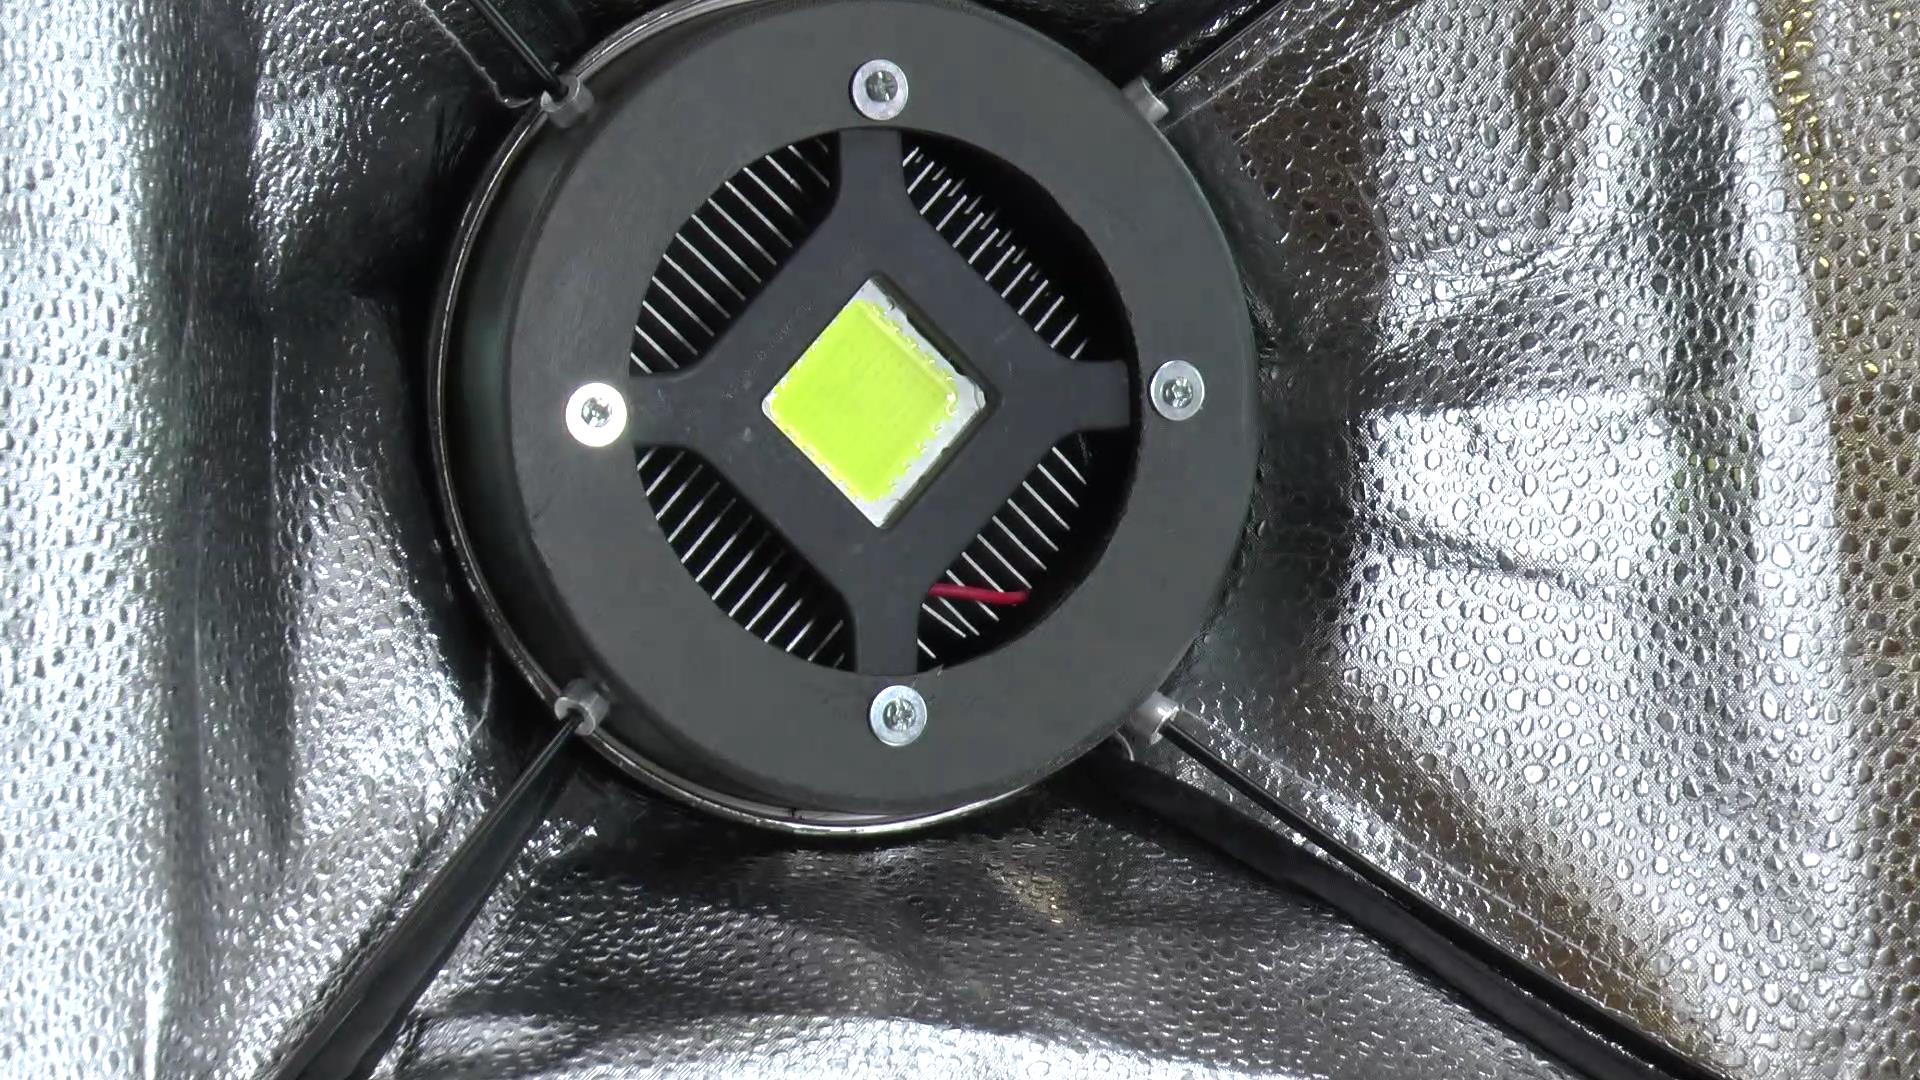
The LED fixture and heat sink are mounted with 4 pc M4 screws

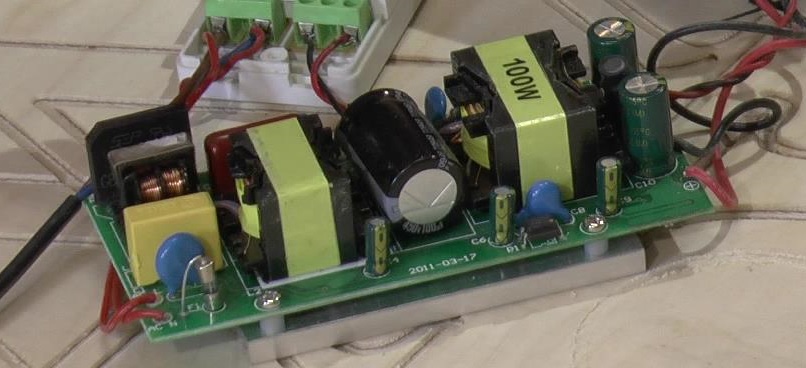
And both drivers are hot glued onto the base plate
I drilled a hole to accommodate the 8mm threaded rod

The threaded rod is inserted with a nut on each side of the canister wall to lock it in place
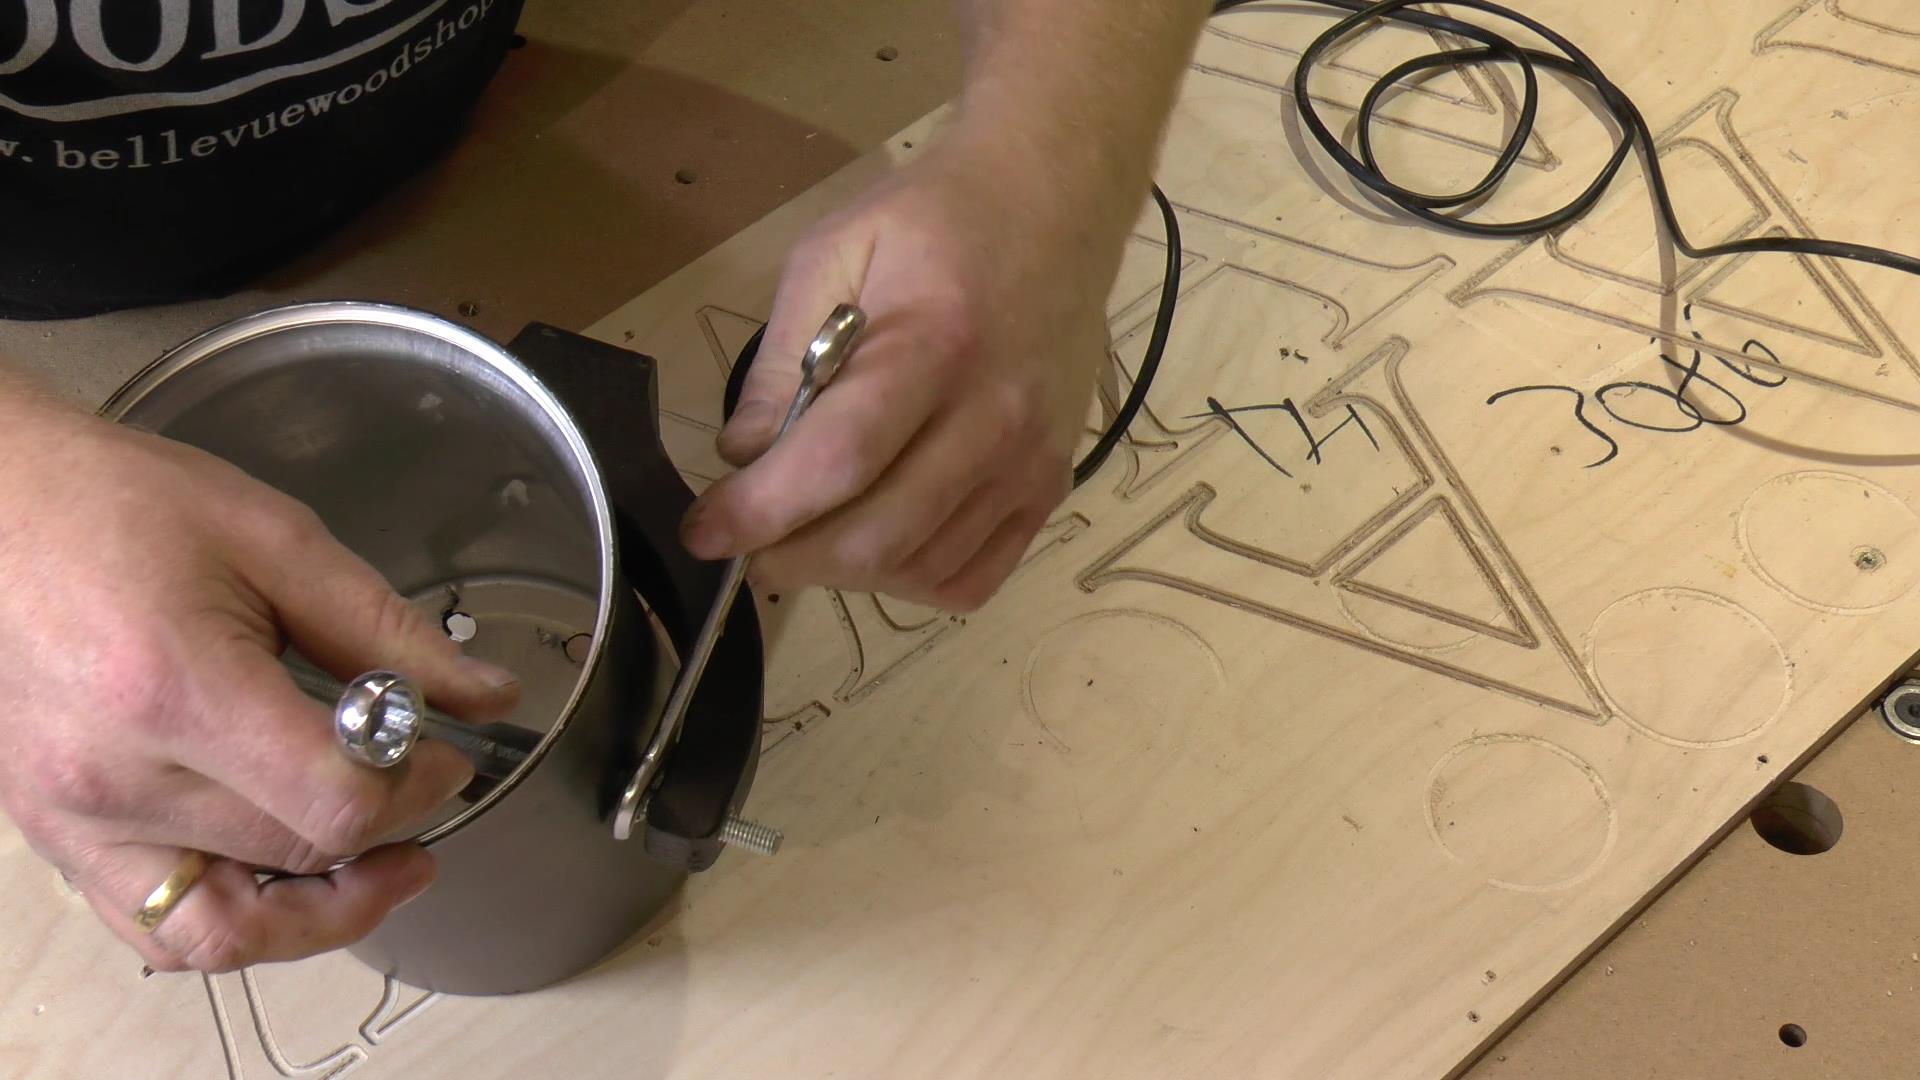
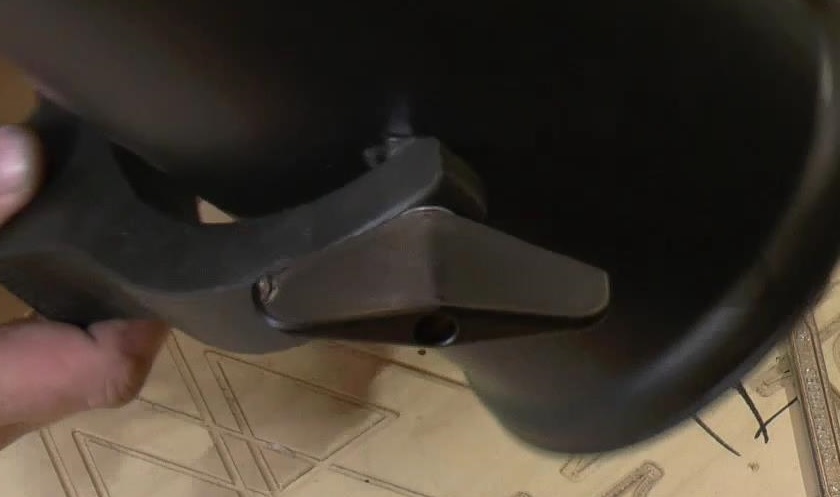
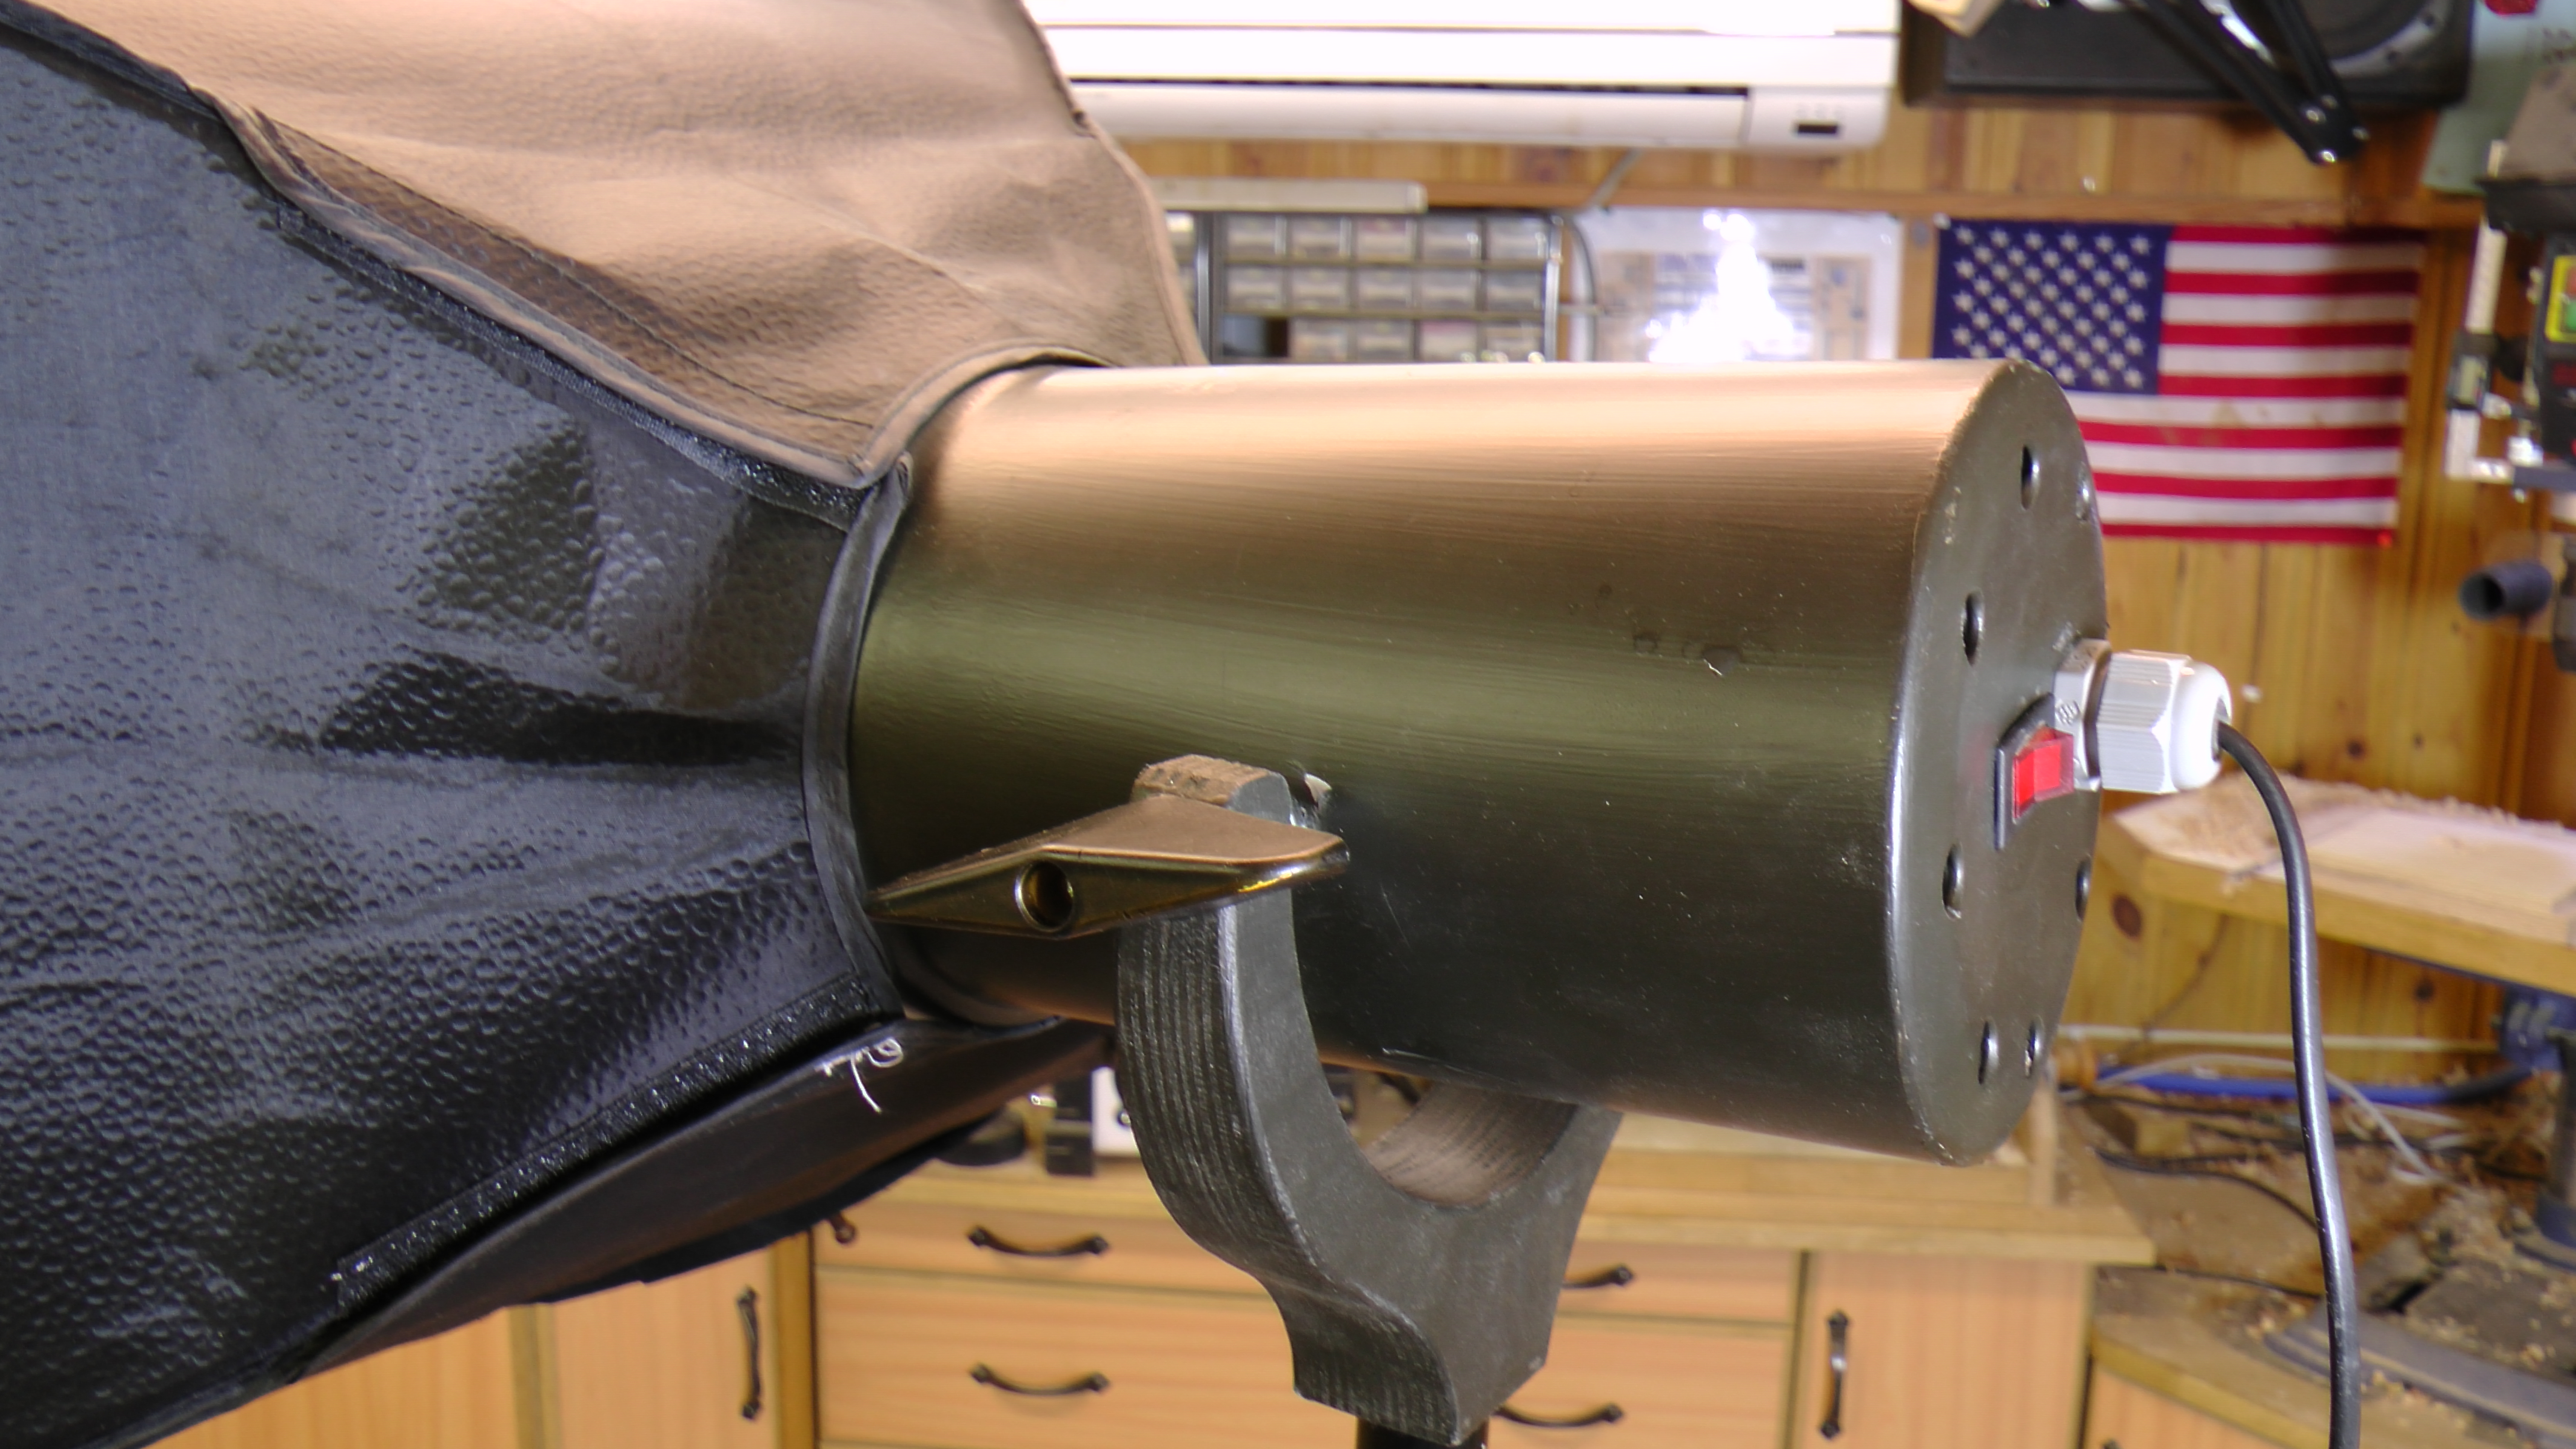
A washer and some knobs from an old lawnmower painted black is used to secure the fork to the canister.
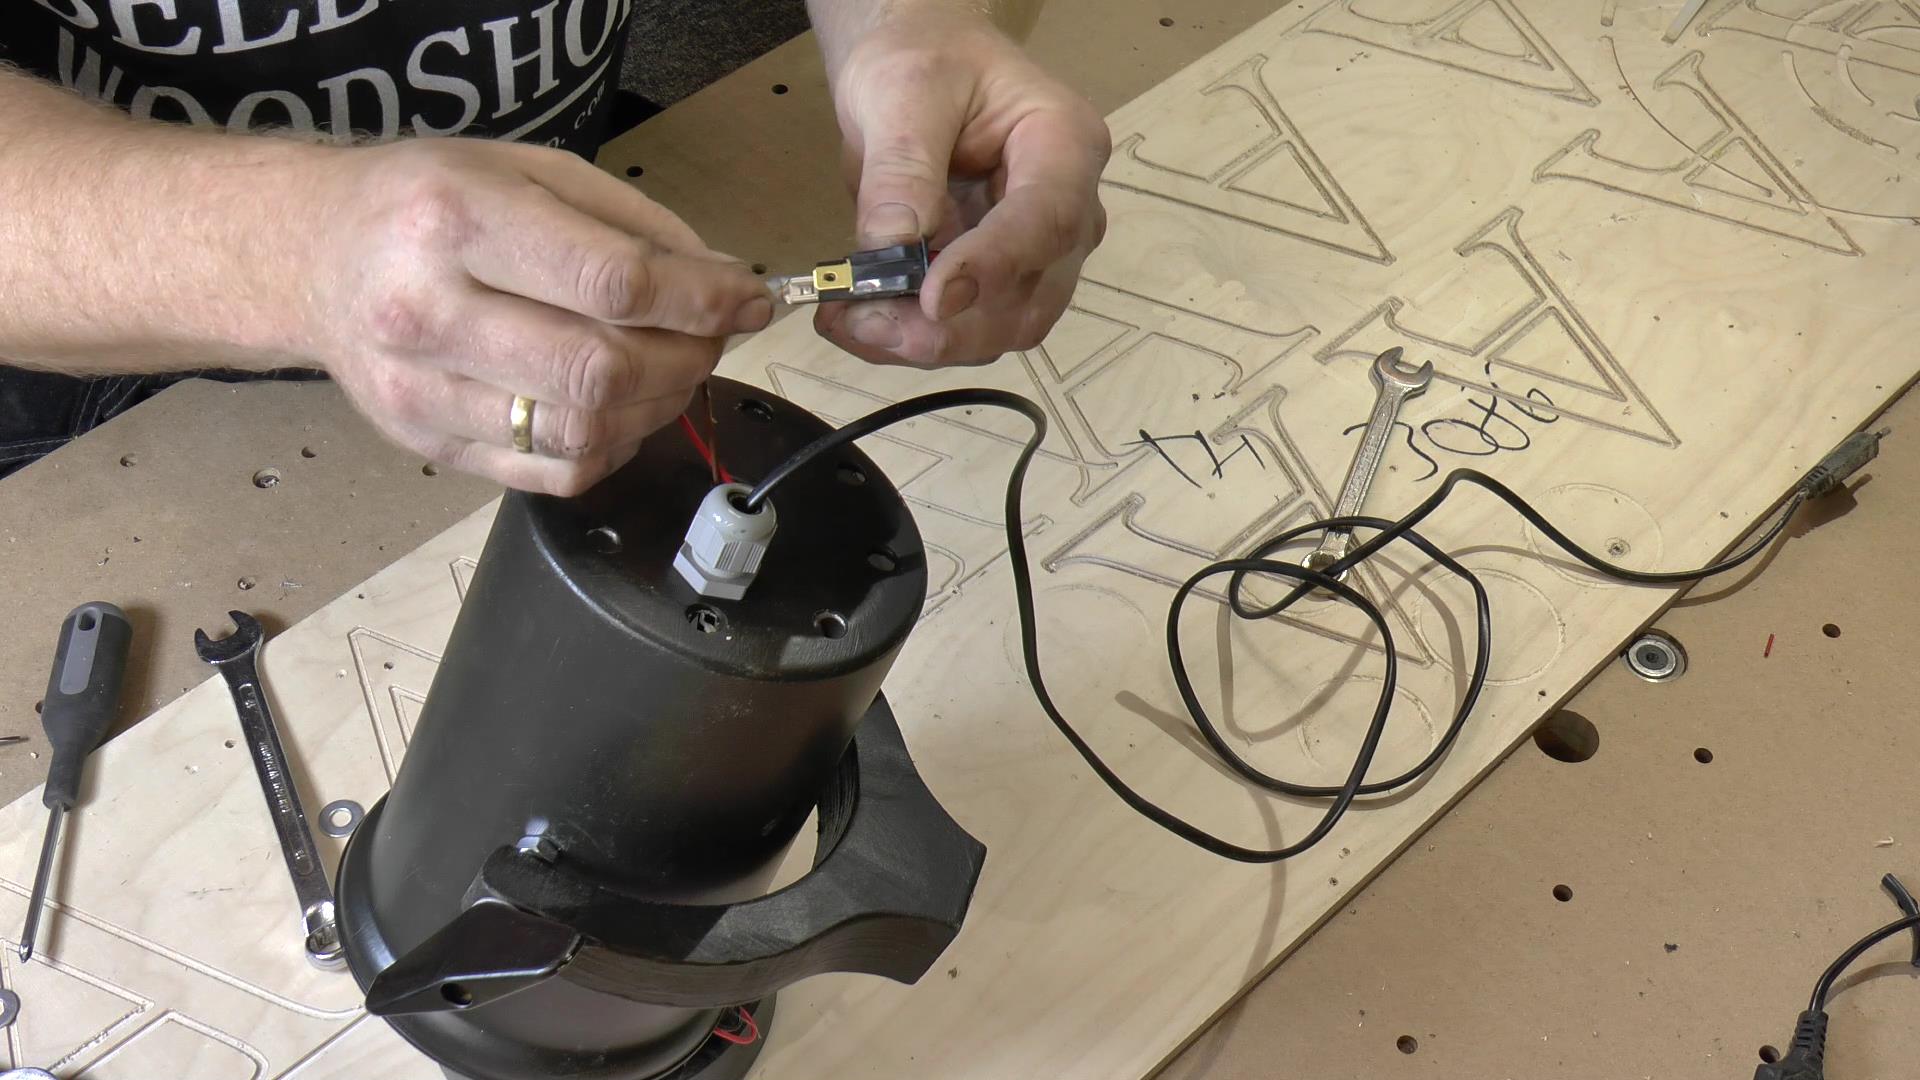
Connecting mains to the drivers
And installing the power switch at the back
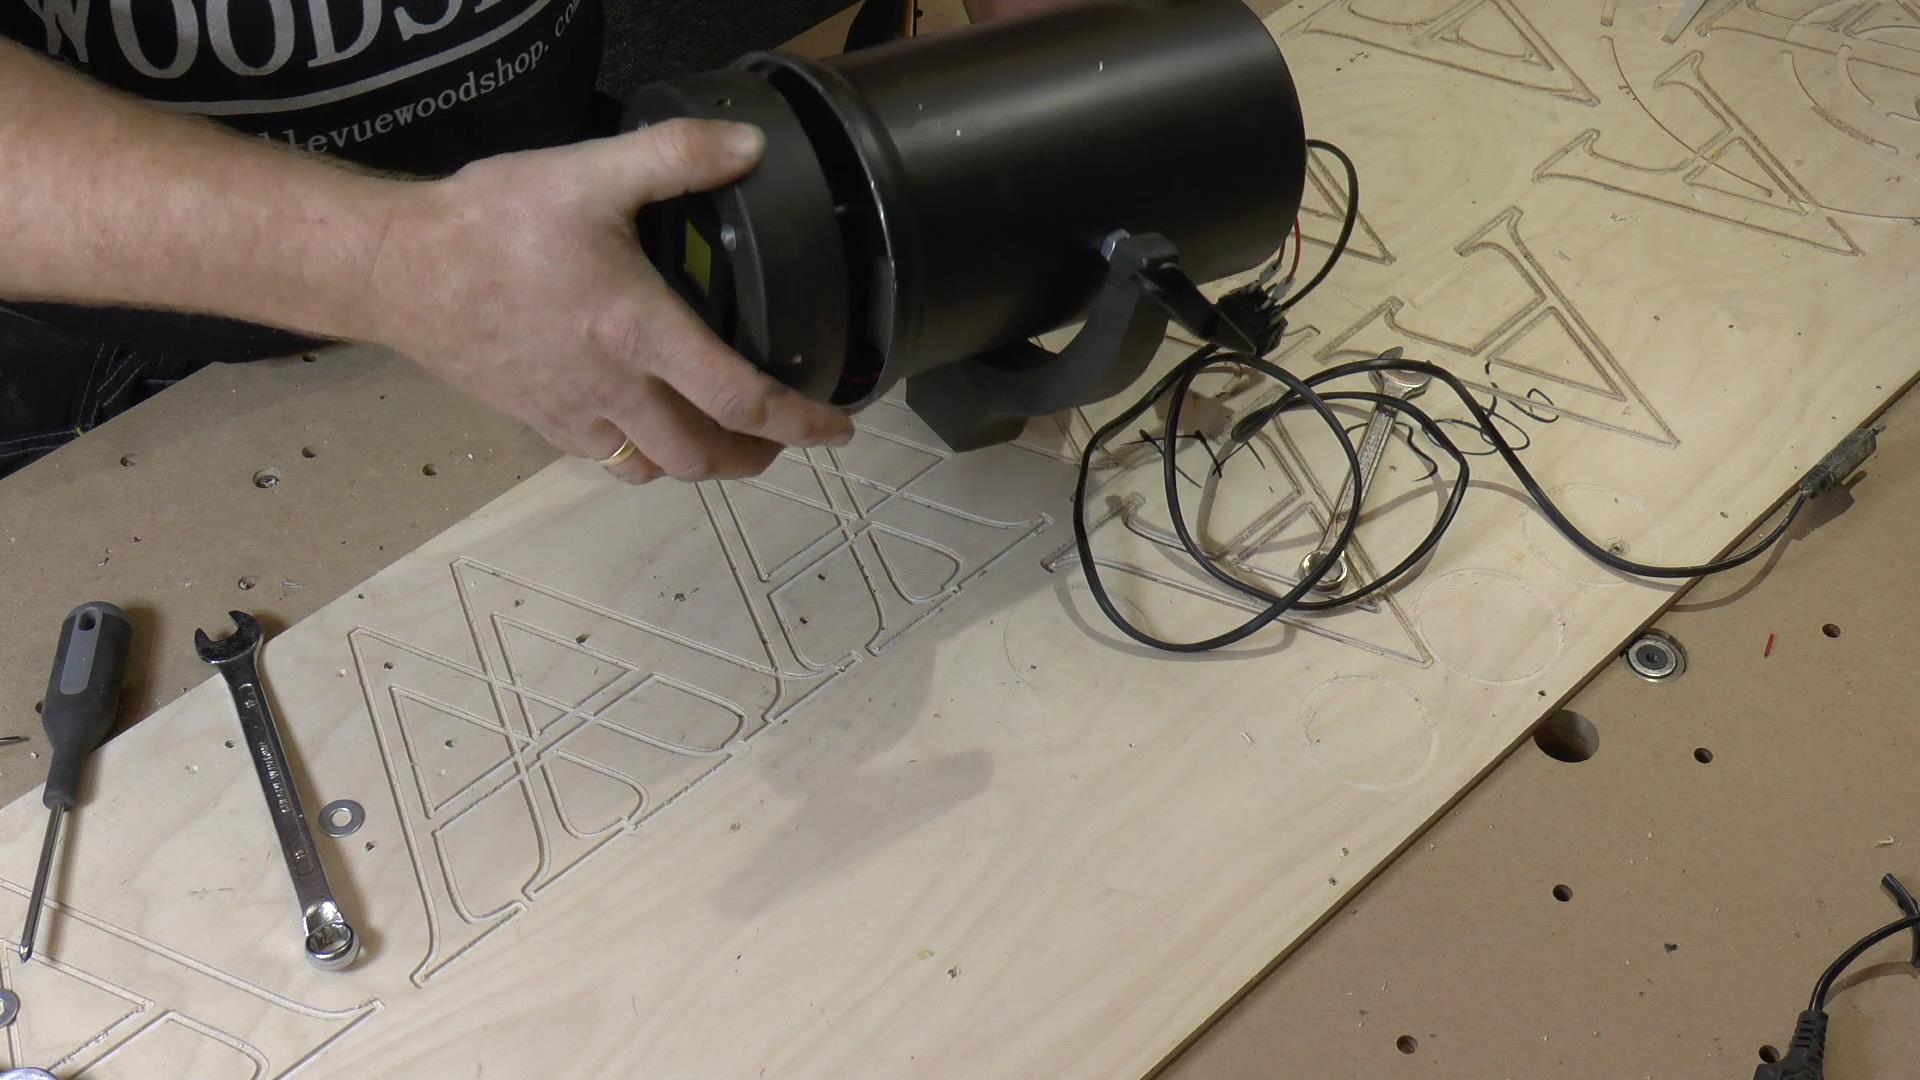
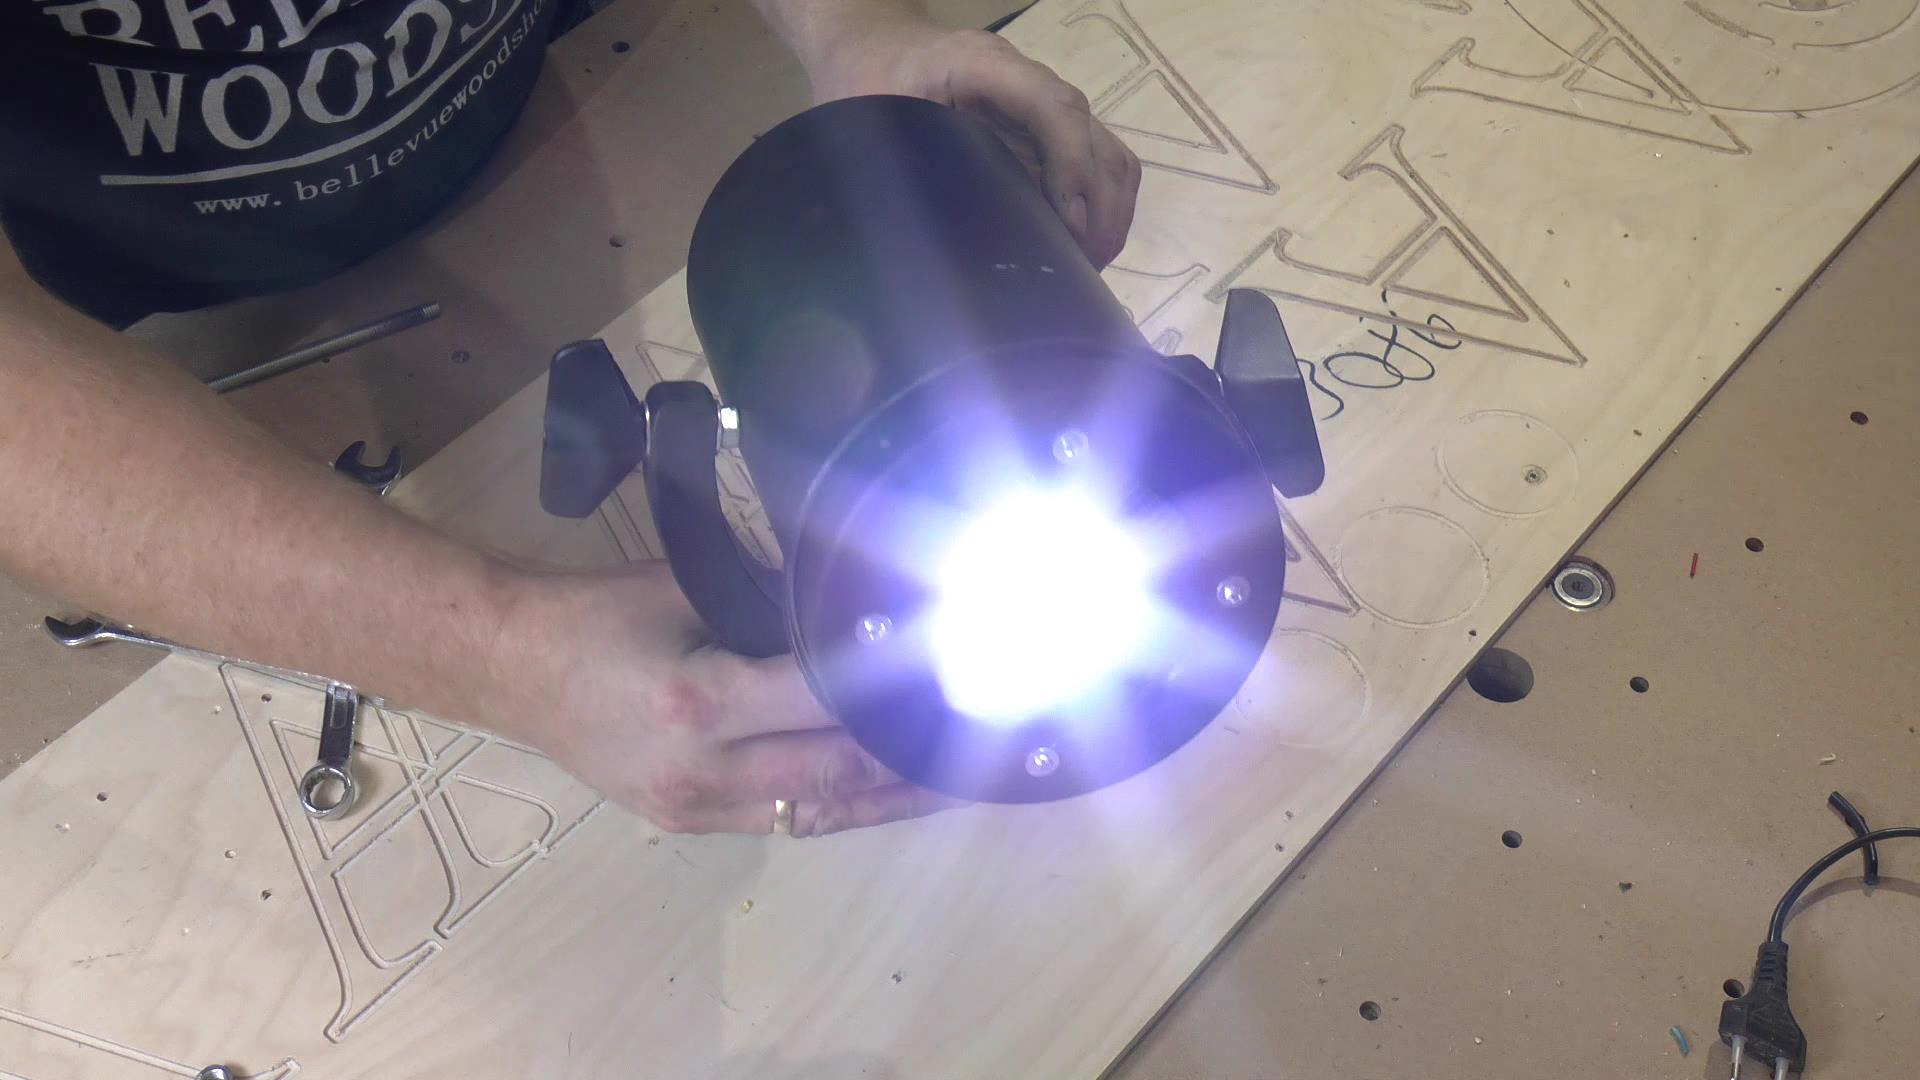
And the LED fixture is just press fitted in the opening. It can also be locked with some small screws from the inside if it where to come loos. But the friction fit works for now
And the light output is pretty hefty
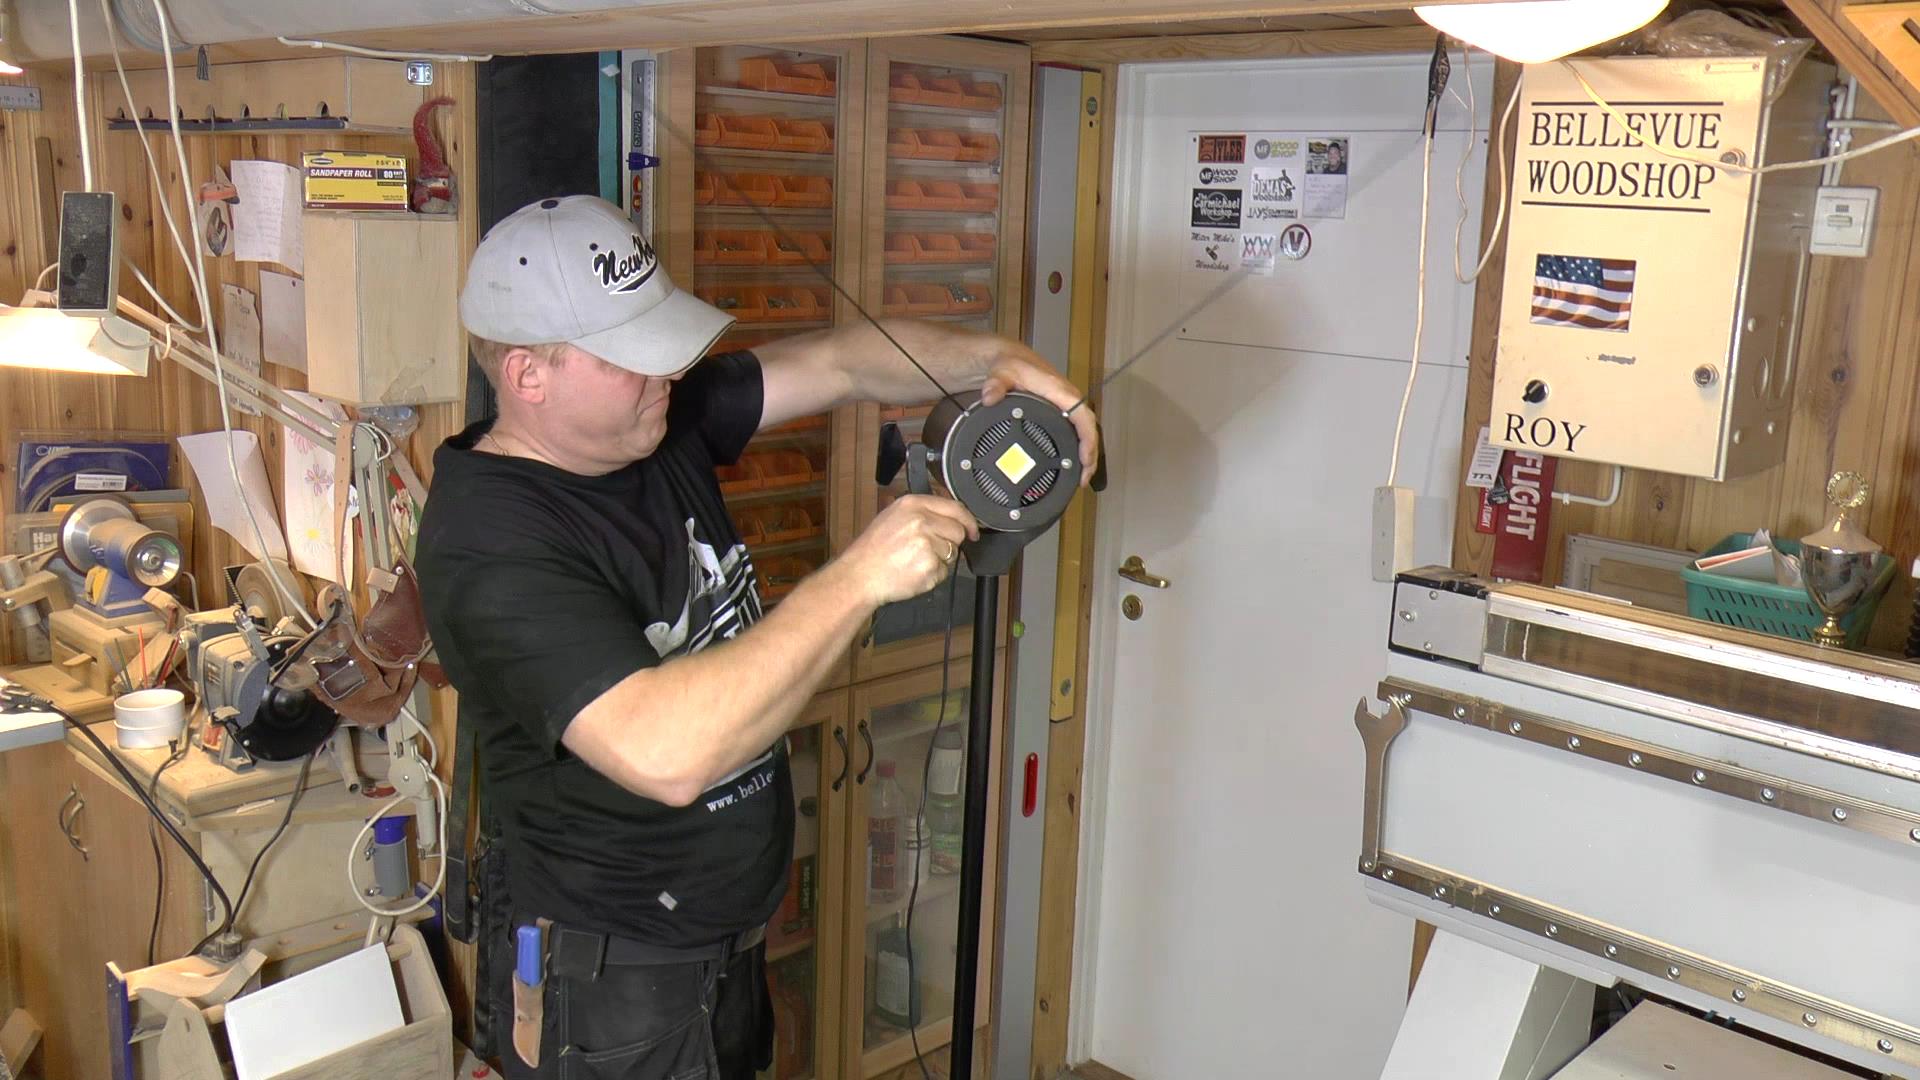
Installing the lamp on the stand is just a matter of slipping it on

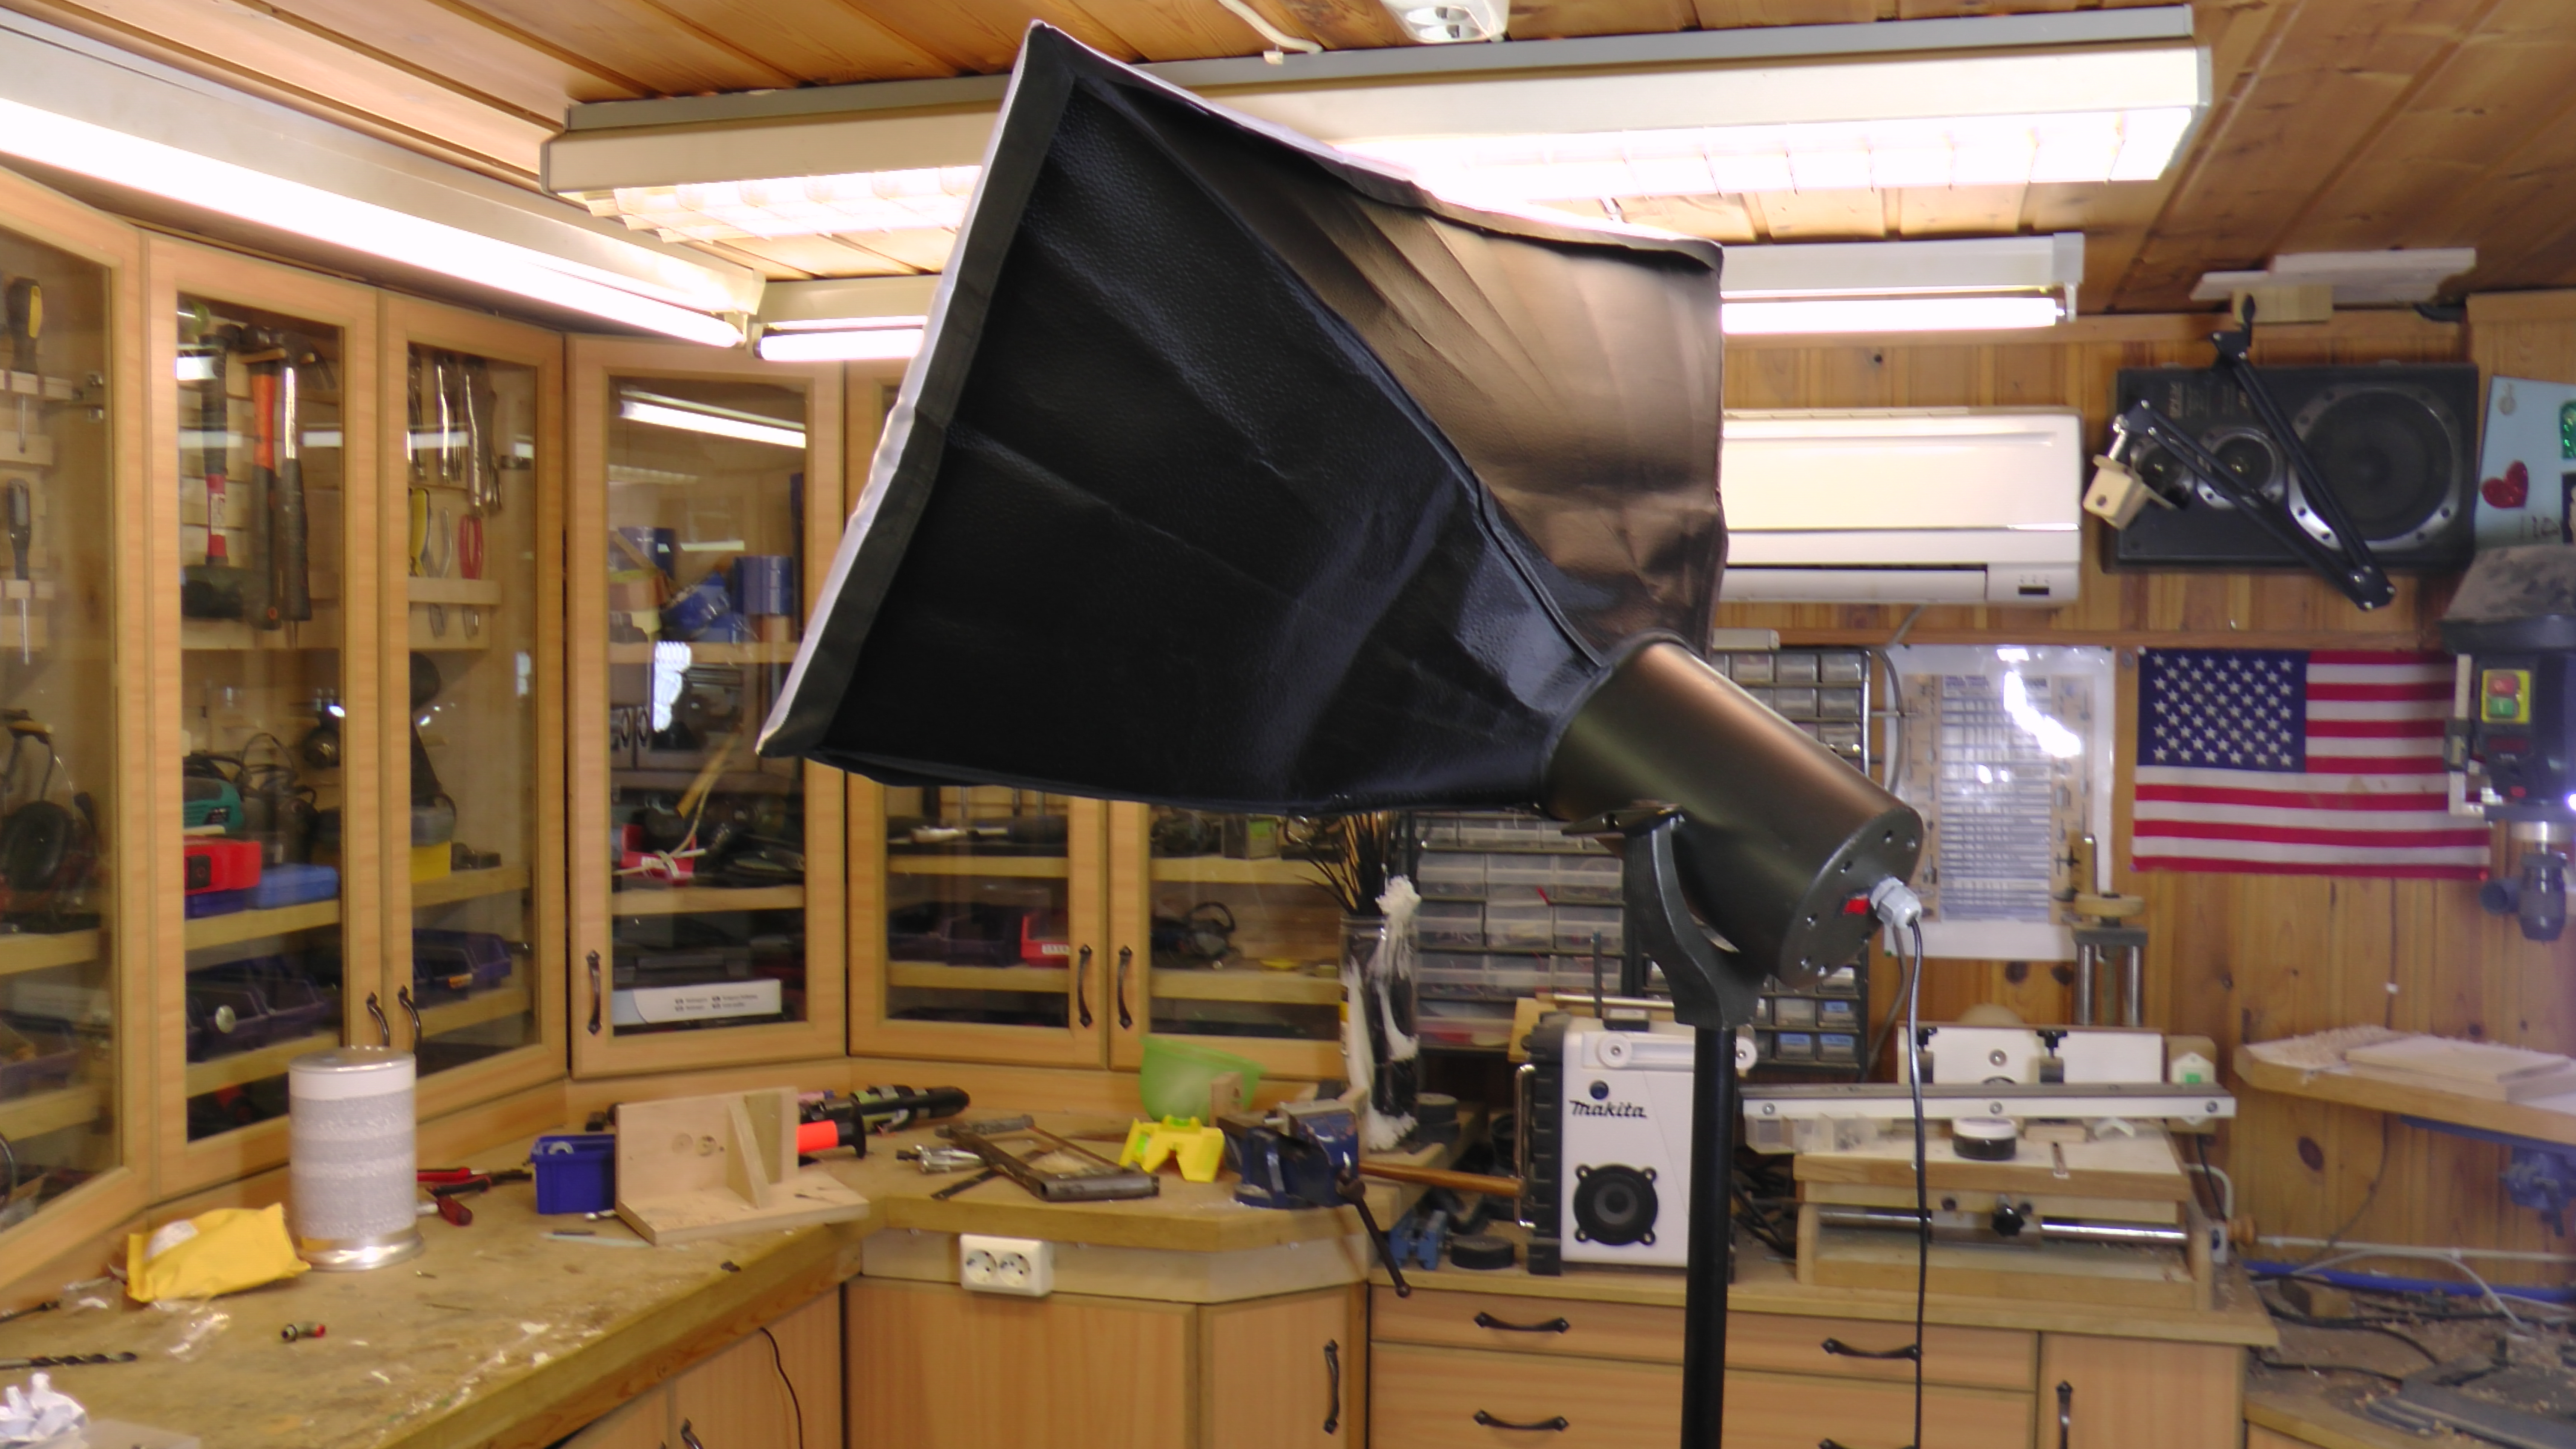
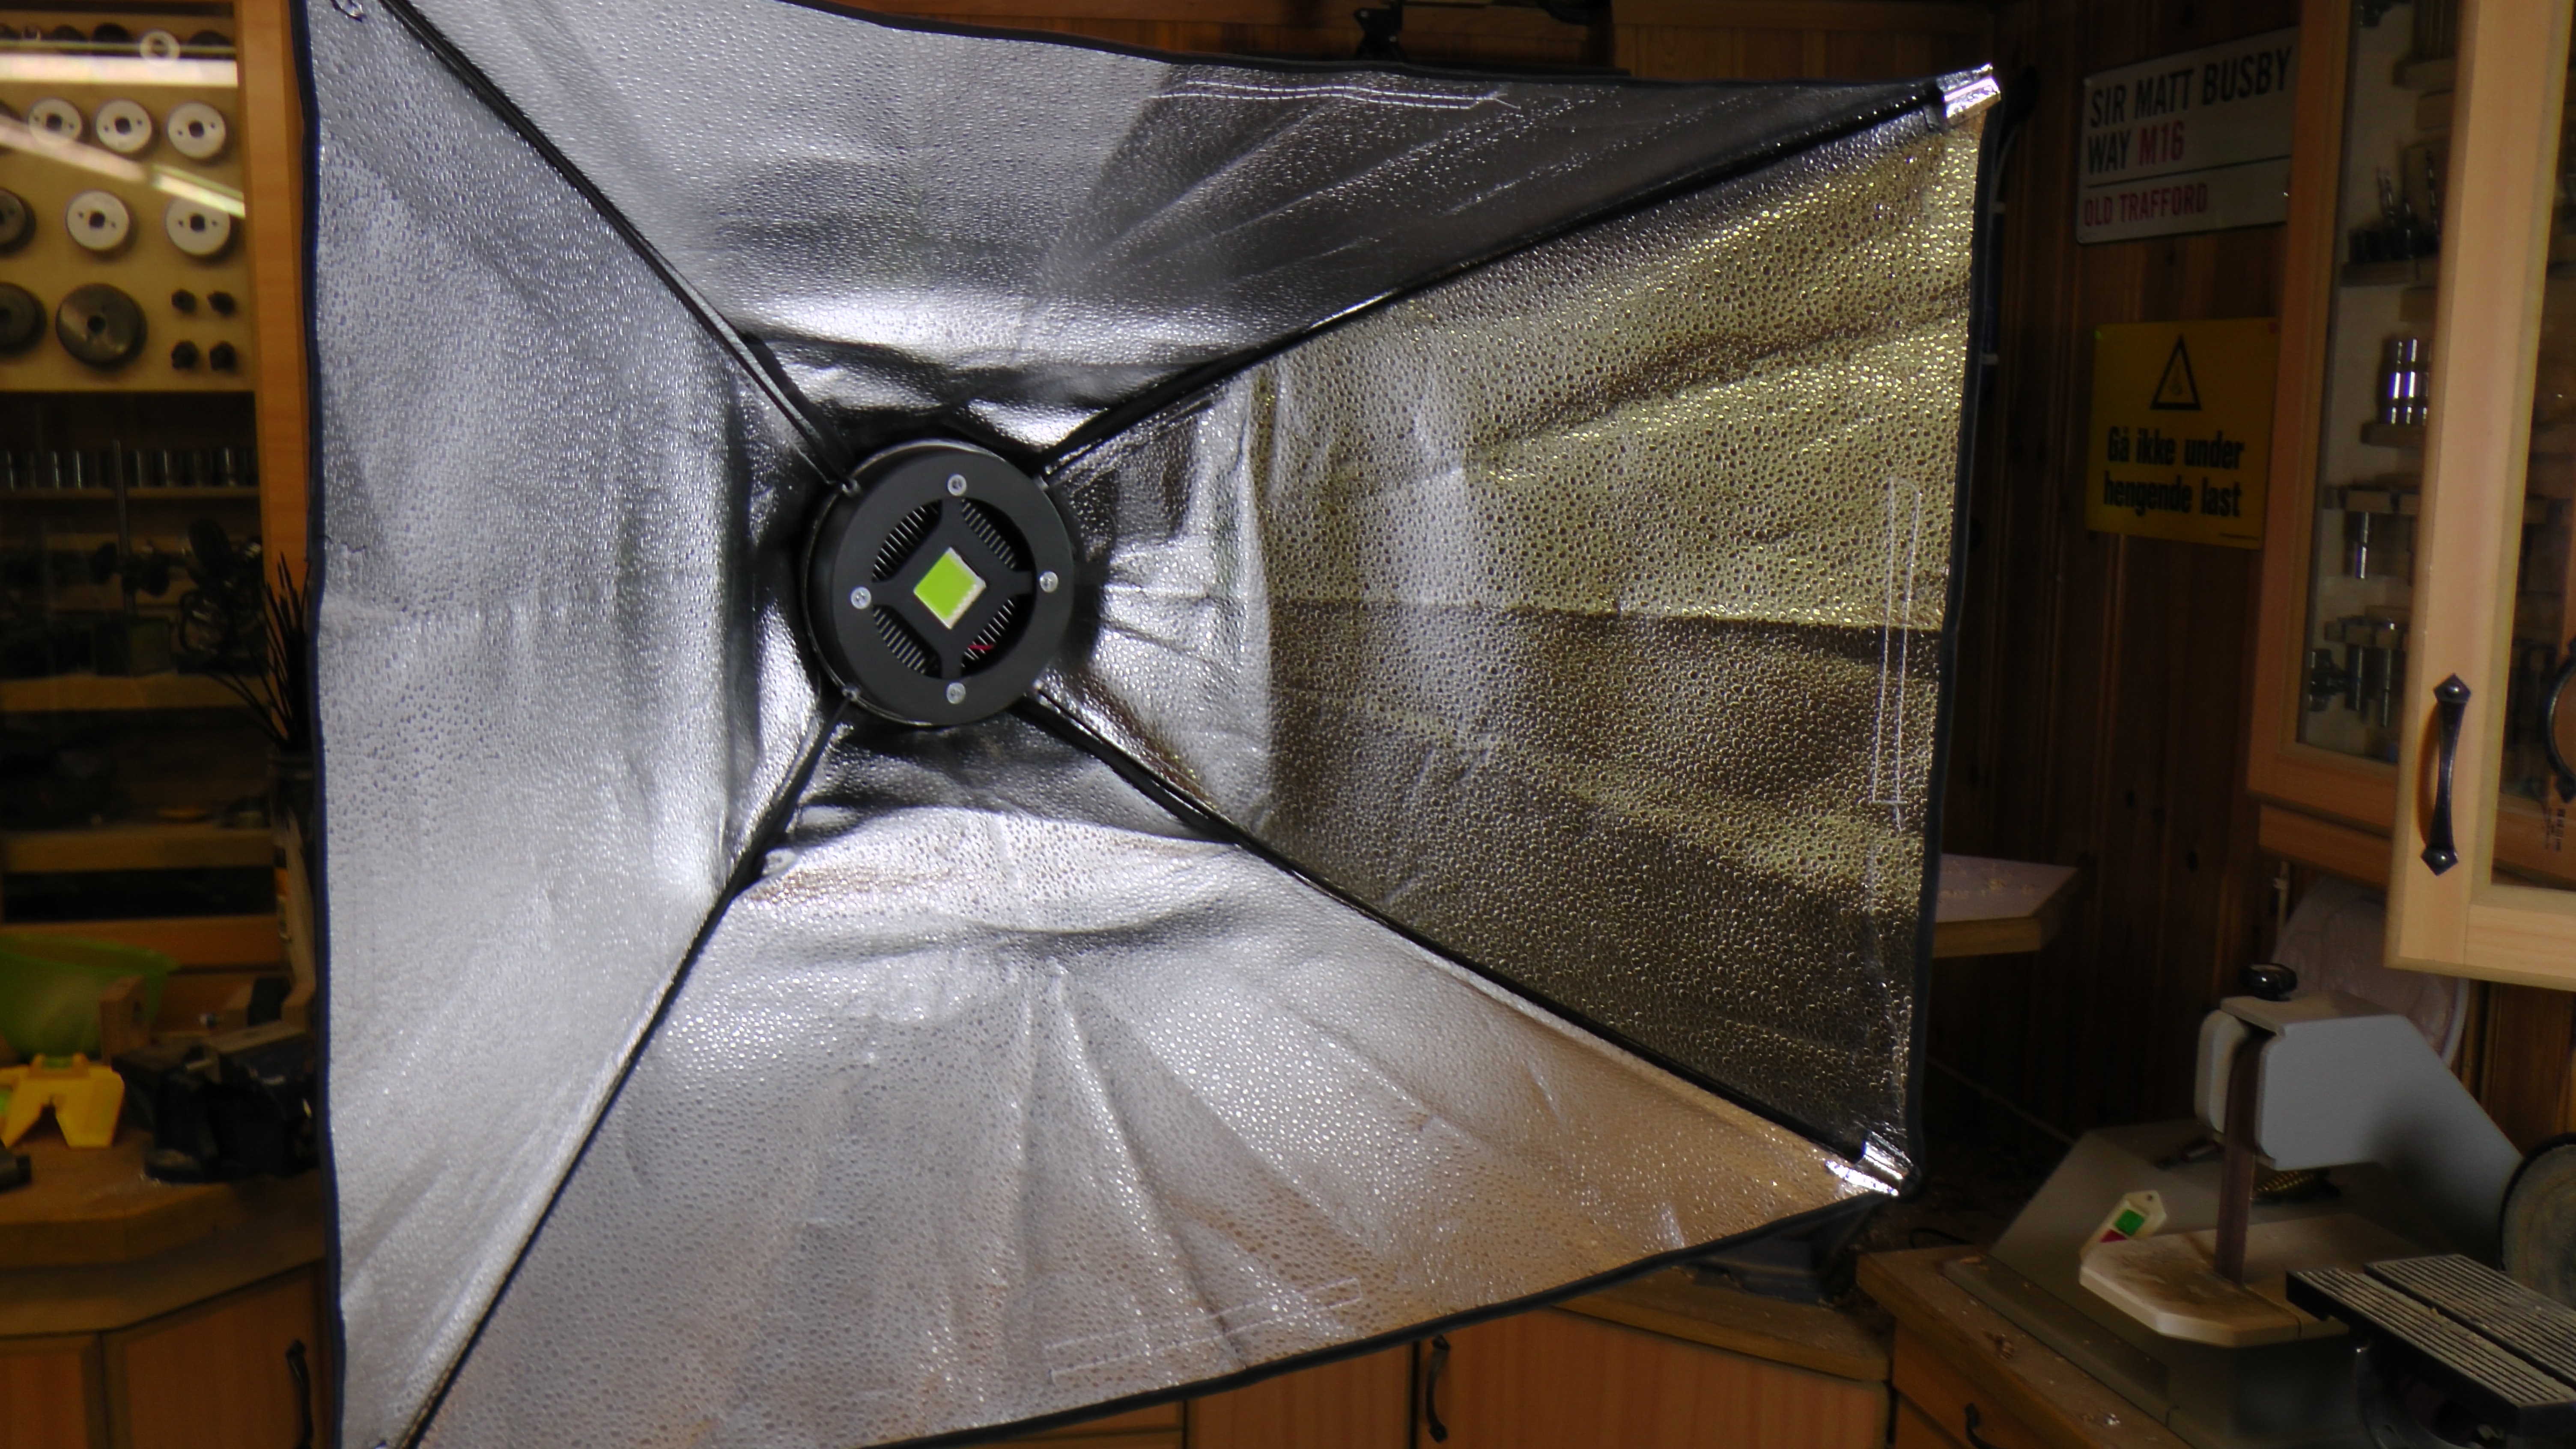
The rods for the reflector and the reflector is installed
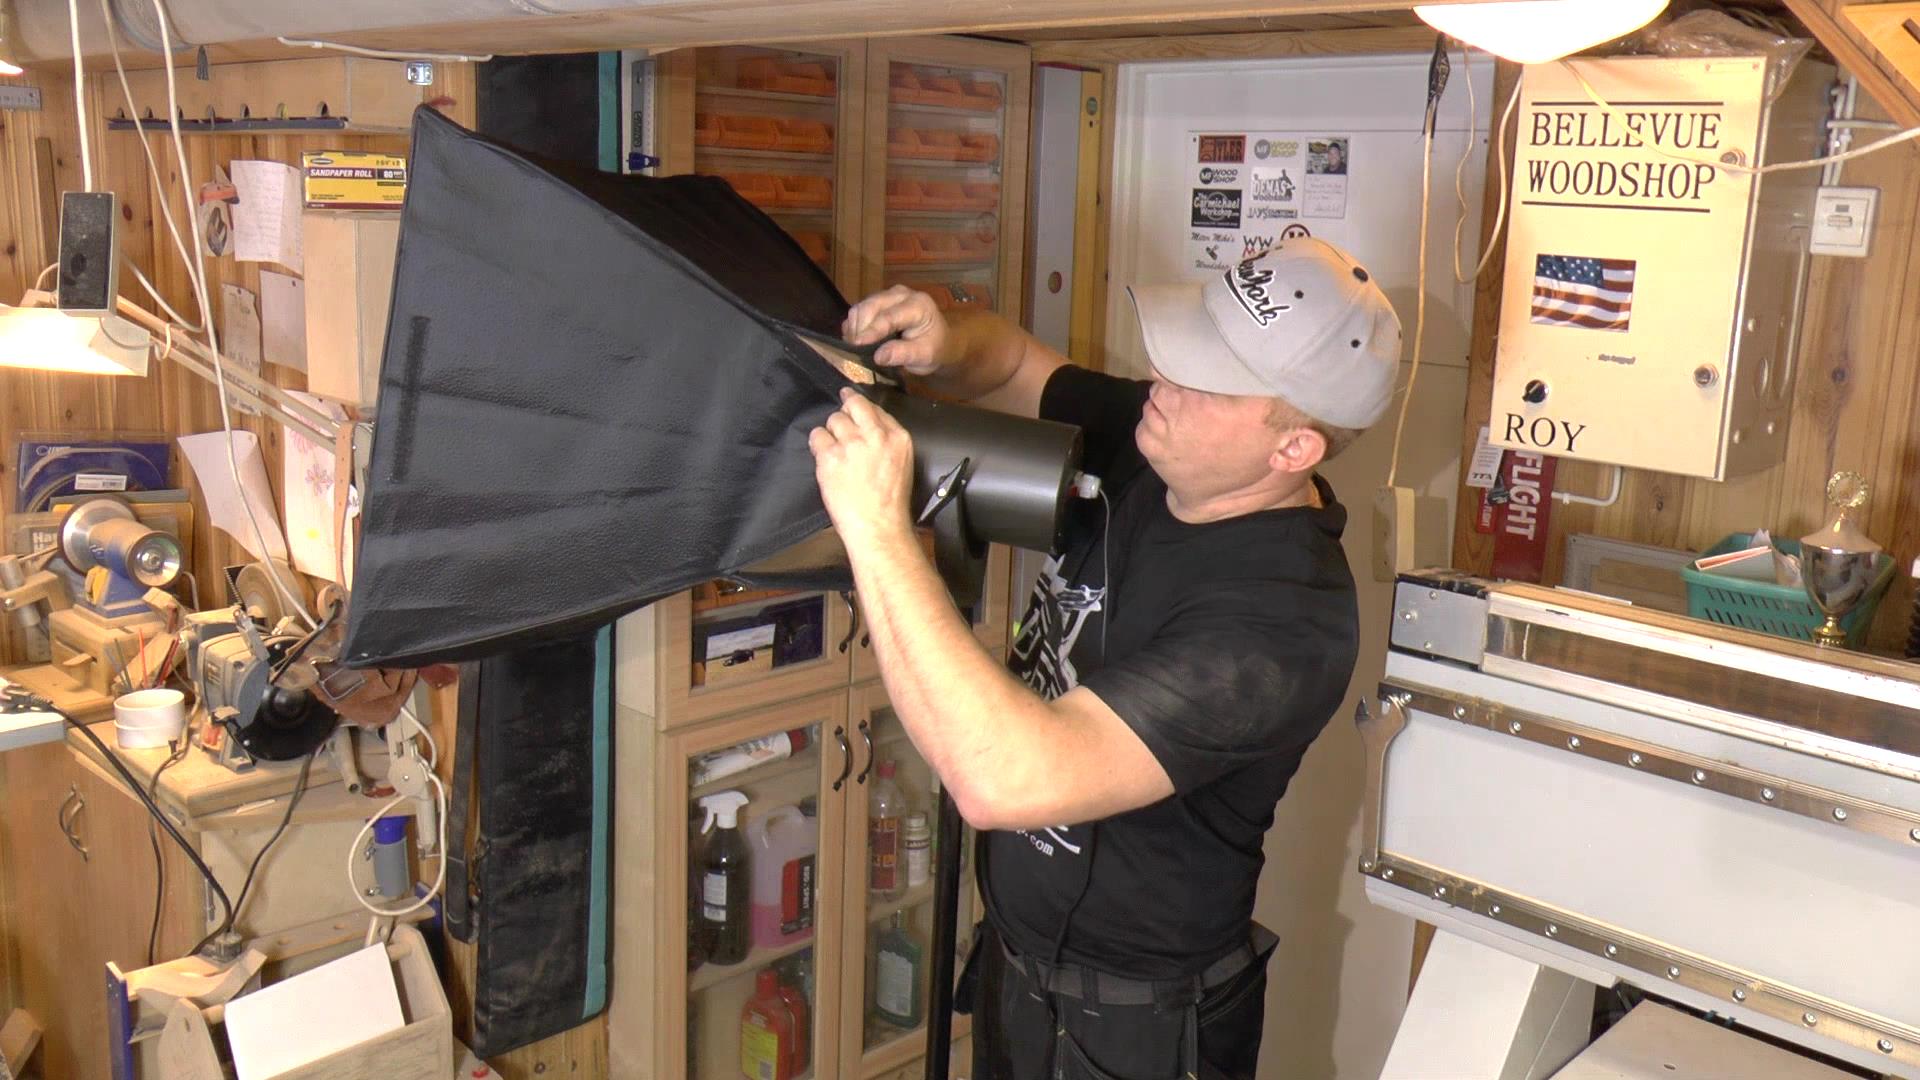
And then the diffusor
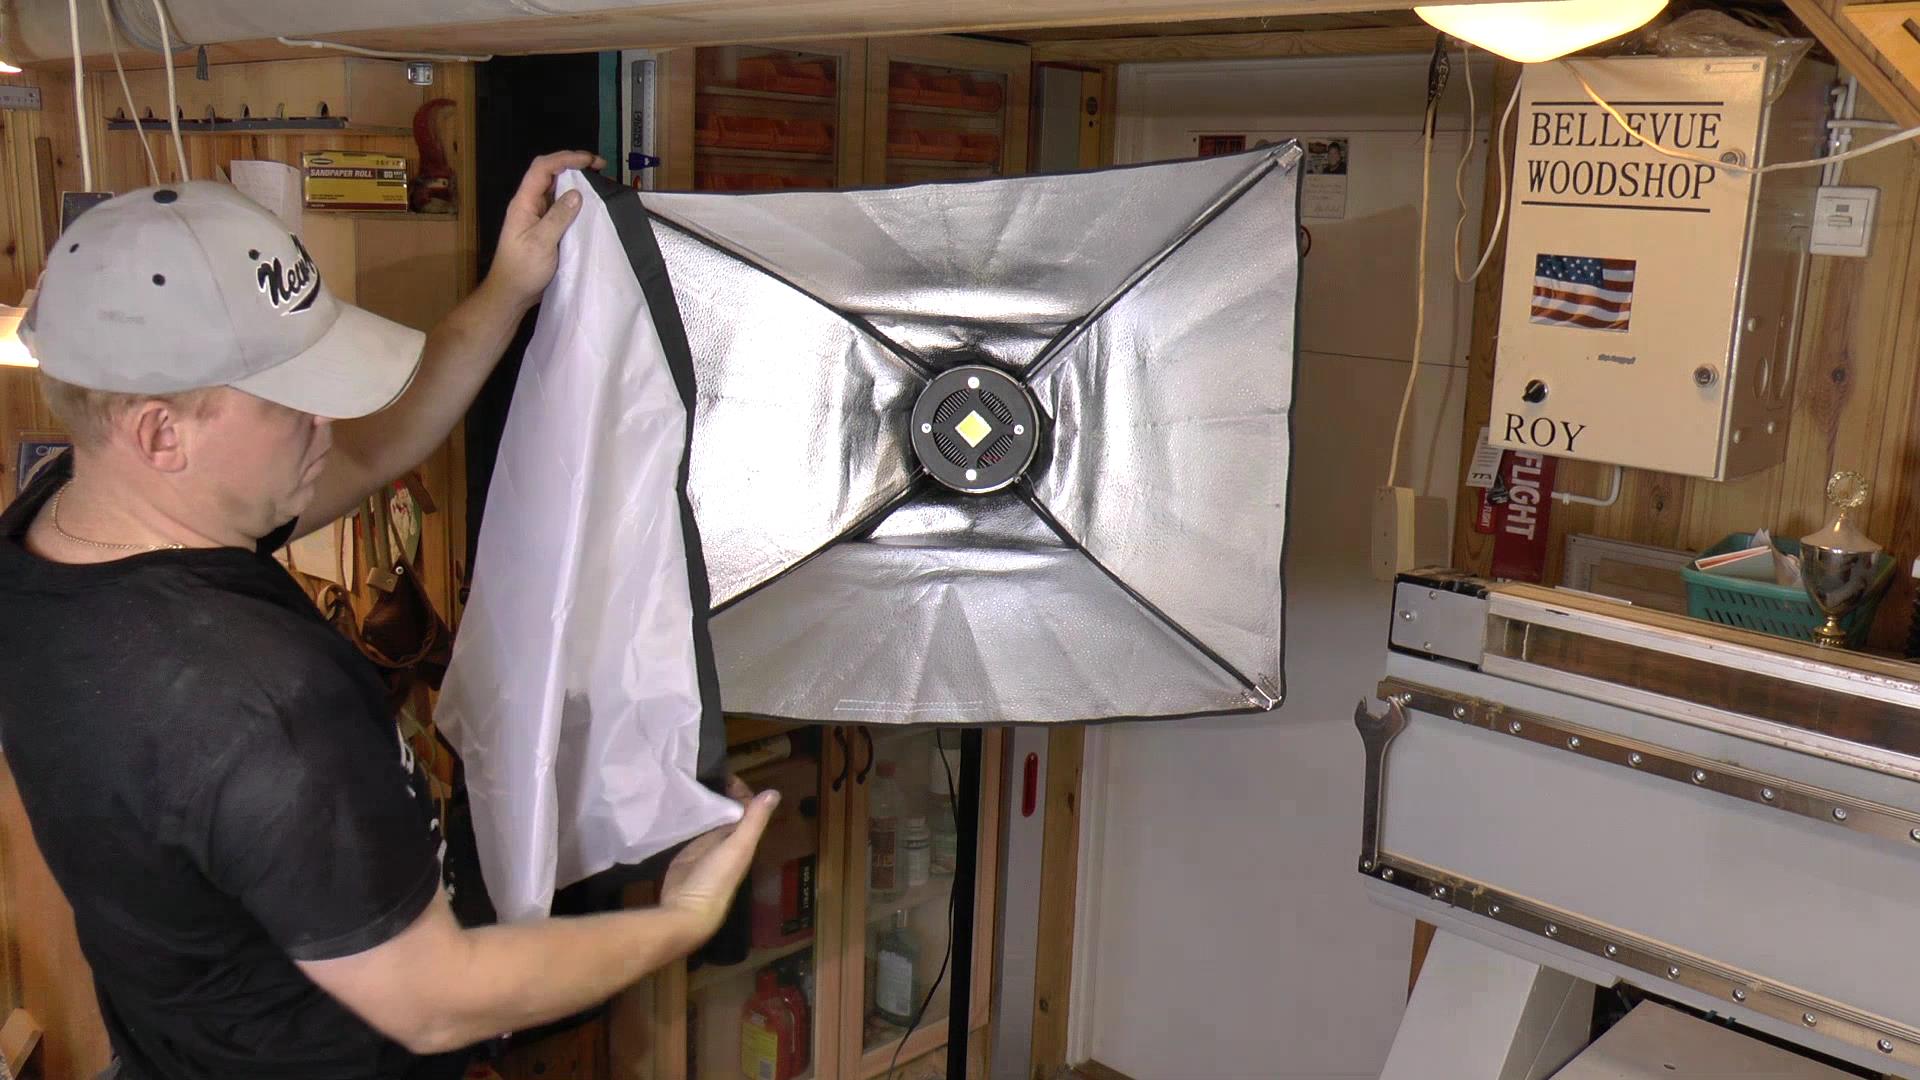
Some closeups of the finished project

If you have not seen my video on this build you can check it out here: