Building a King Size Platform Bed with Storage
Building a King Size Platform Bed with Storage
In the process of upgrading the master bedroom, I thought that it might be a cool thing to try to make a new bed, as we were to buy new matresses anyway.
I have always liked the tall platform beds that are pretty common in the US, where you get “out” of the bed instead of getting “up” from the bed.
The height of European beds used to be pretty low, but newer platform beds sold in Norway is more like the tall US ones.
We had a 20 year old bed that need to be upgraded, and why not build it to suit the new mattresses?
I figured I would build it mainly out of baltic birch plywood and Mdf
I start by making the drawer carcasses out of 18mm plywood
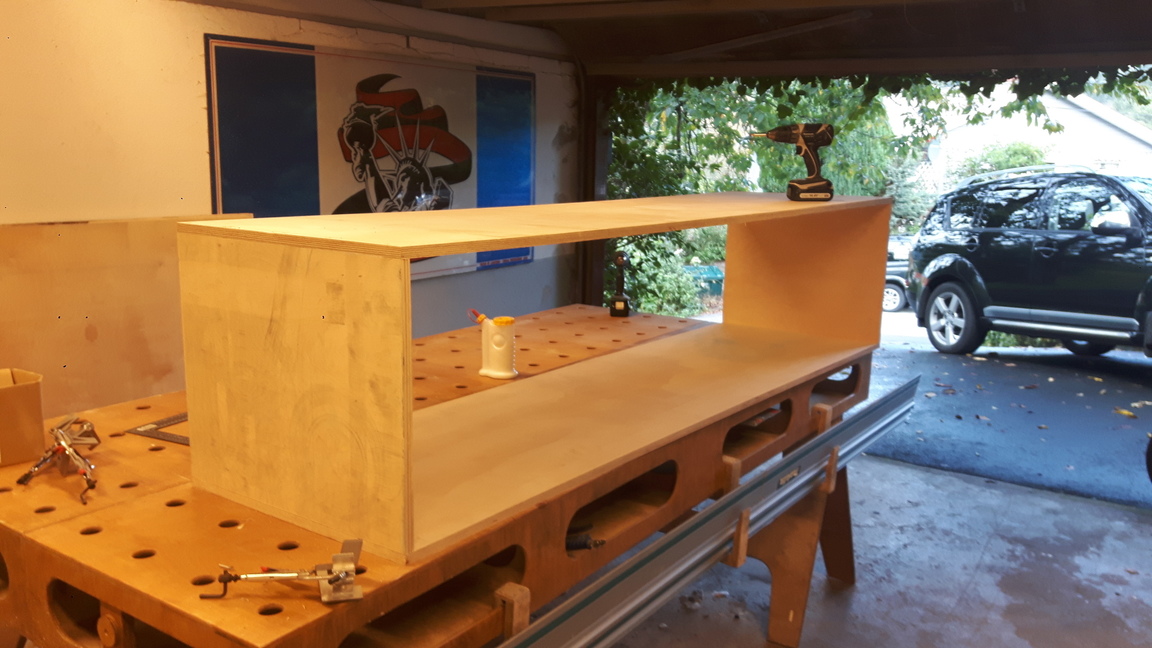
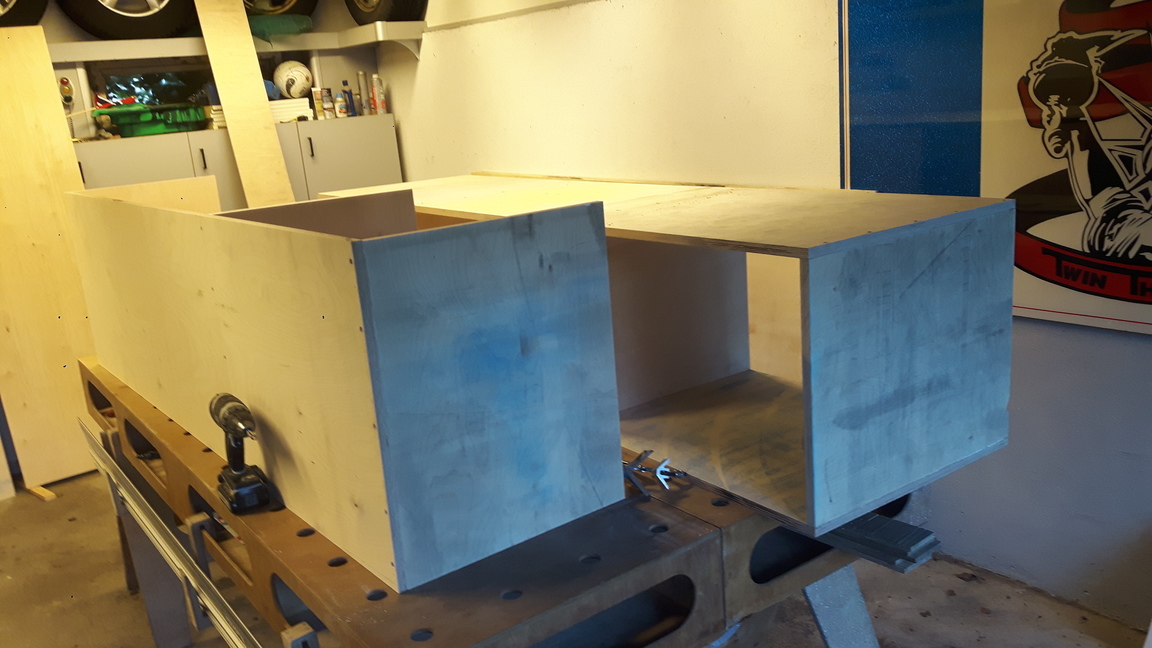
After the carcasses are finished with the dividers, I cut the back from 12mm plywood. This does not get installed until the bed is assembled in the bedroom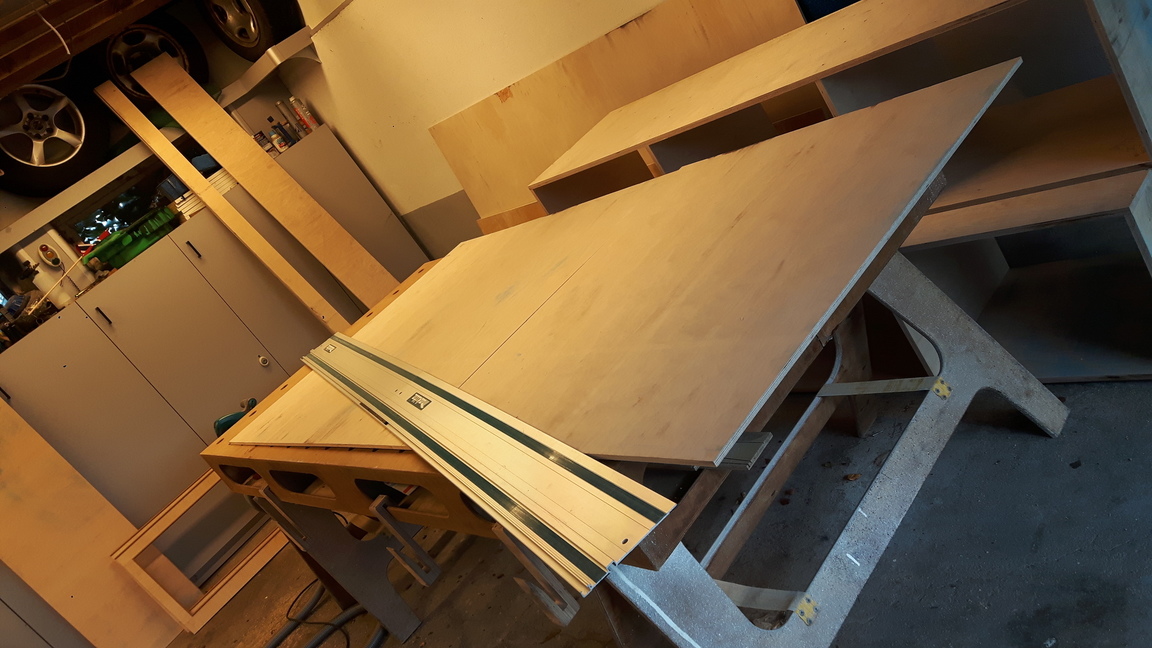
The case gets 8 feet to sit on.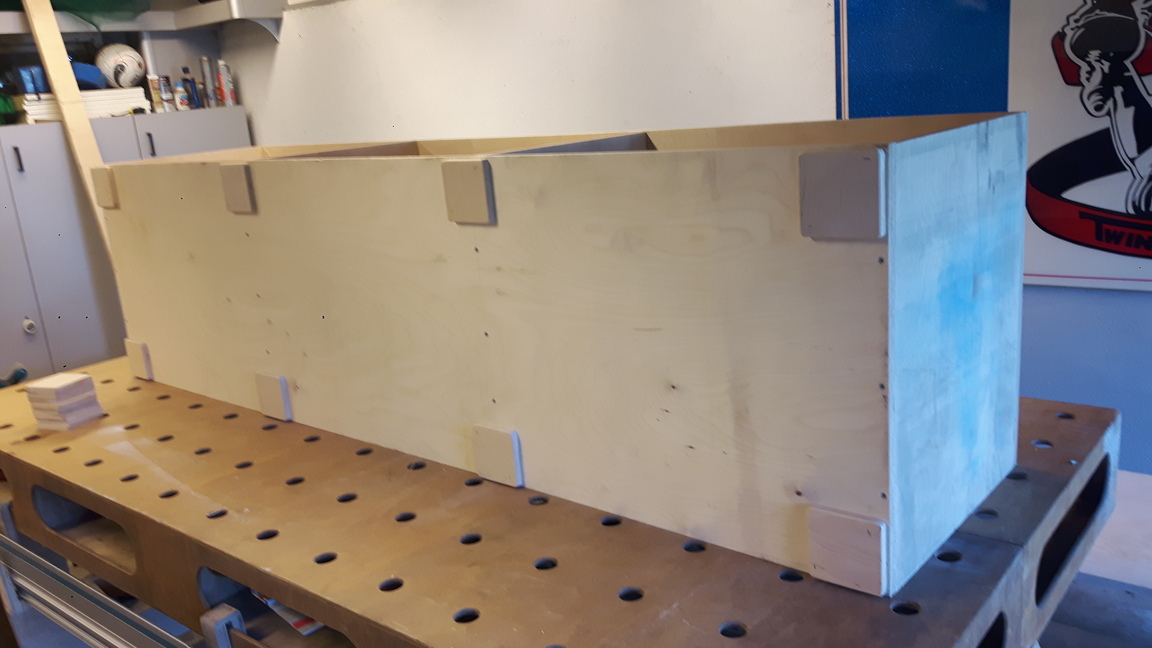
To dress up the inset doors I make bead moldings from 9mm mdf on the router table. These will then also cover the plywood edge of the faceframe.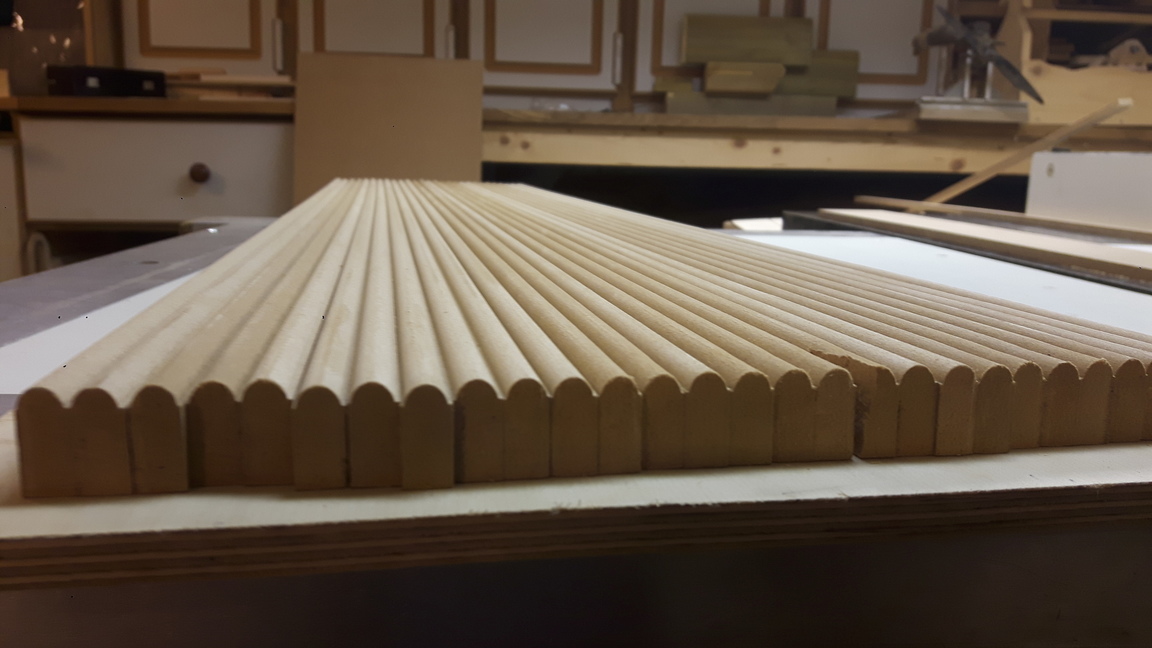
The mdf bead molding is sealed with mdf sealer to fill the pores and prep them for priming and painting later on.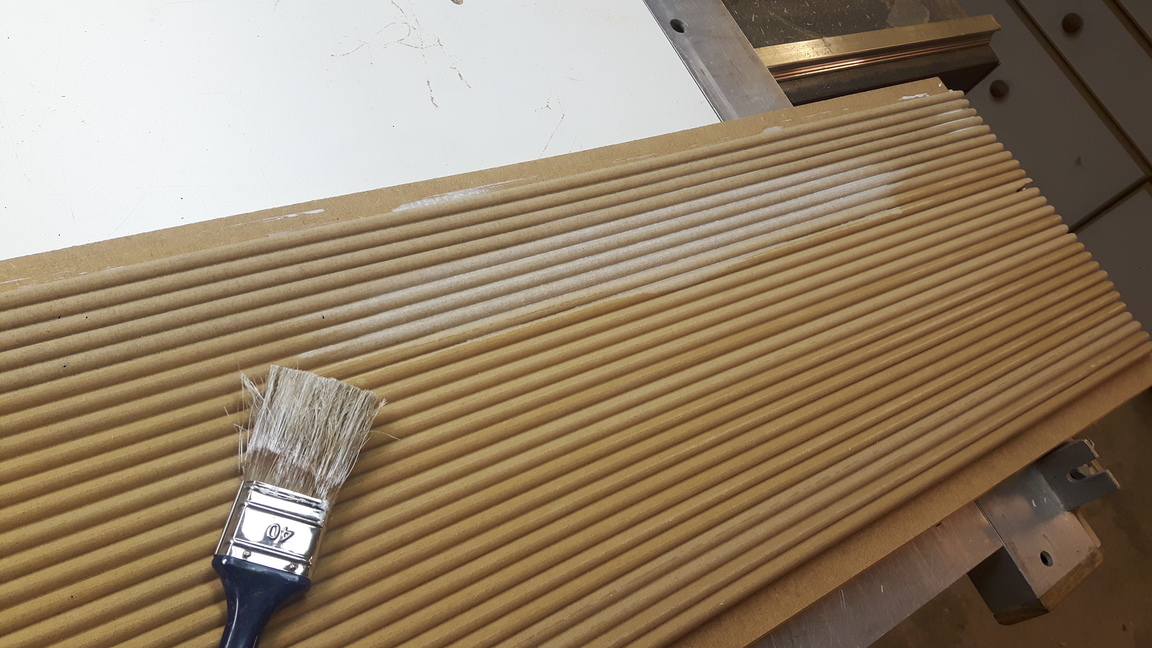
The faceframes of the drawer sections are made from 18mm plywood pocket screwed together, and dressed up with the bead molding.in the openings.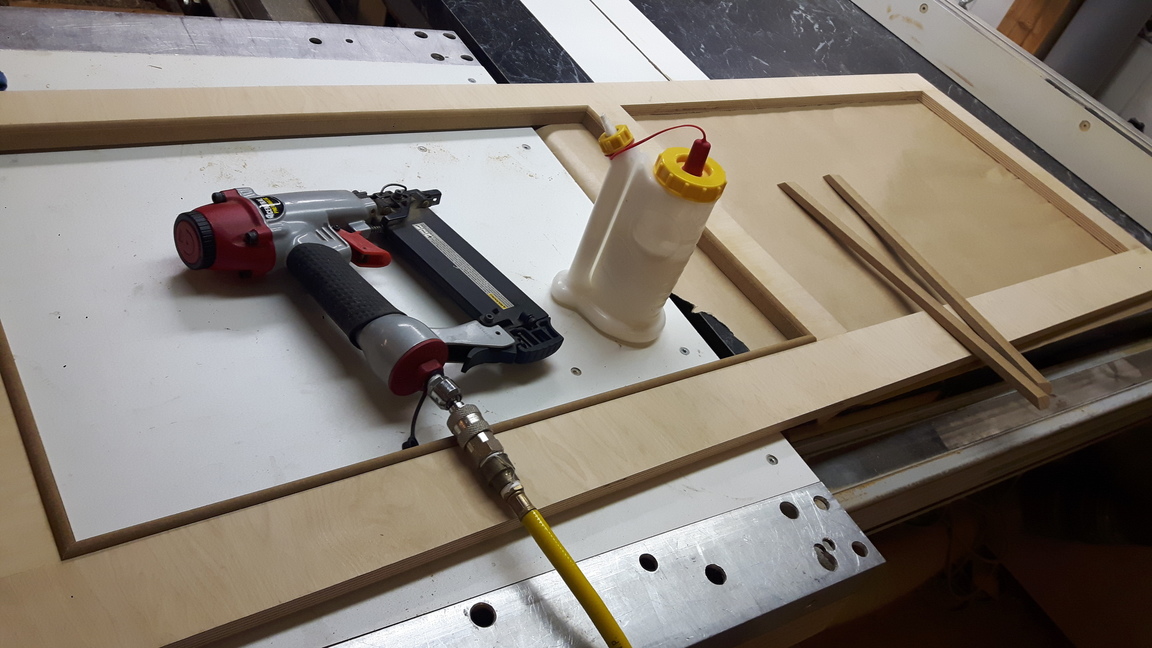
Mitered bead molding detail.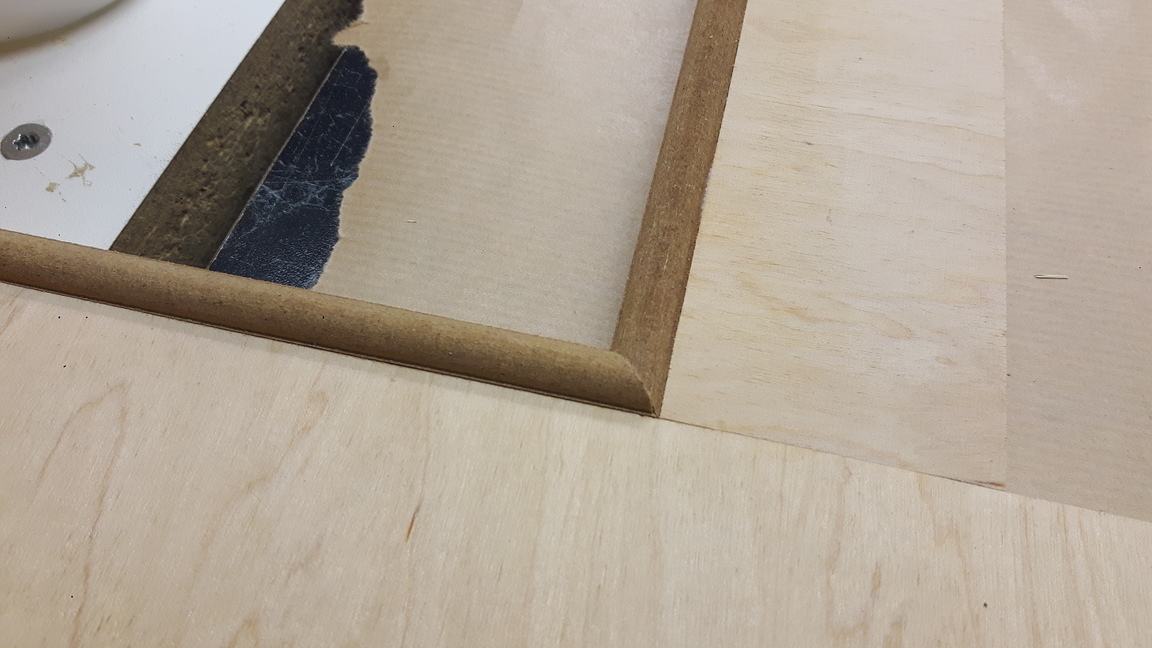
The drawers, 6 in total, are made from 9mm plywood, butt joined and a bottom in a dado. The visible edges are edgbanded with iron on edgebanding
Drawers gets 2 coats of waterbased poly. 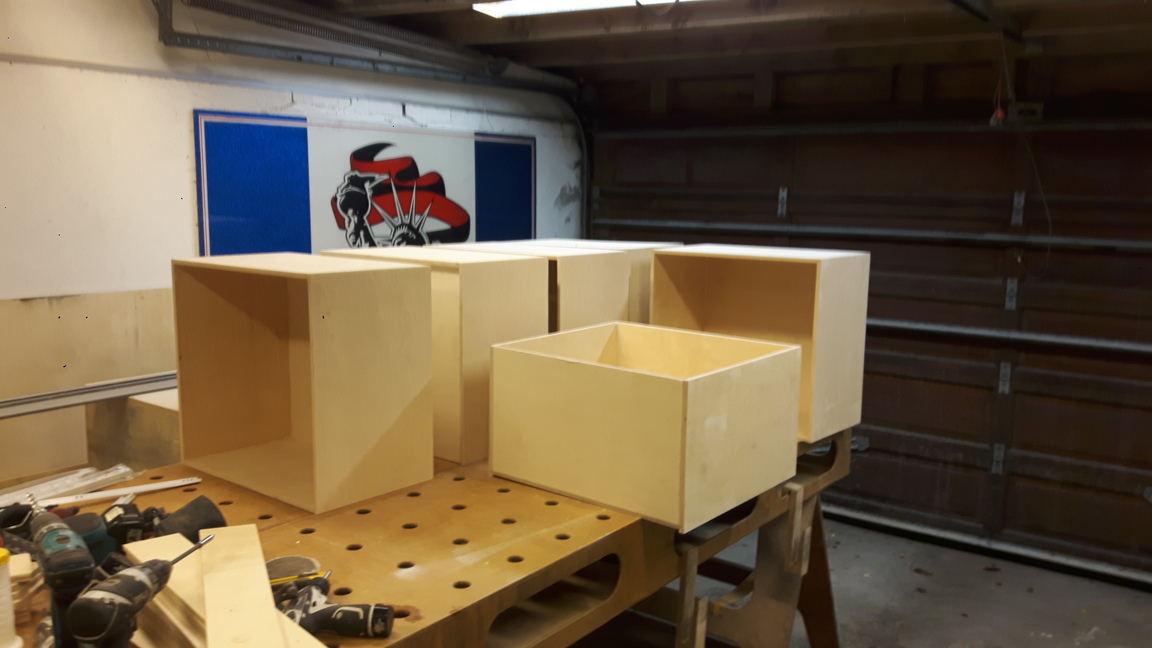
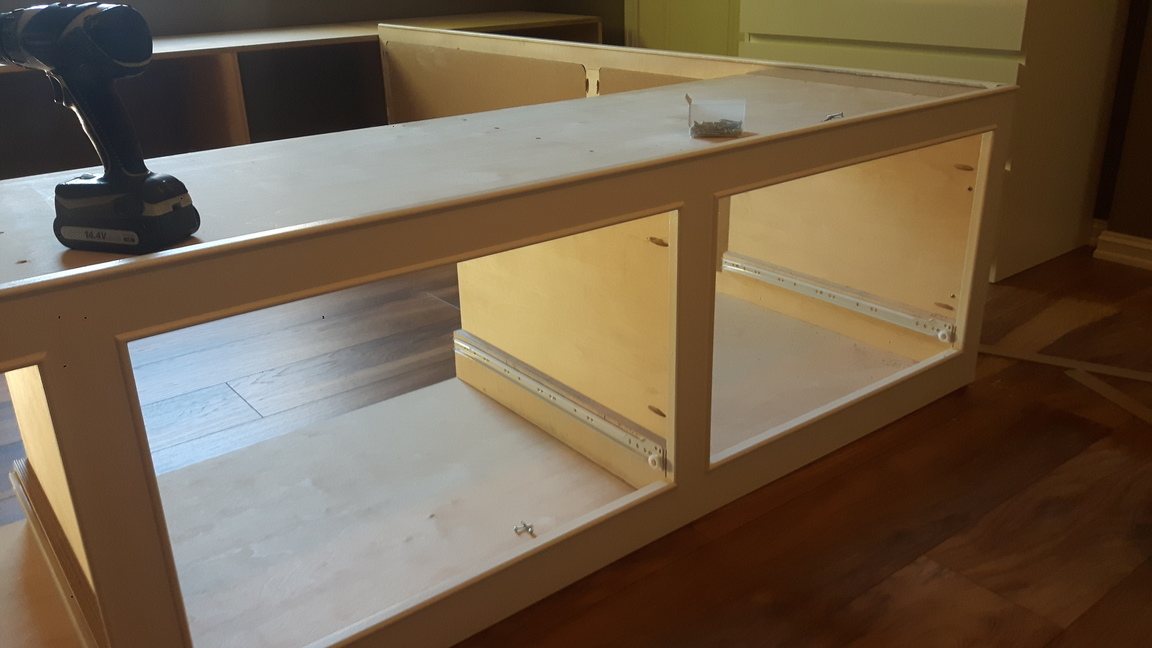
Installing the hardware. I went with low cost drawer slides, as these will be used only once in a while. If it was to be used daily, heavy duty hardware would have been selected.
Drawer slides spaced to sit flush with face frame opening.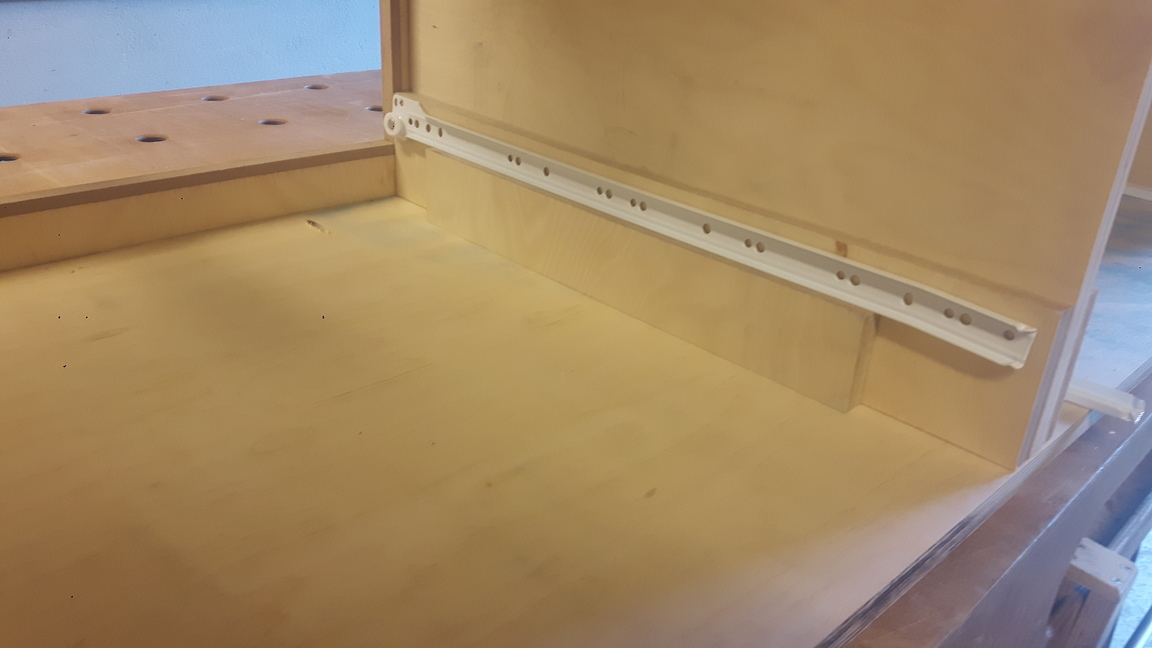
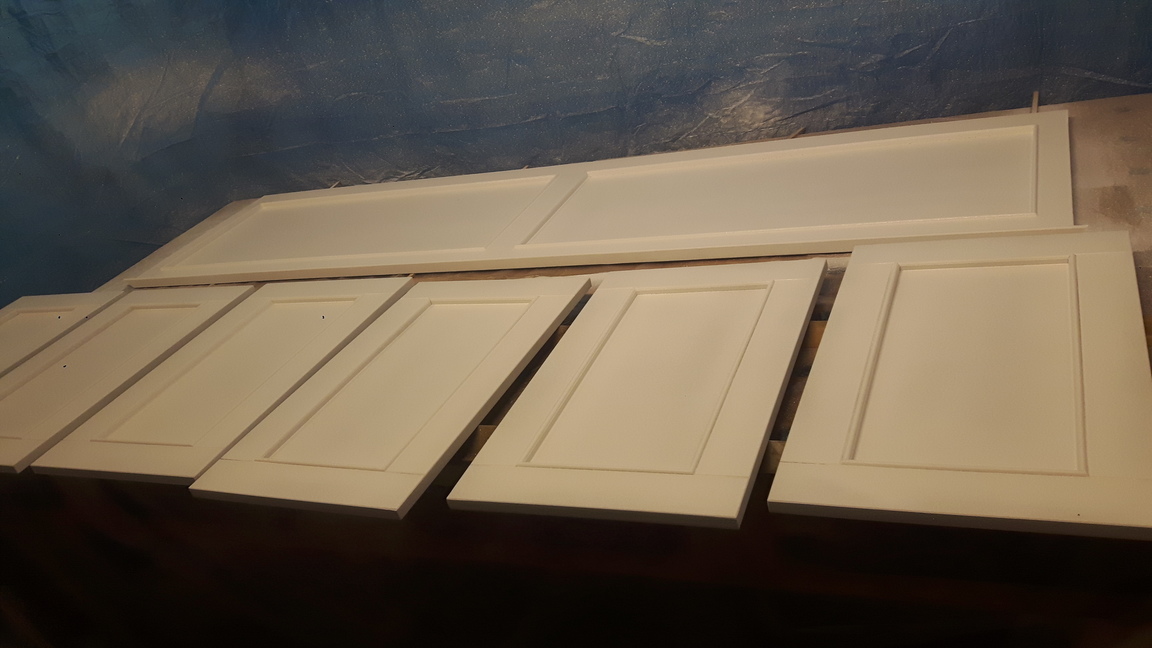
Time for drawer fronts. These are built up from 2 layers of 9mm mdf in shaker style. There is a back and I cut strips to use as stiles and rails. The stiles and rails are chamfered before the mdf moulding is attached to the inside of the rails and stiles as well.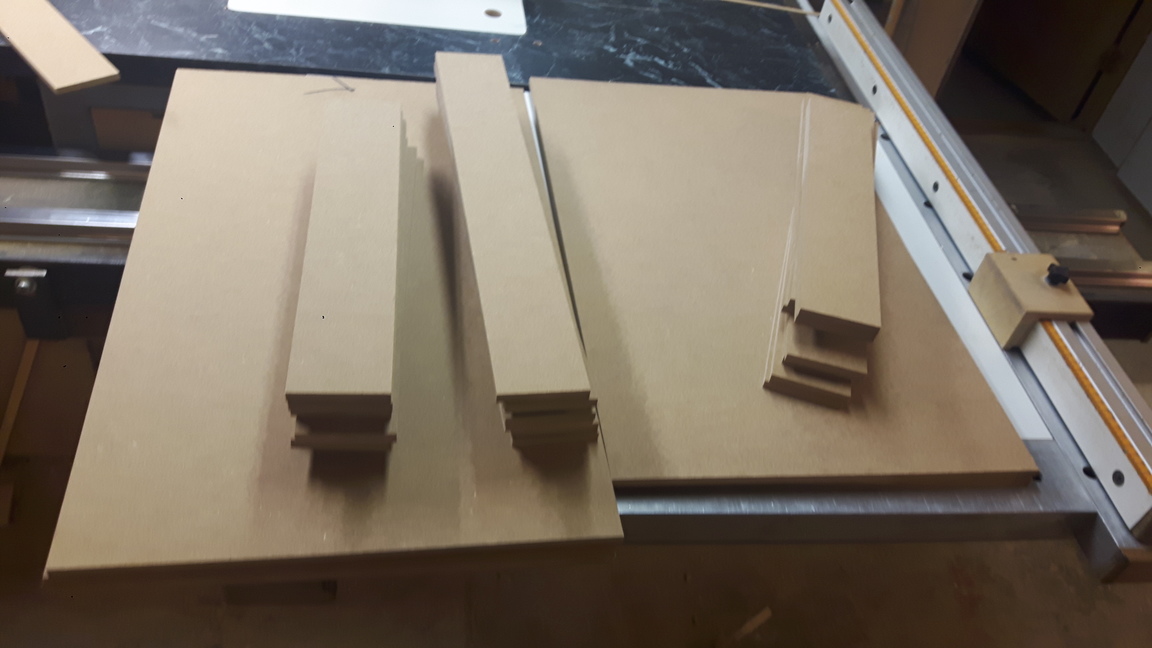
Rails and stiles are glued and pin nailed from behind.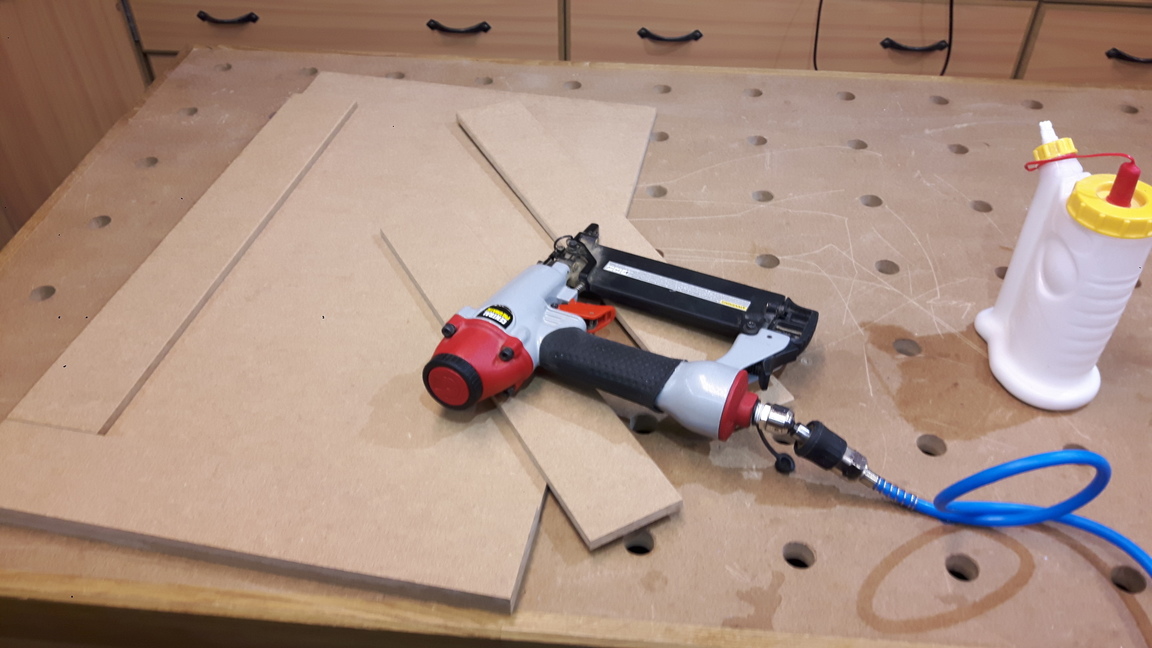
Miters on the bead molding for the drawers as well, This makes a great detail, and also covers the edge of the mdf strip.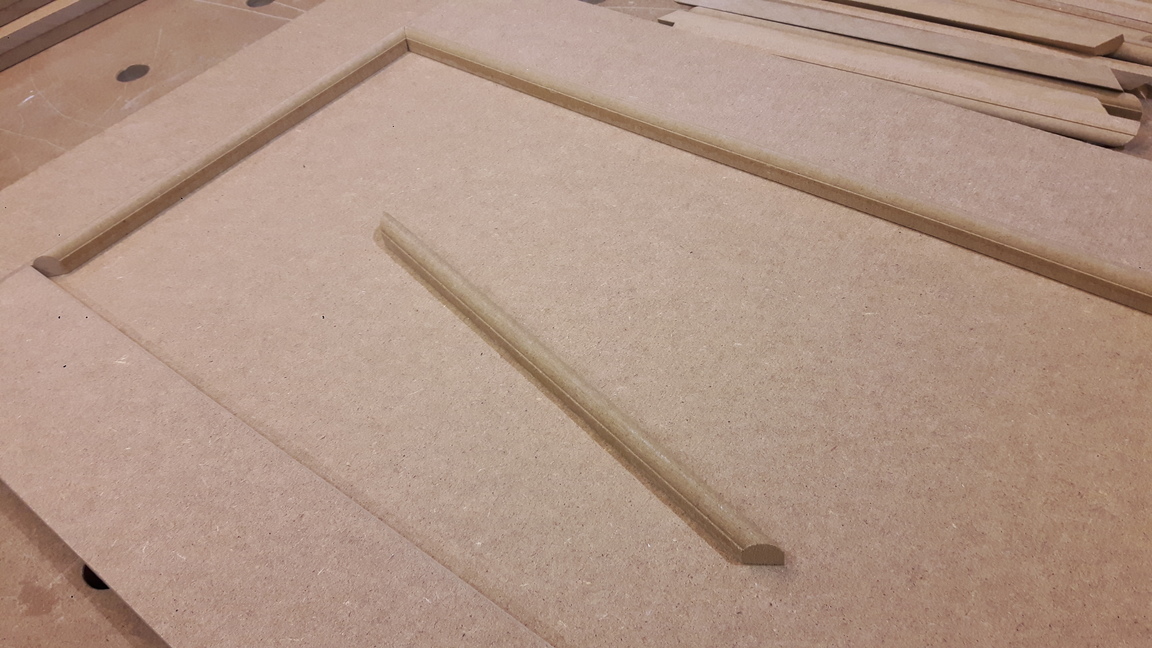
After assembly all drawer fronts are chamferd on the outside edges as well, before filling and sanding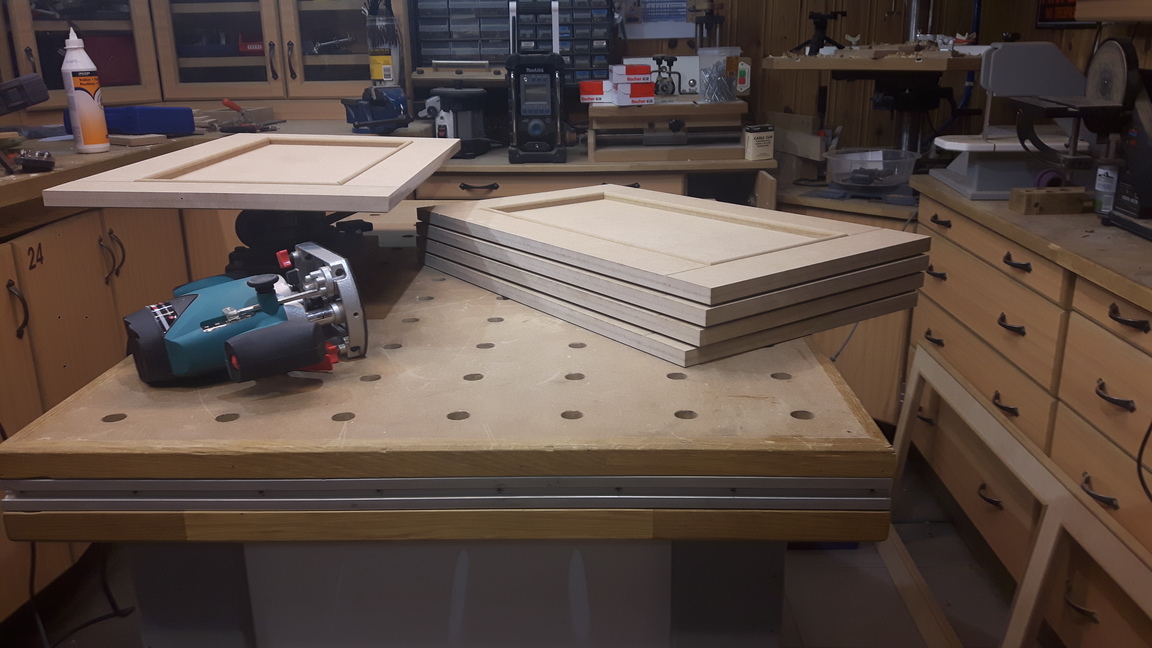
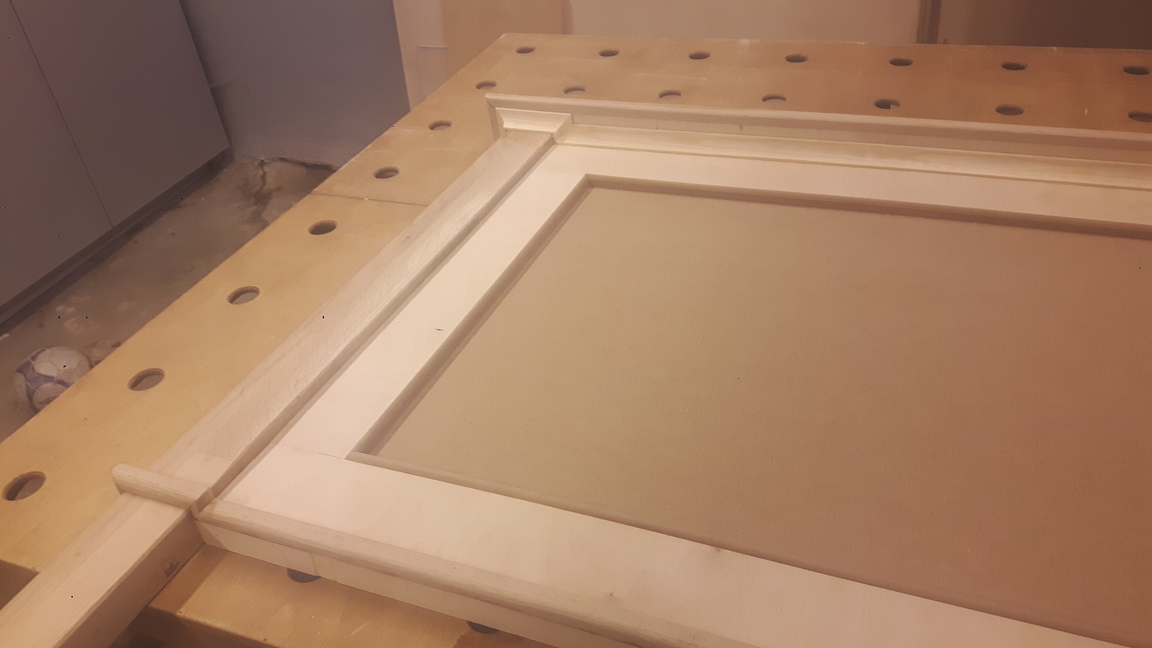
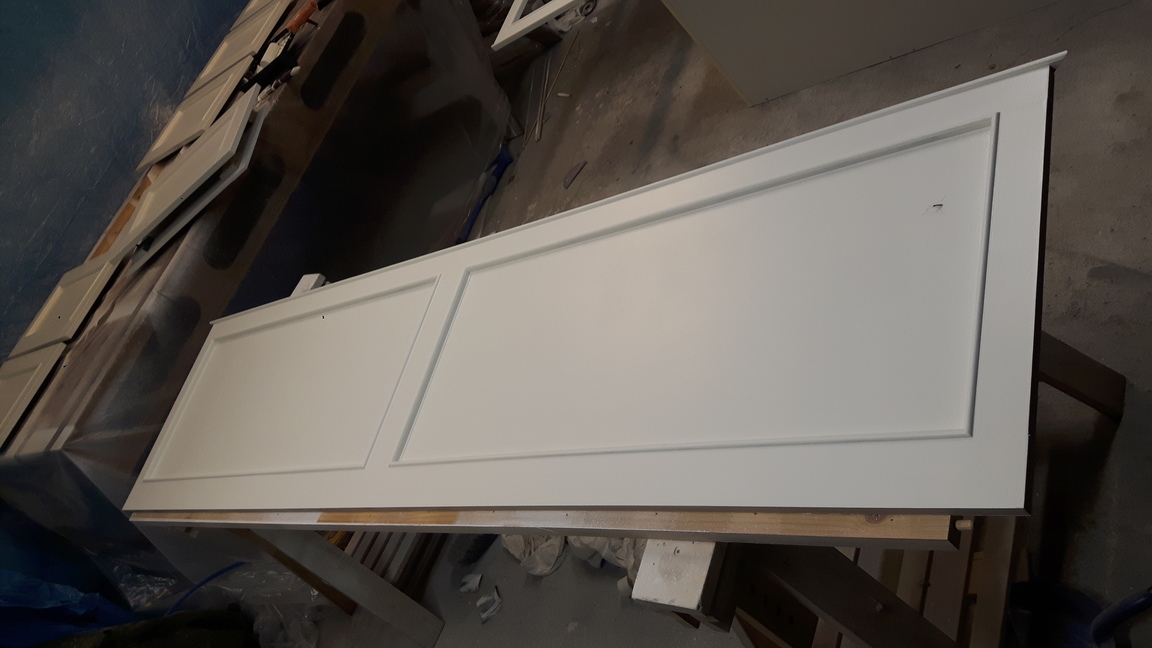
Now it is time to make the end panel at the foot end. Pocket screwed plywood strips with mdf panels inset in a rabbet from behind. The panels are dressed with the same bead molding in front.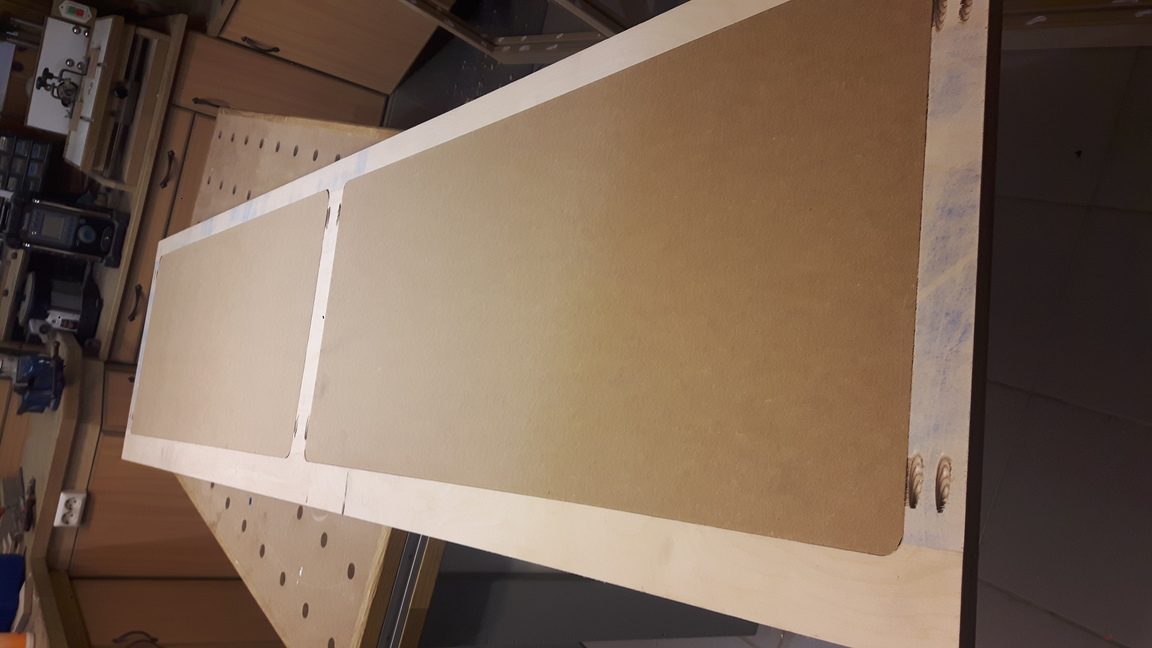
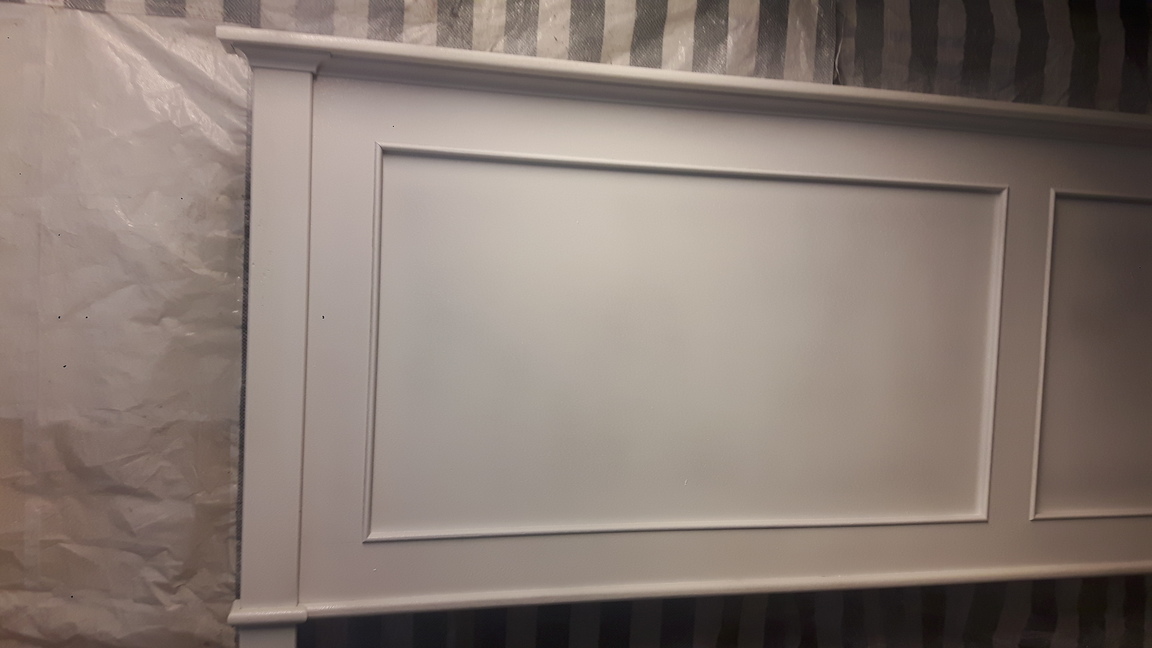
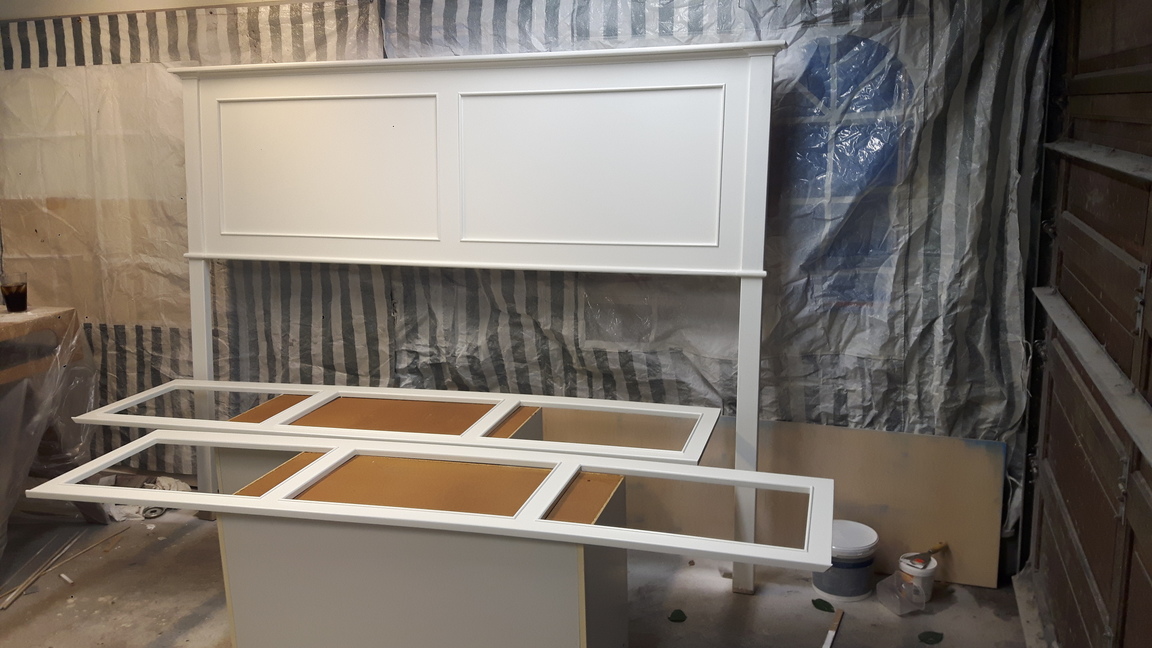
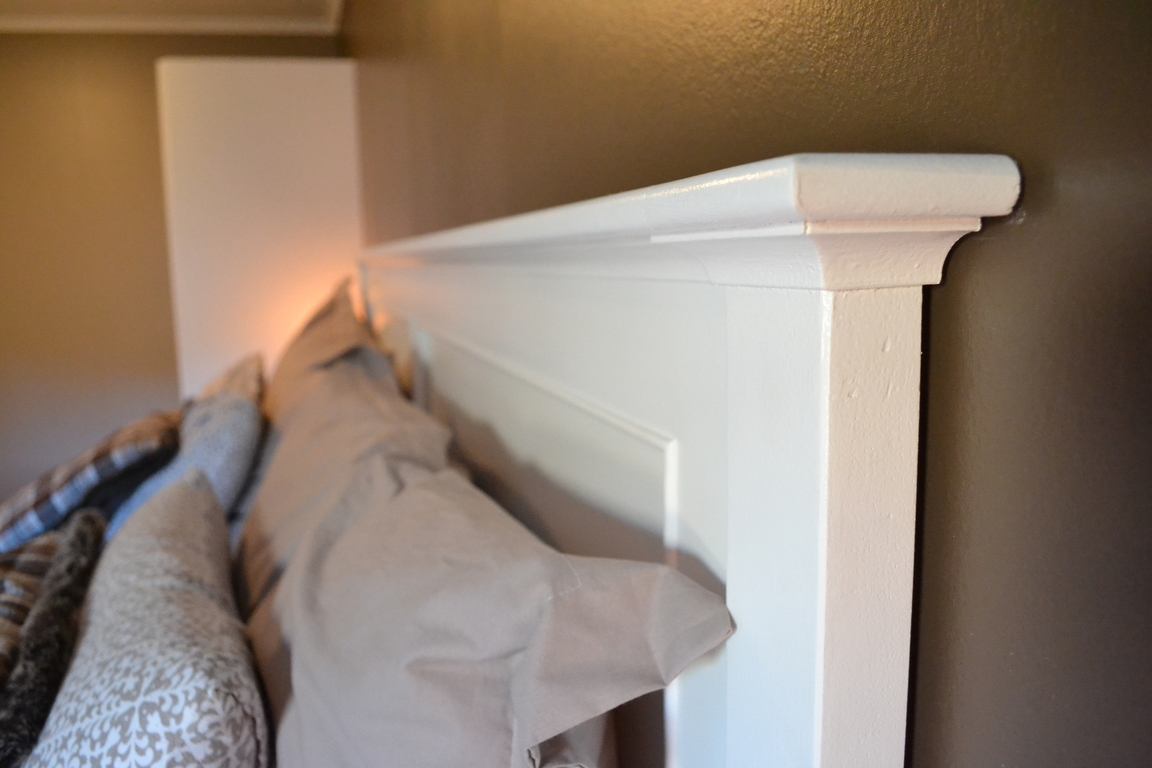
Headboard is built the same way. It gets some oak posts, and detailed oak and fir moulding. 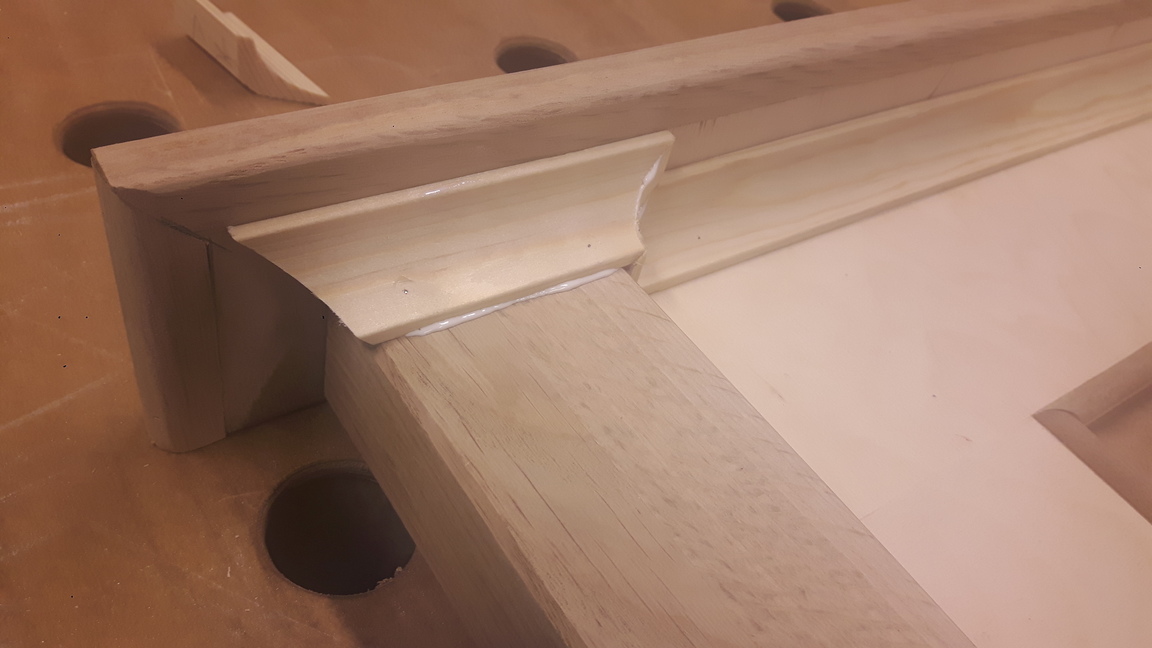
Assembled, and ready for filler, and some finish sanding.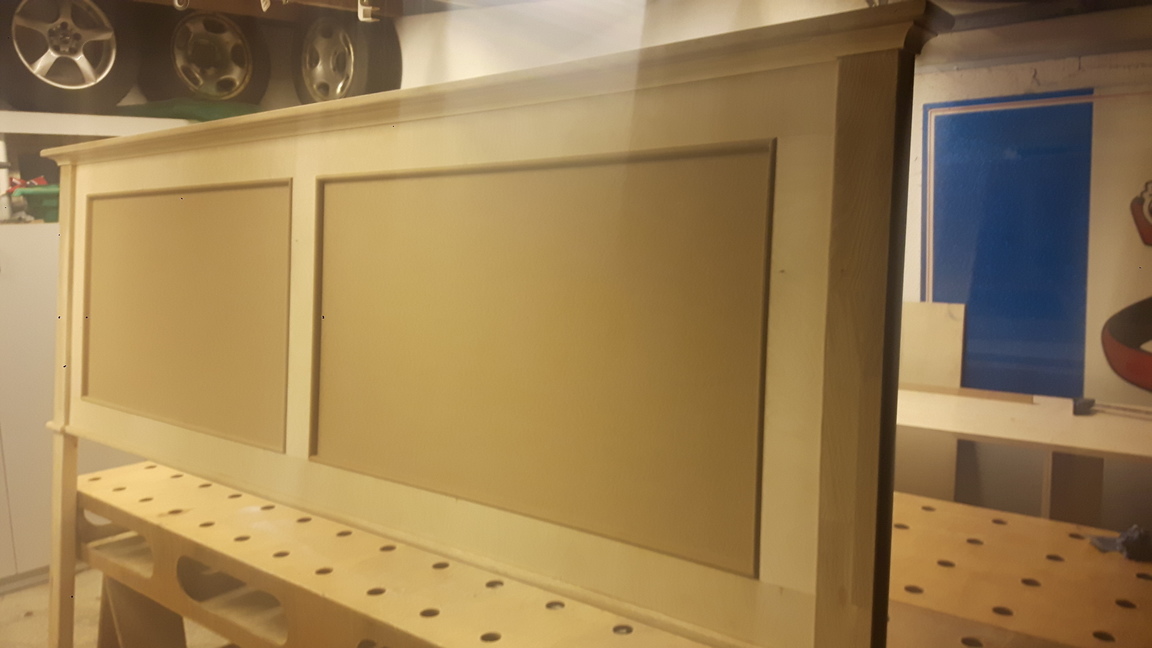
Next is priming and painting. Waterbased paint is sprayed on using a HVLP sprayer. Had to do this in the garage, du to lack of space in the shop.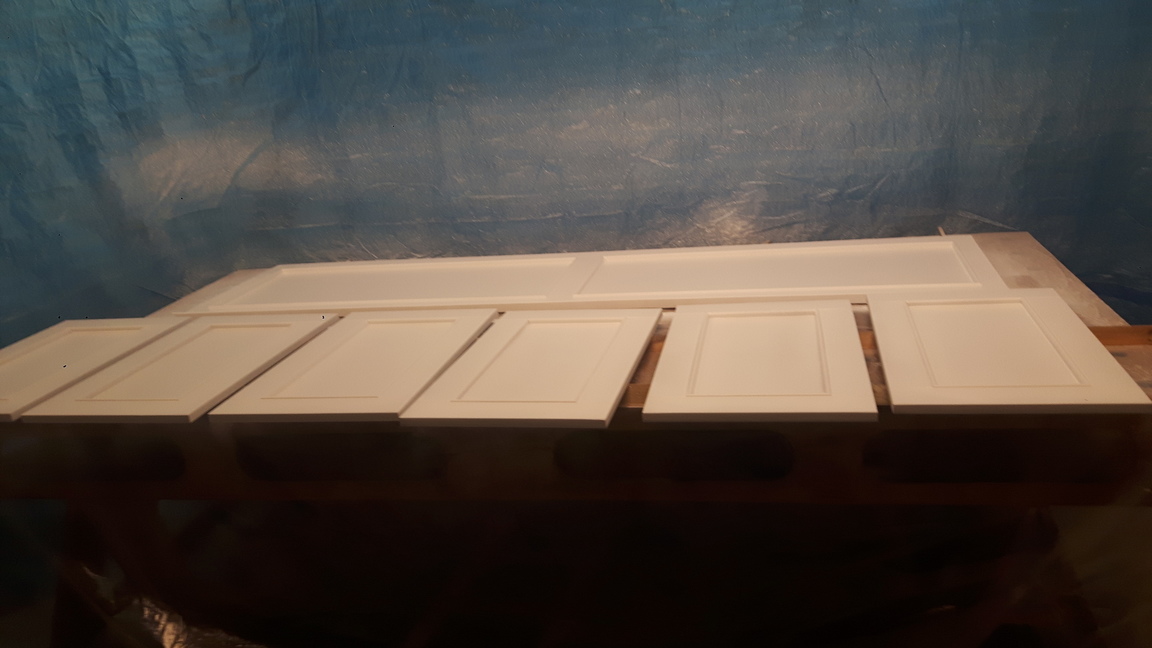

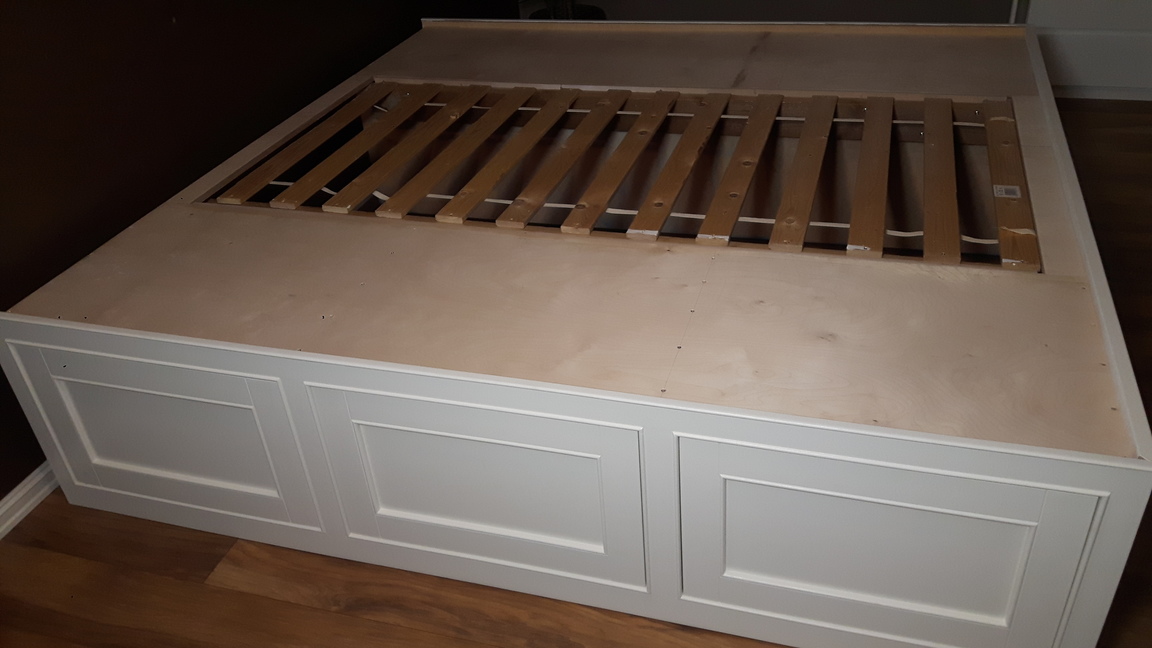
Then it is time for assembly in the bedroom.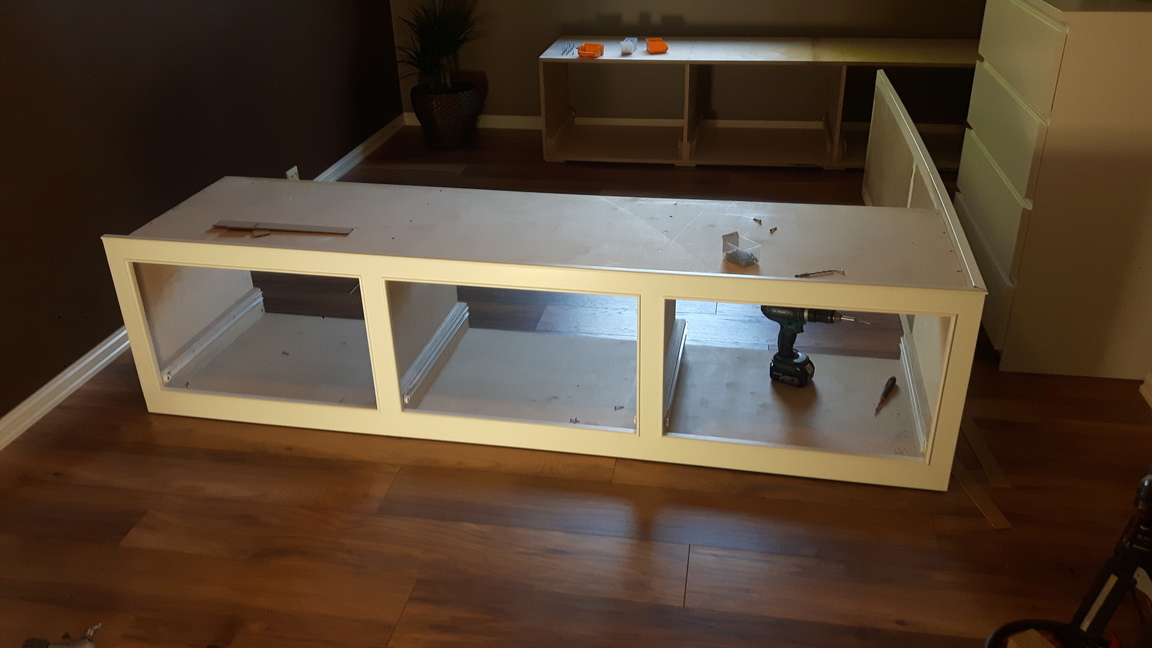
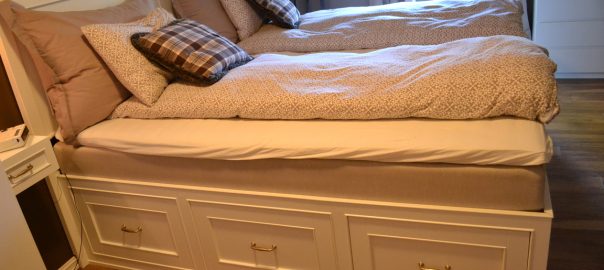
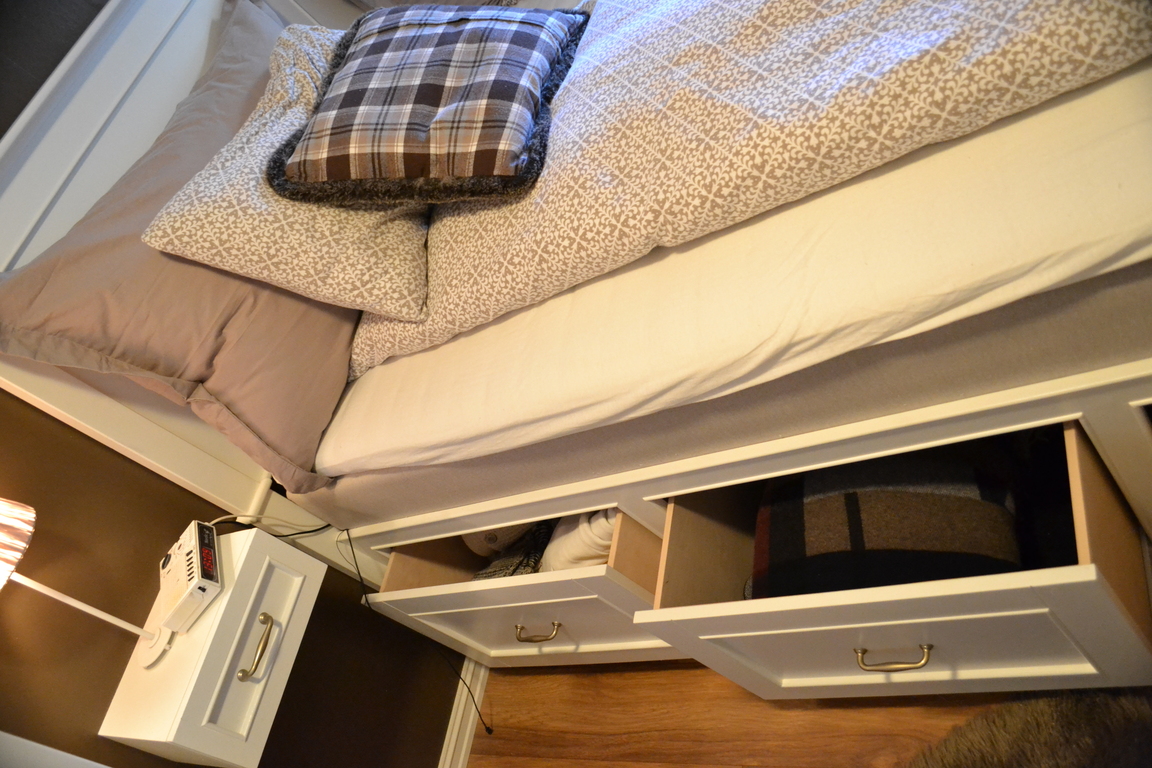
Drawers installed and center bottom rails (img 2). I will also be using the center space for storage.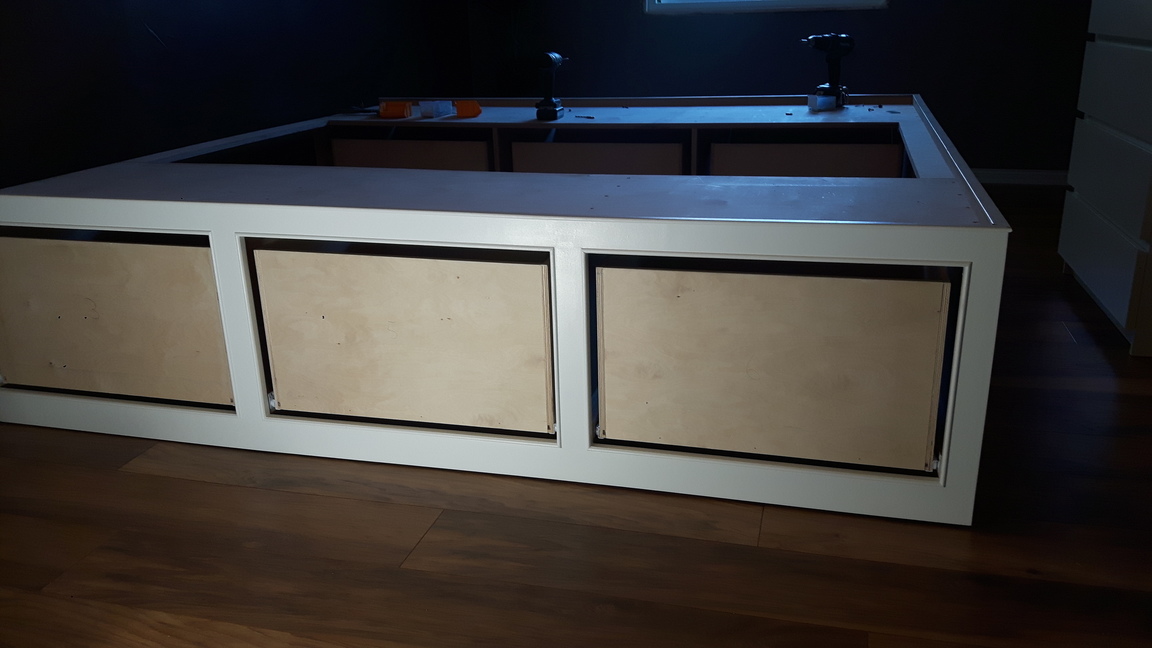
Mattress in place, waiting for the headboard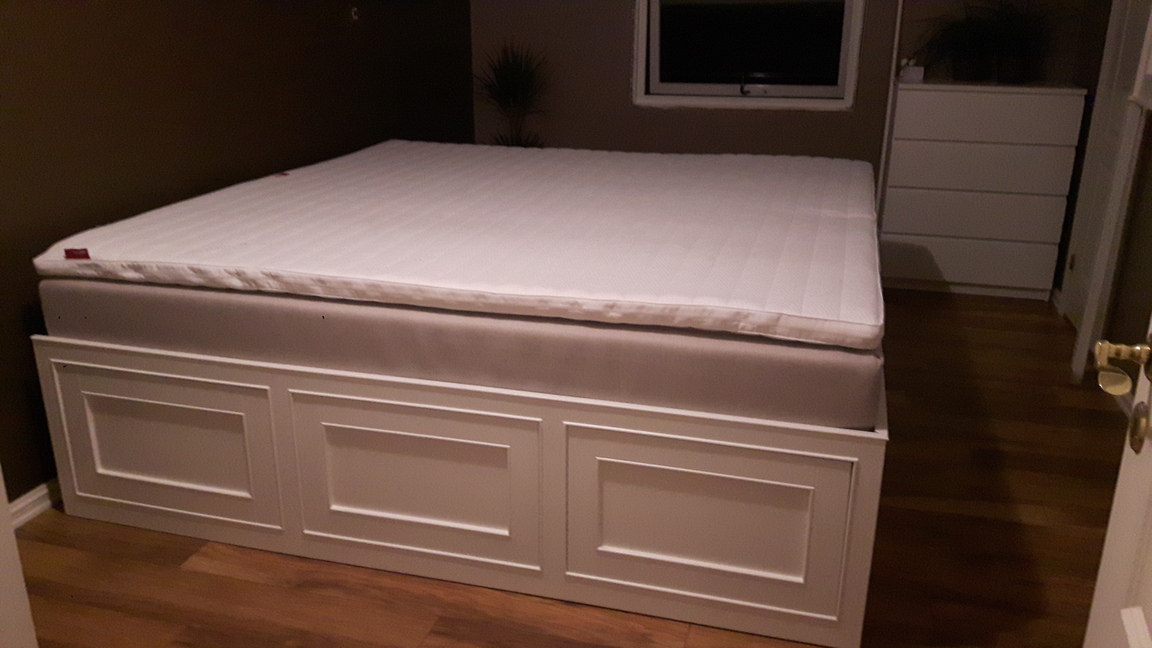
Headboard installed, still need to install the drawer pulls, and the base moulding.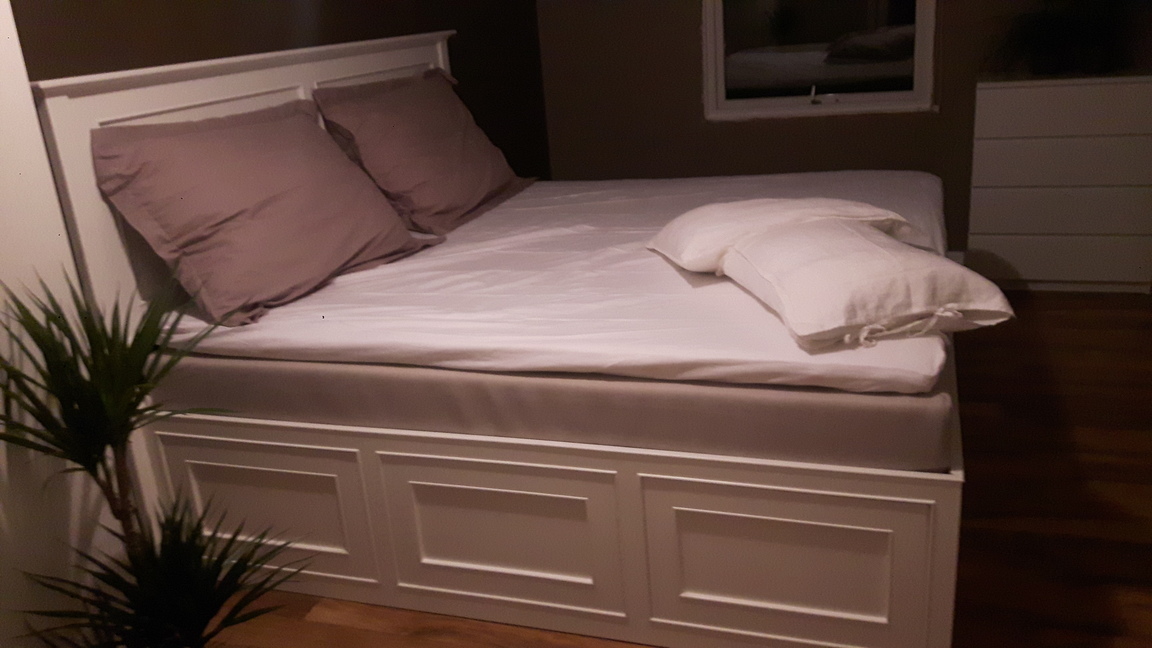
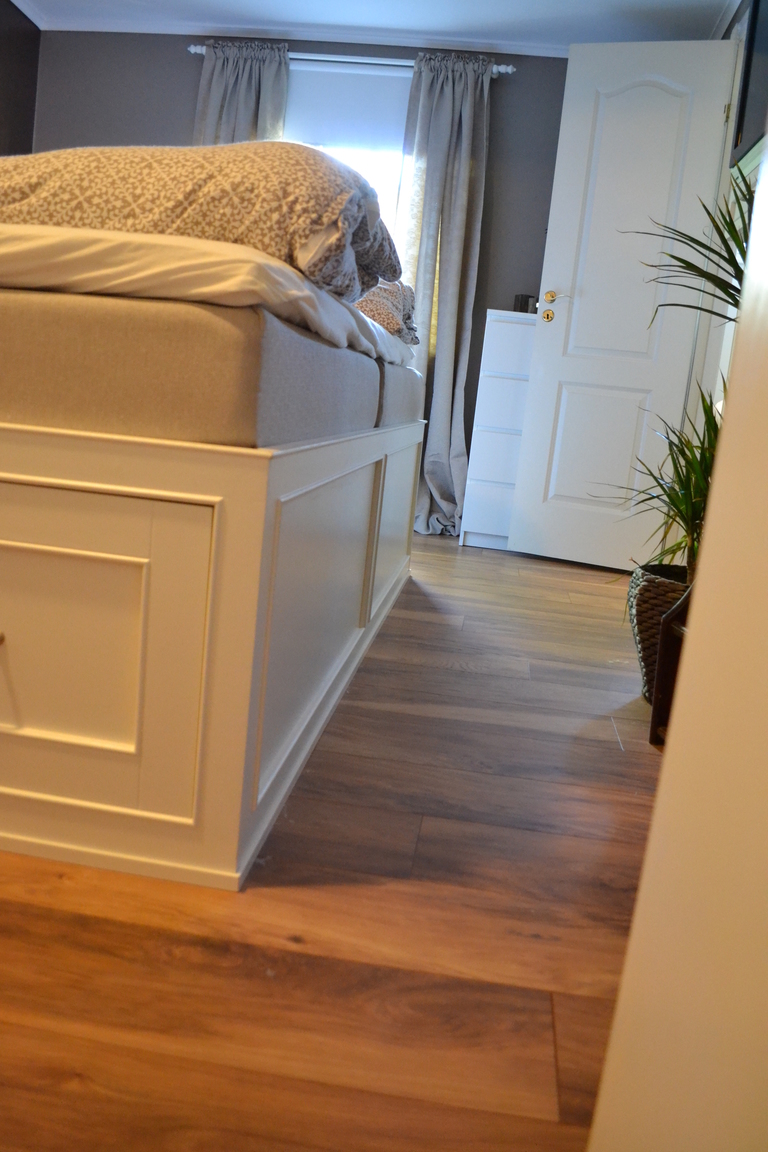
The master bedroom got total renovation, with new paint, flooring and trim.
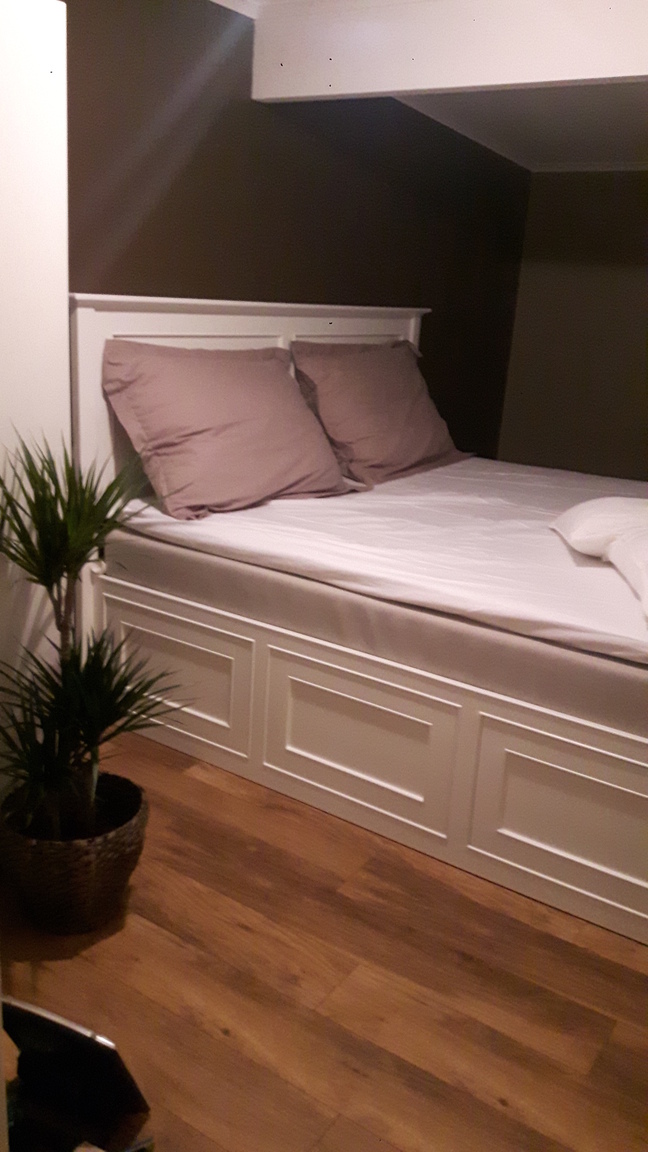
And here are some shots of the final result.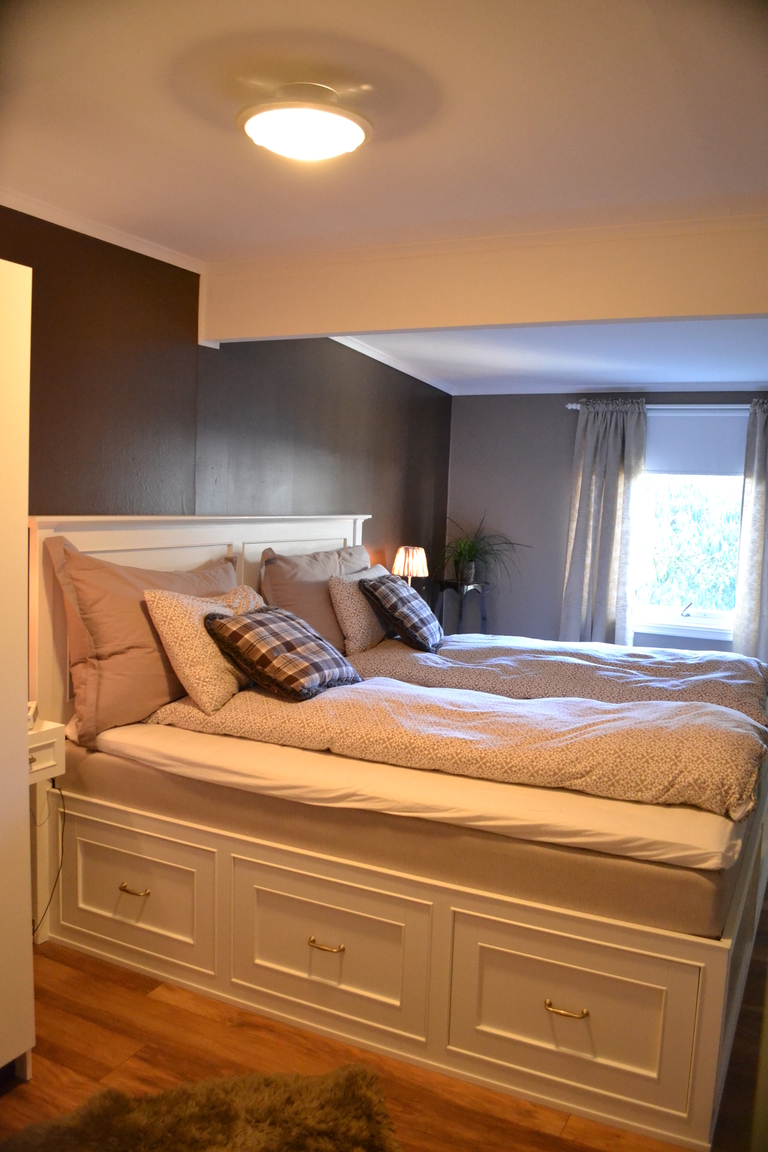
Storage under the bed is easily accesible.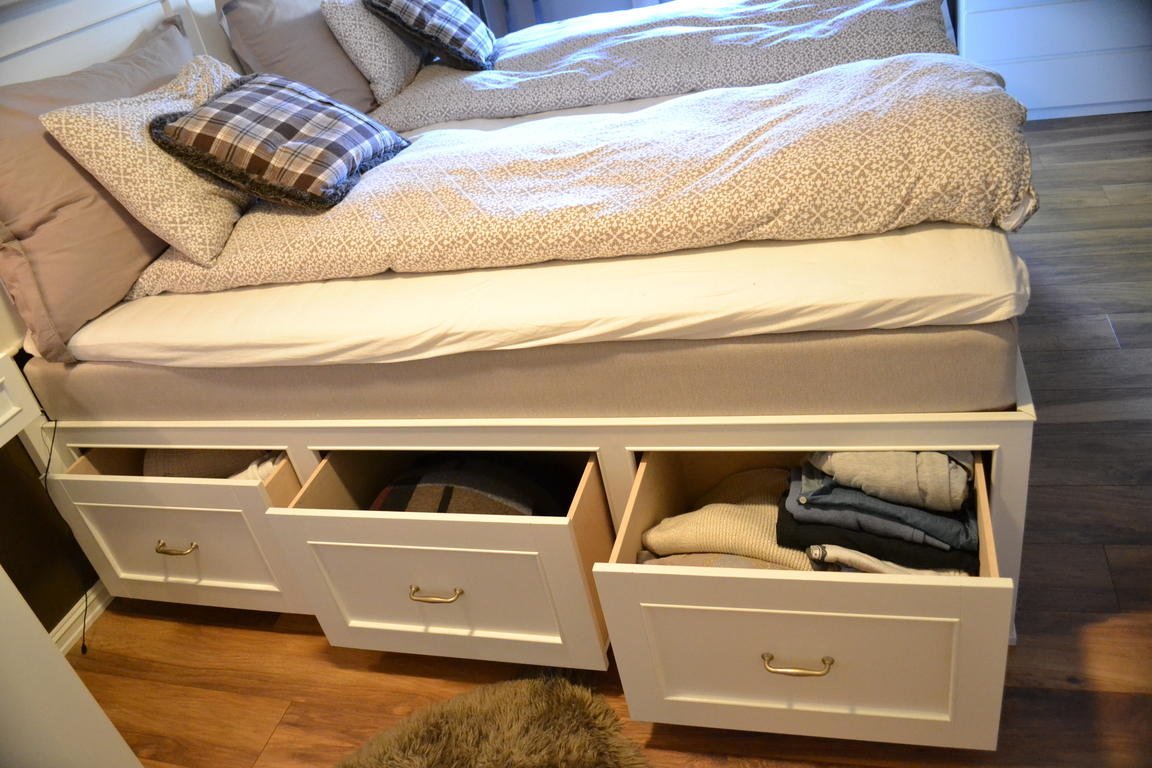
Base molding installed.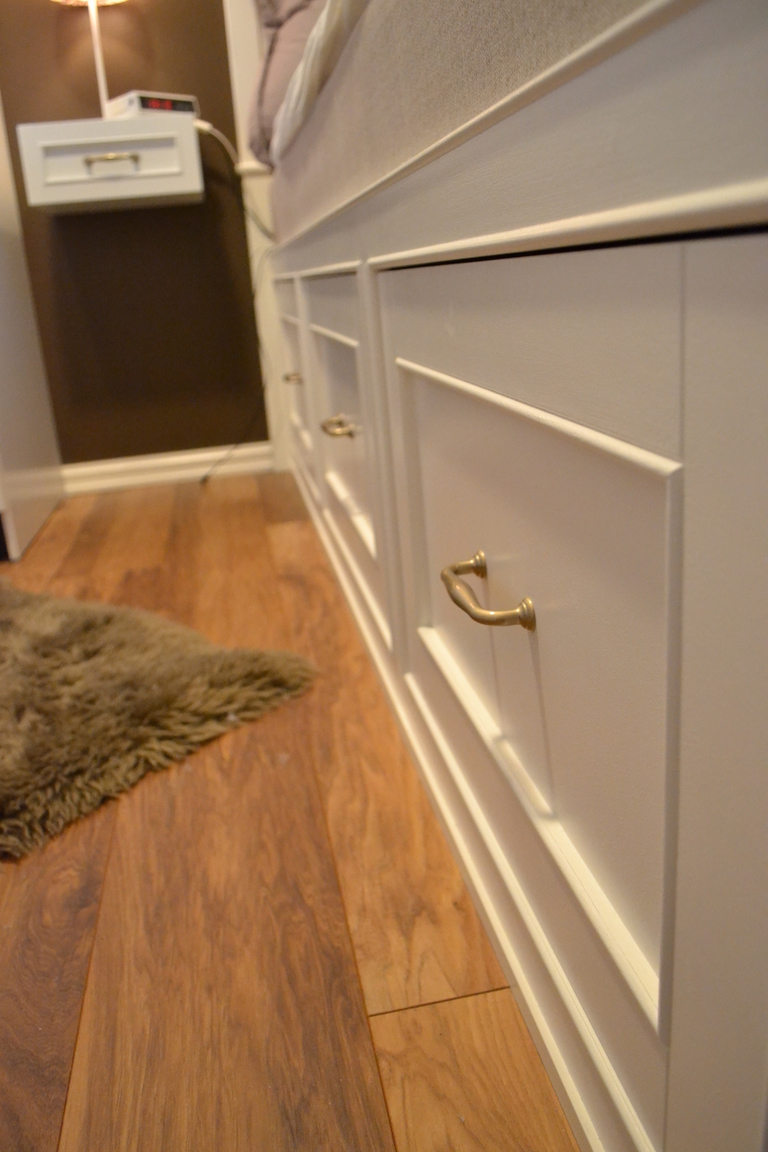
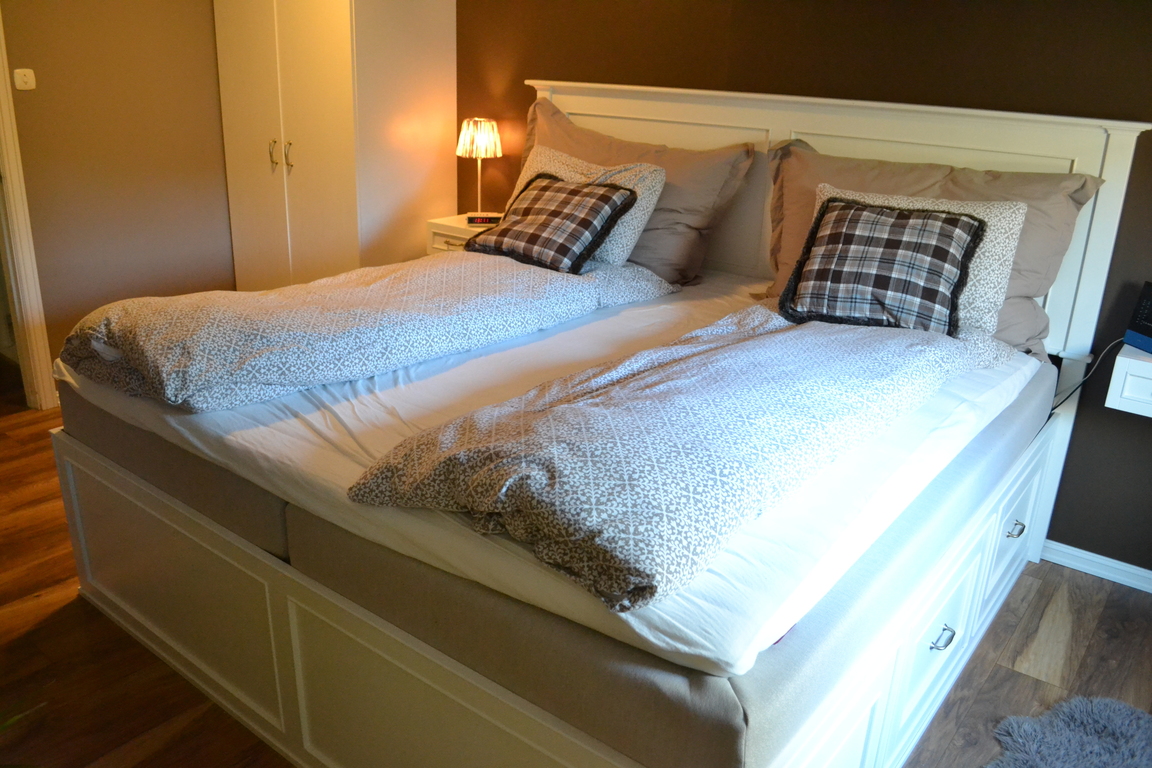
I also made some floating nightstands in the same design.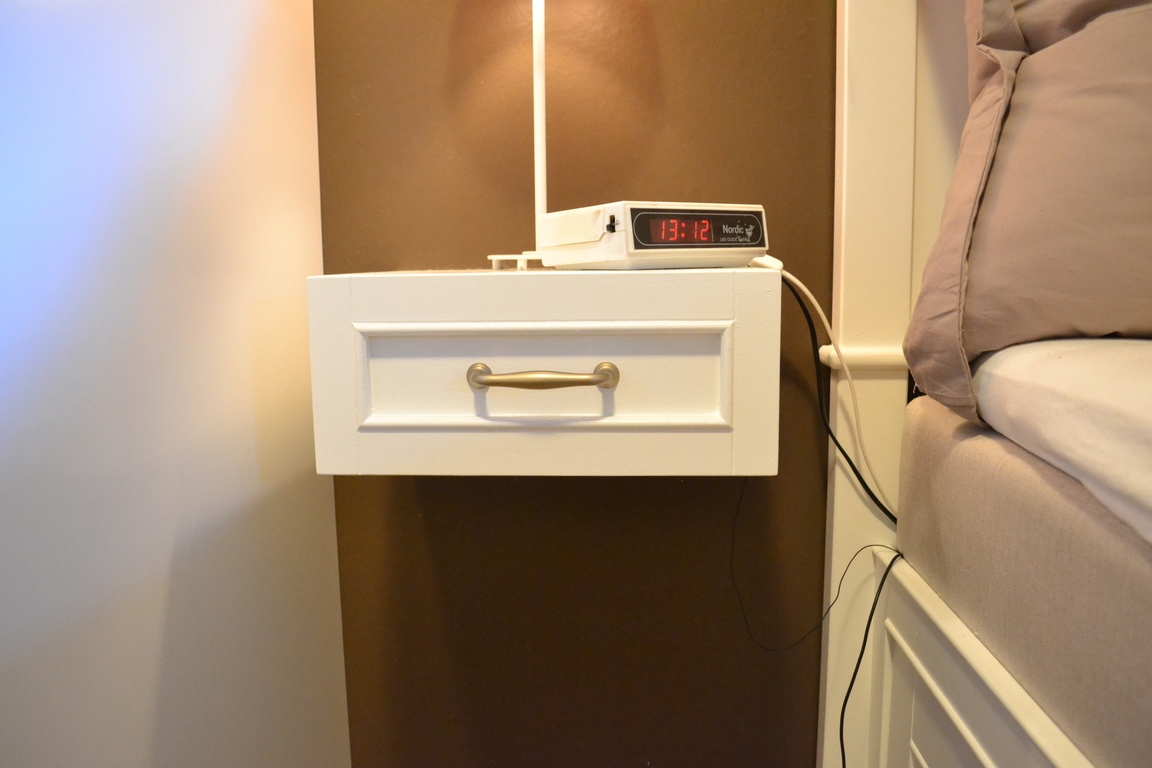
Hope you found this article useful, and got some tips if you are making your own bed.
If I was to do it again, I would not have used the plywood for the frame of the headboard and foot panel. It warped to much. I think mdf all the way would have been better. Assembled it is not noticeable
All in all an interesting project, but ALOT of work.